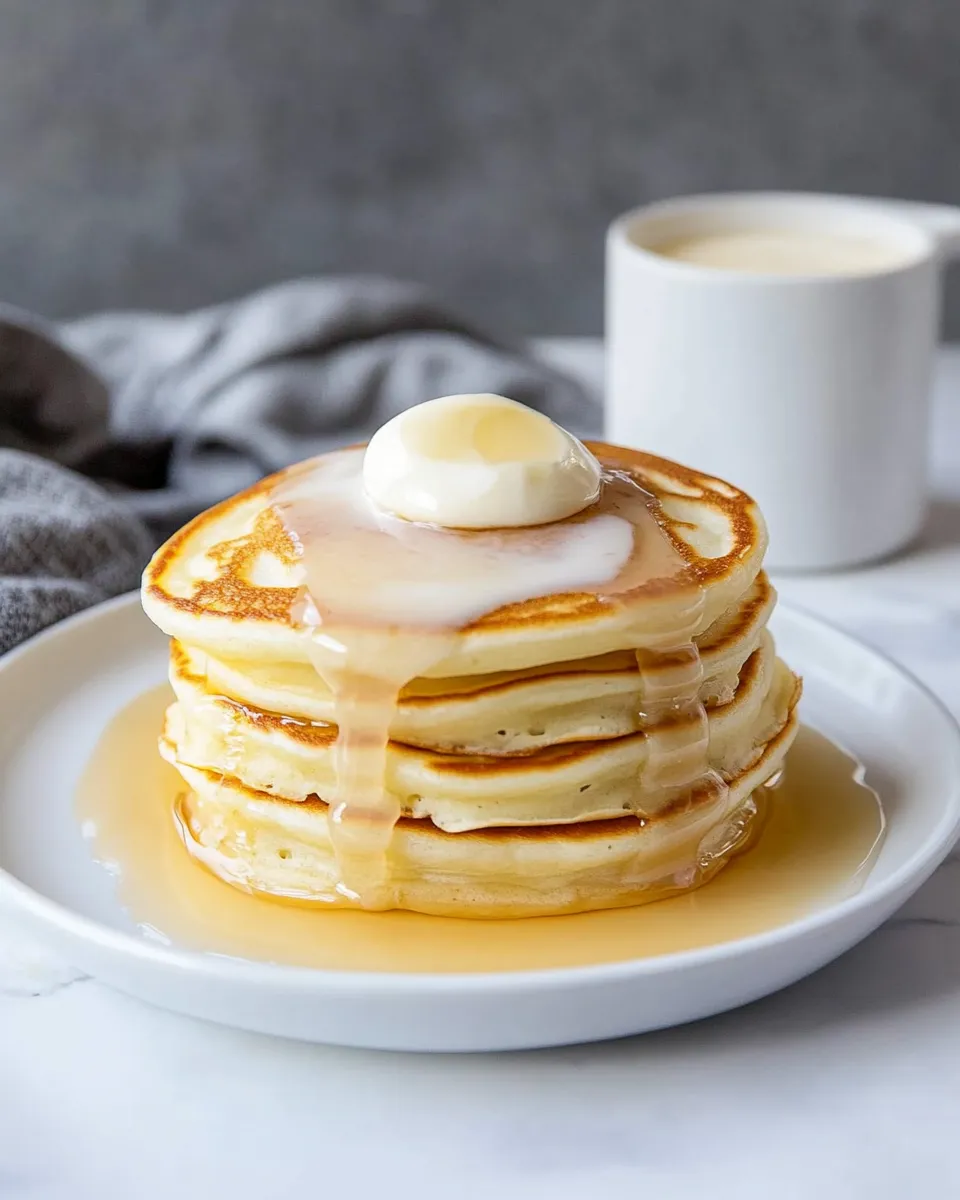
Sour Cream Pancakes
Sour Cream Pancakes are the perfect way to elevate your breakfast experience. Fluffy, rich, and oh-so-delicious, these pancakes bring a delightful twist to the classic recipe, thanks to the addition of sour cream. The tangy flavor complements the sweetness, creating a breakfast that is sure to please everyone at the table. Whether it’s a lazy Sunday morning or a special occasion, these pancakes will make your morning shine. Let’s dive into why cooks rave about this recipe and how you can recreate it in your own kitchen.
Why Cooks Rave About It
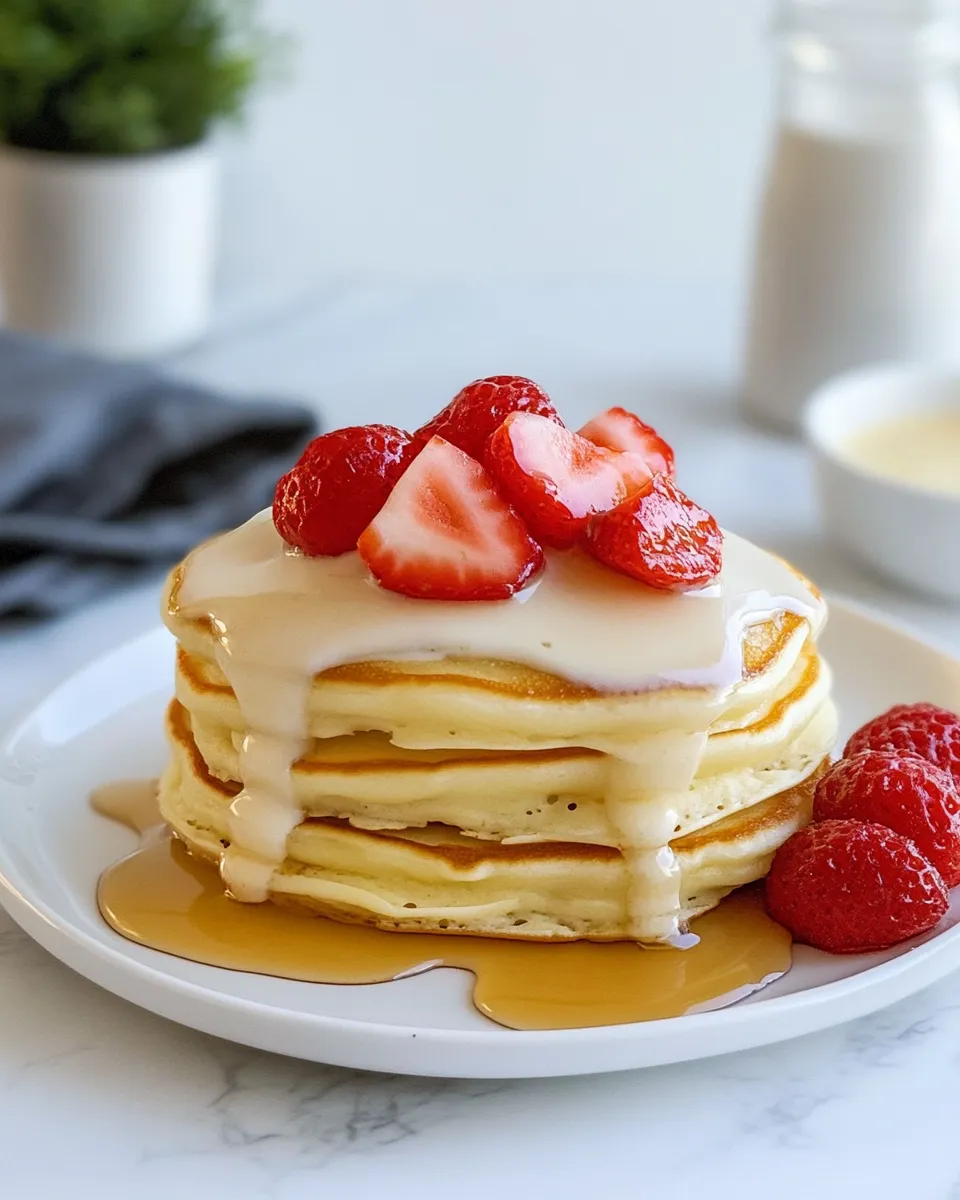
Cooks everywhere adore sour cream pancakes for their unique texture and flavor. The sour cream adds moisture and a slight tang, resulting in pancakes that are not only fluffy but also rich and flavorful. This recipe is incredibly forgiving, allowing for adjustments based on what you have on hand. Plus, they are quick to whip up, making them a go-to choice for busy mornings. When paired with your favorite toppings, such as fresh berries, maple syrup, or even a dollop of whipped cream, these pancakes can easily be the star of any breakfast spread.
What Goes In
To create these mouthwatering sour cream pancakes, you’ll need the following ingredients:
- 2 cups All-purpose Flour
- 1/4 cup Granulated Sugar
- 4 tsp Baking Powder
- 1/2 tsp Salt
- 1 large Egg
- 1 1/2 cups Milk
- 1/2 cup Sour Cream
- 1/2 cup Oil (Canola or Vegetable)
- 1 tsp Vanilla Extract
Each ingredient plays a vital role in achieving the perfect pancake texture, ensuring each bite is a delight.
Tools of the Trade
Before you start cooking, gather the necessary tools:
- Mixing Bowl: For combining dry and wet ingredients.
- Whisk: To ensure everything is mixed well and to aerate the batter.
- Measuring Cups and Spoons: Precision is key in baking, so accurate measurements are essential.
- Non-stick Skillet or Griddle: For cooking the pancakes evenly without sticking.
- Spatula: To flip the pancakes with ease.
With these tools at your disposal, you’ll be well on your way to pancake perfection.
Sour Cream Pancakes in Steps
Making sour cream pancakes is simple and enjoyable. Follow these steps for a delicious result:
Step 1: Combine Dry Ingredients
In a large mixing bowl, whisk together the all-purpose flour, granulated sugar, baking powder, and salt. This ensures that the leavening agents are evenly distributed throughout the flour.
Step 2: Mix Wet Ingredients
In another bowl, whisk together the egg, milk, sour cream, oil, and vanilla extract until smooth. This mixture will add moisture and flavor to your pancakes.
Step 3: Combine Mixtures
Pour the wet ingredients into the dry ingredients. Gently fold the mixture together using a spatula or whisk until just combined. Be careful not to over-mix; a few lumps are perfectly fine.
Step 4: Preheat the Skillet
Heat your non-stick skillet or griddle over medium heat. Lightly grease the surface with a small amount of oil or butter.
Step 5: Cook the Pancakes
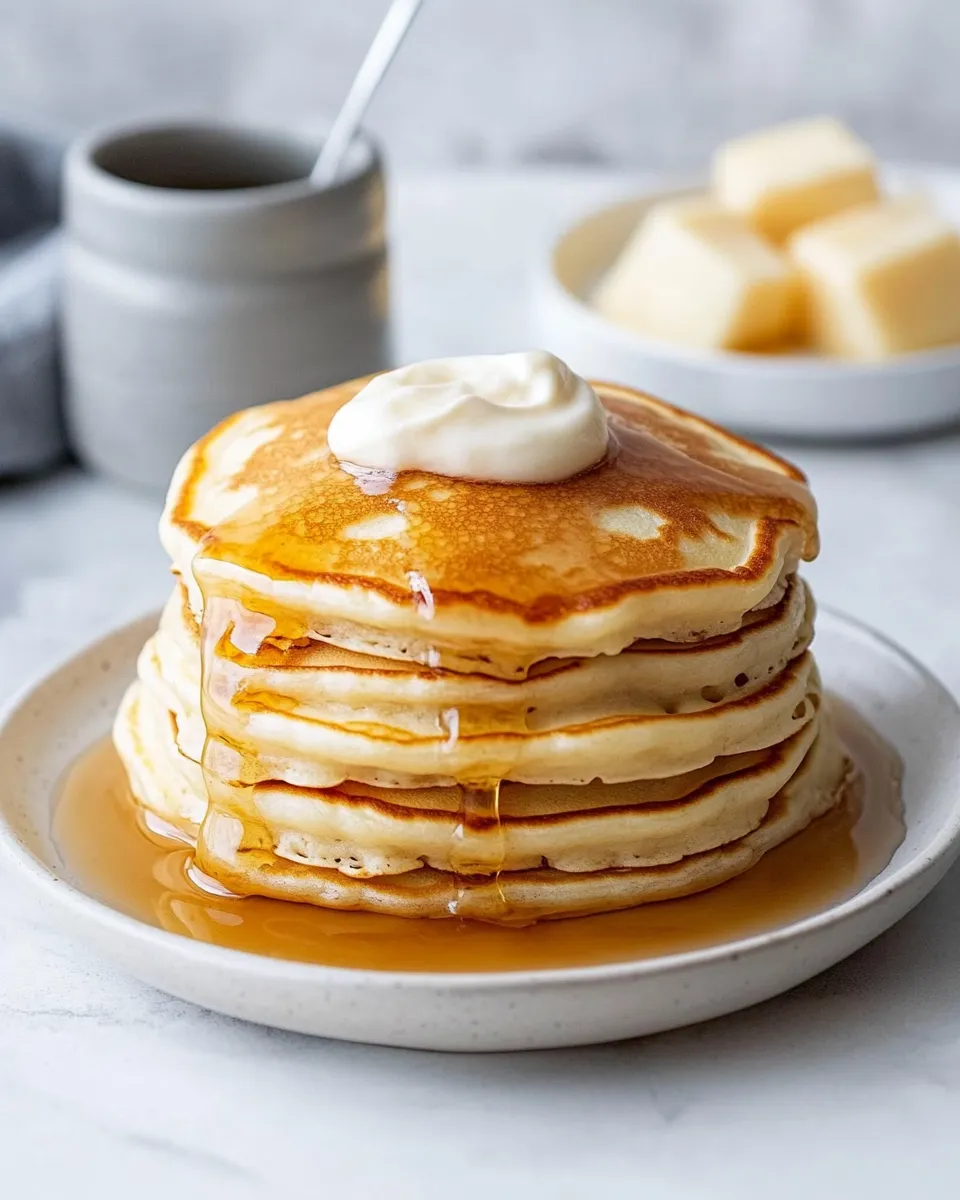
Using a ladle or measuring cup, pour about 1/4 cup of batter onto the skillet for each pancake. Cook until bubbles form on the surface and the edges look set, about 2-3 minutes. Flip the pancakes and cook for an additional 1-2 minutes until golden brown.
Step 6: Keep Warm
Transfer the cooked pancakes to a plate and cover them with a clean kitchen towel to keep warm while you finish cooking the rest of the batter.
Ingredient Flex Options
Feel free to customize your sour cream pancakes with these ingredient flex options:
- For a whole grain option, substitute half of the all-purpose flour with whole wheat flour.
- Add a pinch of cinnamon or nutmeg for a warm, spiced flavor.
- Incorporate chocolate chips or blueberries into the batter for added sweetness and texture.
- Swap the sugar for honey or maple syrup for a natural sweetener alternative.
These variations allow you to put a personal twist on the classic sour cream pancake recipe.
Method to the Madness
Creating sour cream pancakes is a straightforward process that results in fluffy, flavorful breakfast treats. Here’s a quick recap of the method:
- Combine dry ingredients in one bowl.
- Mix wet ingredients in another bowl.
- Fold wet ingredients into dry ingredients until just combined.
- Preheat your skillet and grease it lightly.
- Pour batter onto the skillet and cook until golden brown.
- Keep pancakes warm while cooking the rest of the batter.
This method ensures fluffy pancakes every time, making breakfast a delightful experience.
Prep Ahead & Store
If you’re looking to save time, you can prepare the dry ingredients in advance. Store the dry mixture in an airtight container until you’re ready to make pancakes. When it’s time to cook, simply add the wet ingredients and proceed as usual.
For leftovers, store any uneaten pancakes in an airtight container in the refrigerator for up to 3 days. To reheat, pop them in the toaster or microwave until warmed through. You can also freeze pancakes for longer storage; just make sure to separate them with parchment paper and store them in a freezer bag. Reheat directly from the freezer for a quick breakfast treat.
Frequently Asked Questions
Can I use a different type of flour?
Yes! You can substitute half of the all-purpose flour with whole wheat flour for a heartier pancake or even try oat flour for a gluten-free option.
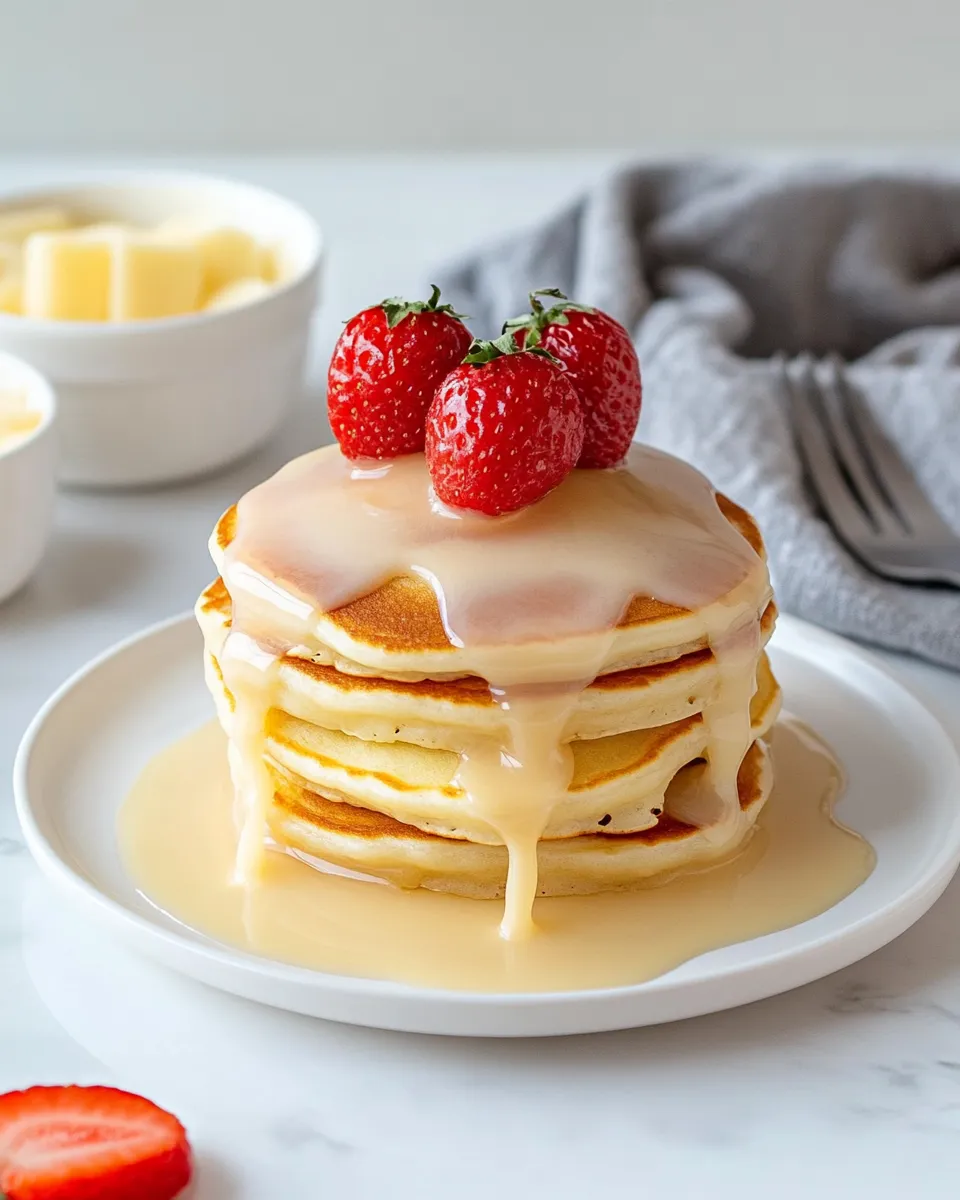
What toppings pair best with sour cream pancakes?
Sour cream pancakes are delicious with a variety of toppings. Fresh berries, sliced bananas, maple syrup, or a sprinkle of powdered sugar all complement the pancakes beautifully.
Can I make the batter ahead of time?
While it’s best to cook the pancakes right after mixing the batter for optimal fluffiness, you can prepare the dry ingredients ahead of time and mix them with the wet ingredients just before cooking.
Are sour cream pancakes suitable for freezing?
Absolutely! You can freeze cooked sour cream pancakes. Just make sure to cool them completely, then store them in an airtight container with parchment paper between each pancake to prevent sticking.
Our Most-Loved Recipes
If you love these sour cream pancakes, you might also enjoy trying:
Each of these recipes offers a unique twist that you can incorporate into your breakfast rotation.
Let’s Eat
Now that you’ve mastered the art of making sour cream pancakes, it’s time to gather your loved ones and enjoy this delightful breakfast together. With their fluffy texture and rich flavor, these pancakes are sure to become a family favorite. So whip up a batch, pour some syrup, and let the compliments roll in. Happy cooking!
Sour Cream Pancakes
Ingredients
Equipment
Method
- In a large mixing bowl, whisk together the all-purpose flour, granulated sugar, baking powder, and salt.
- In another bowl, whisk together the egg, milk, sour cream, oil, and vanilla extract until smooth.
- Pour the wet ingredients into the dry ingredients. Gently fold the mixture until just combined.
- Heat your non-stick skillet or griddle over medium heat and lightly grease it.
- Pour about 1/4 cup of batter onto the skillet for each pancake. Cook until bubbles form, then flip and cook until golden brown.
- Transfer cooked pancakes to a plate and cover with a kitchen towel to keep warm while cooking the rest.
Notes
- Store any leftovers in an airtight container for up to 3 days.
- Freeze pancakes separated by parchment paper for longer storage.
- Feel free to customize with chocolate chips or blueberries!