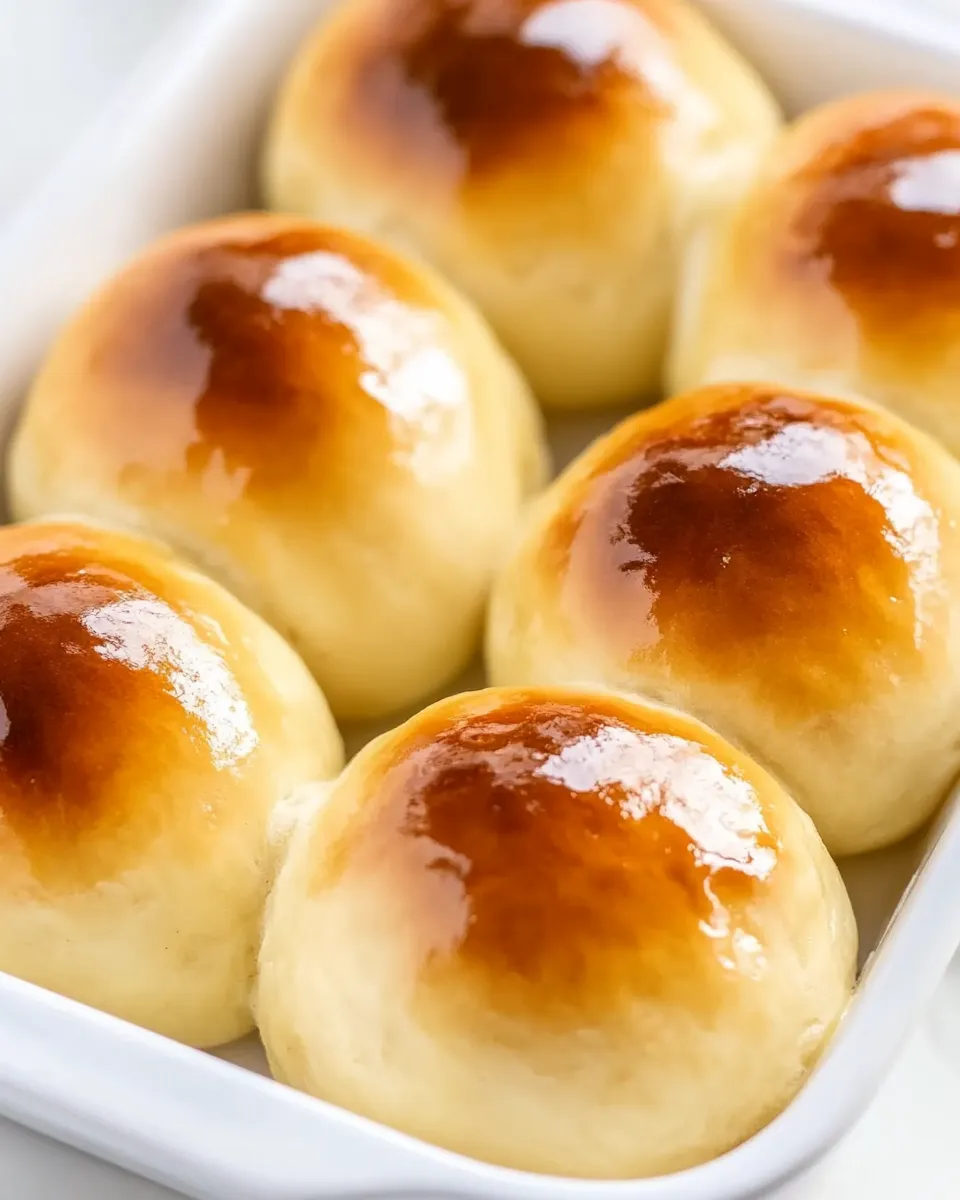
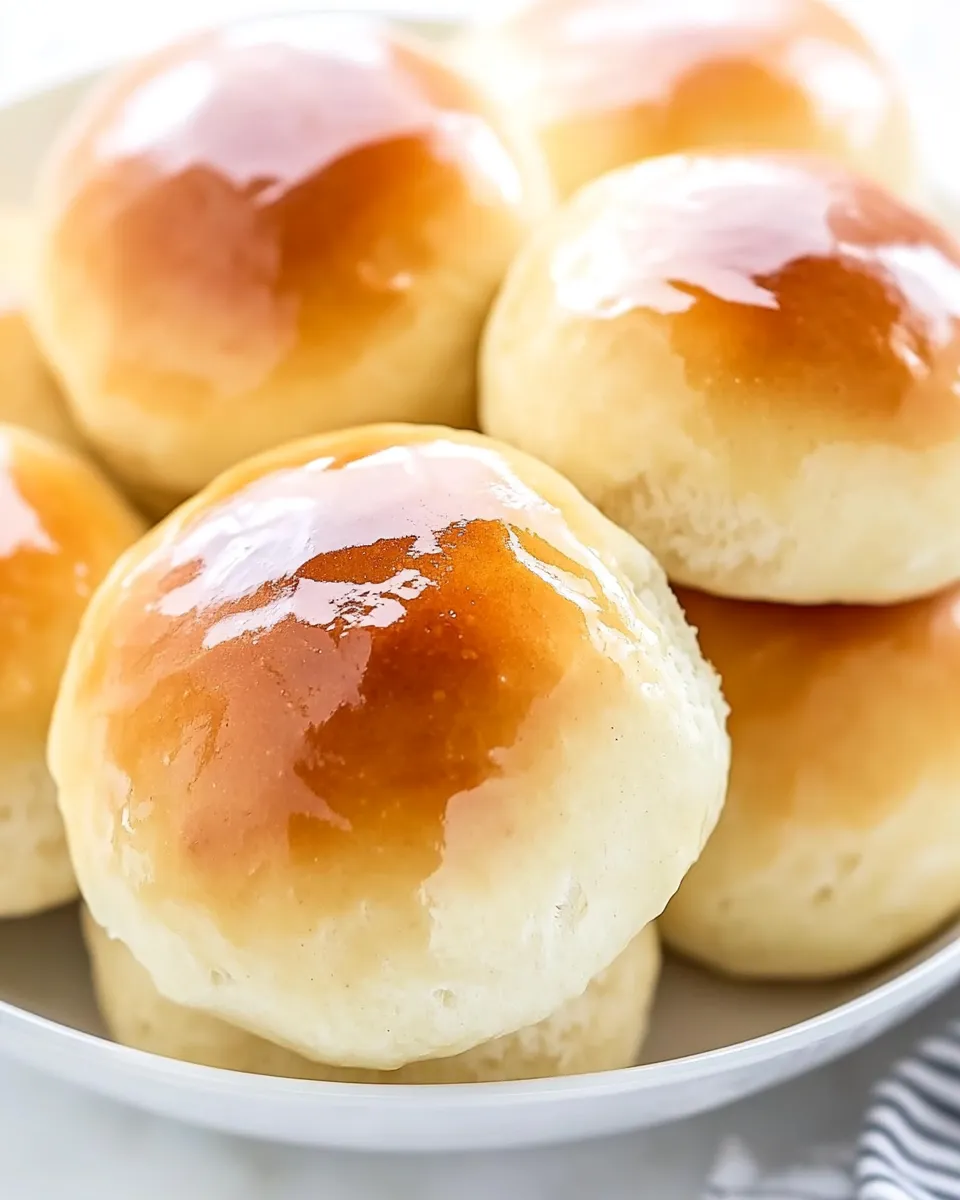
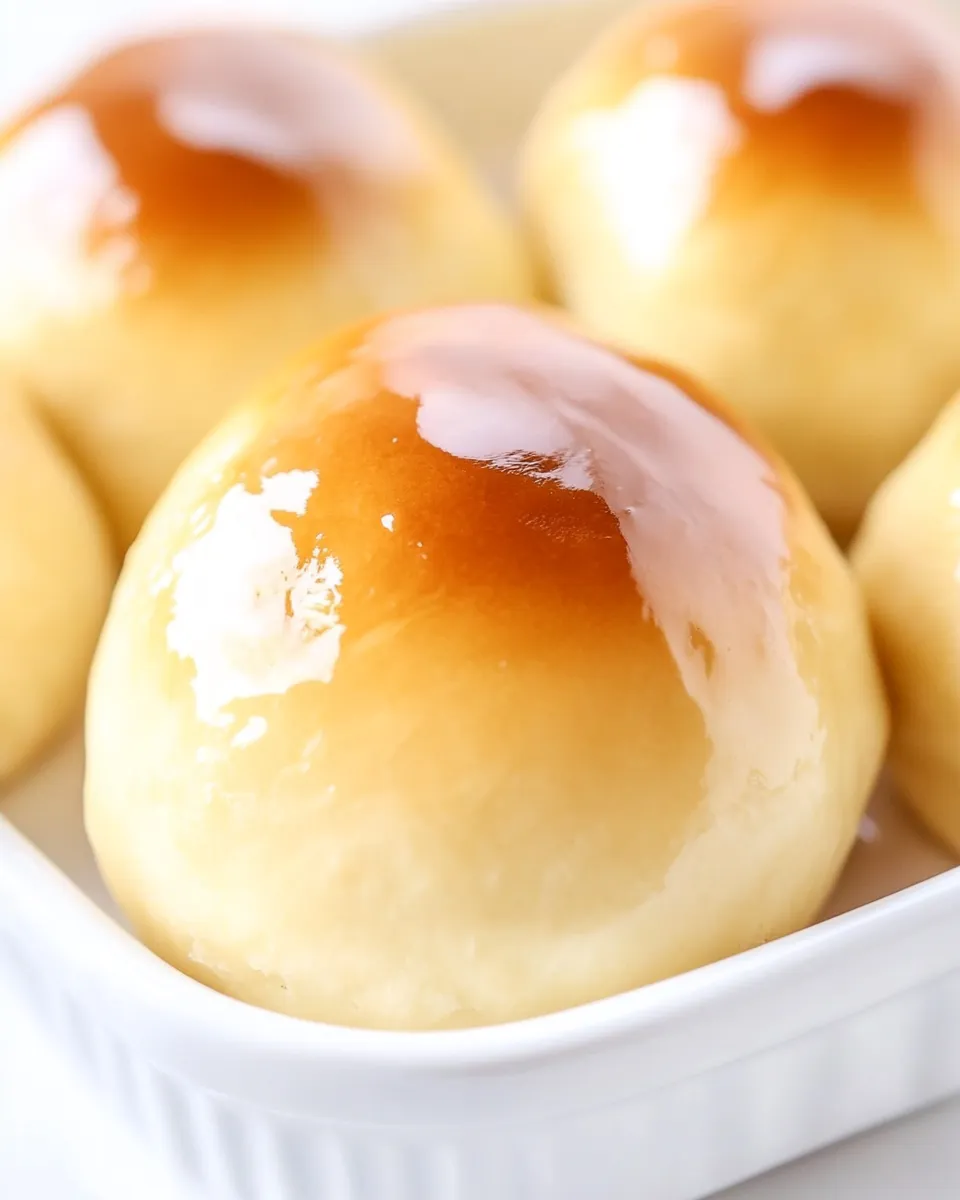
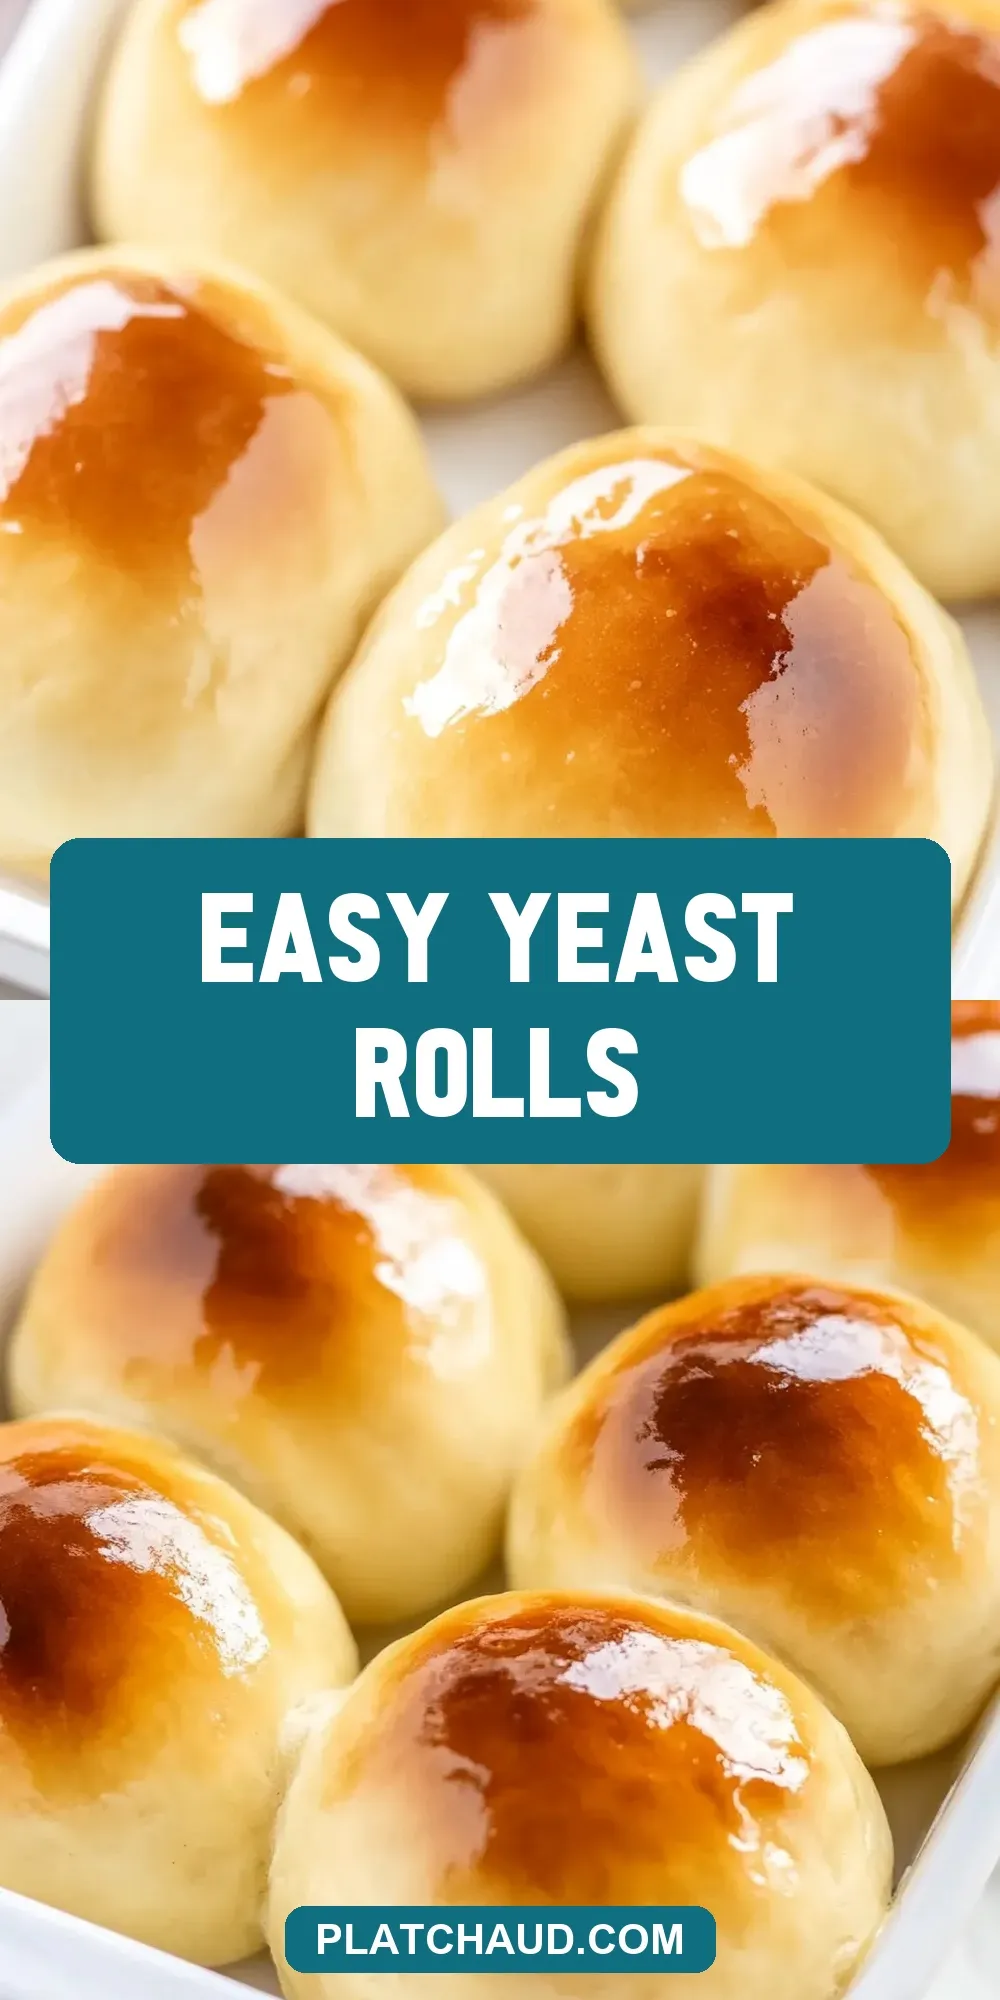
Easy Yeast Rolls
There’s nothing quite like the smell of freshly baked bread wafting through your kitchen, and with these Easy Yeast Rolls, you’ll experience that comforting aroma without the fuss. Perfectly fluffy and soft, these rolls are ideal for family dinners, holiday gatherings, or simply as a delicious side to any meal. With just a handful of ingredients and a few simple steps, you’ll be enjoying warm rolls straight from the oven in no time.
Why It Works Every Time
The secret to these Easy Yeast Rolls lies in the use of quick-rise yeast and the perfect balance of warm water and sugar. Quick-rise yeast activates rapidly, allowing the dough to rise faster than traditional yeast. This means you can have warm, fluffy rolls ready in under an hour! The sugar helps to feed the yeast, ensuring a light and airy texture, while the biscuit or baking mix provides structure and flavor.
Gather These Ingredients
Before you start, make sure you have the following ingredients on hand:
- 1 package (1/4 oz) Quick Rise Yeast – The key ingredient for fluffy rolls.
- 1 tablespoon sugar – Sweetens the dough and feeds the yeast.
- 3/4 cup warm water (110-115°F) – Activates the yeast.
- 2 1/2 to 3 cups Biscuit/Baking Mix – Adds structure; do not use anything else.
Setup & Equipment
To make the process smooth and enjoyable, gather the following equipment:
- Mixing Bowl – For combining the ingredients.
- Measuring Cups and Spoons – Accuracy is key in baking!
- Oven – Preheated to 375°F for baking the rolls.
- Kitchen Towel – To cover the rolls while they rise.
- Baking Sheet – Where the rolls will bake.
The Method for Easy Yeast Rolls
Follow these simple steps to create your Easy Yeast Rolls:
Step 1: Activate the Yeast
In a mixing bowl, combine the warm water and sugar. Stir gently to dissolve the sugar, then sprinkle the Quick Rise Yeast over the top. Let it sit for about 5 minutes until it becomes frothy.
Step 2: Combine the Ingredients
Once the yeast mixture is frothy, gradually add the Biscuit/Baking Mix to the bowl. Start with 2 1/2 cups and mix until a soft dough forms. If the dough is too sticky, add more baking mix, a little at a time, until it’s manageable.
Step 3: Knead the Dough
Turn the dough out onto a floured surface. Knead gently for about 5 minutes until the dough is smooth and elastic.
Step 4: First Rise
Place the kneaded dough in a greased bowl and cover with a kitchen towel. Let it rise in a warm place for about 20 minutes, or until it has doubled in size.
Step 5: Shape the Rolls
Once the dough has risen, punch it down gently to release the air. Divide the dough into 12 equal pieces and shape each piece into a ball. Place the dough balls on a greased baking sheet, leaving space between each one.
Step 6: Second Rise
Cover the rolls with the kitchen towel again and let them rise for another 10-15 minutes, until puffy.
Step 7: Bake
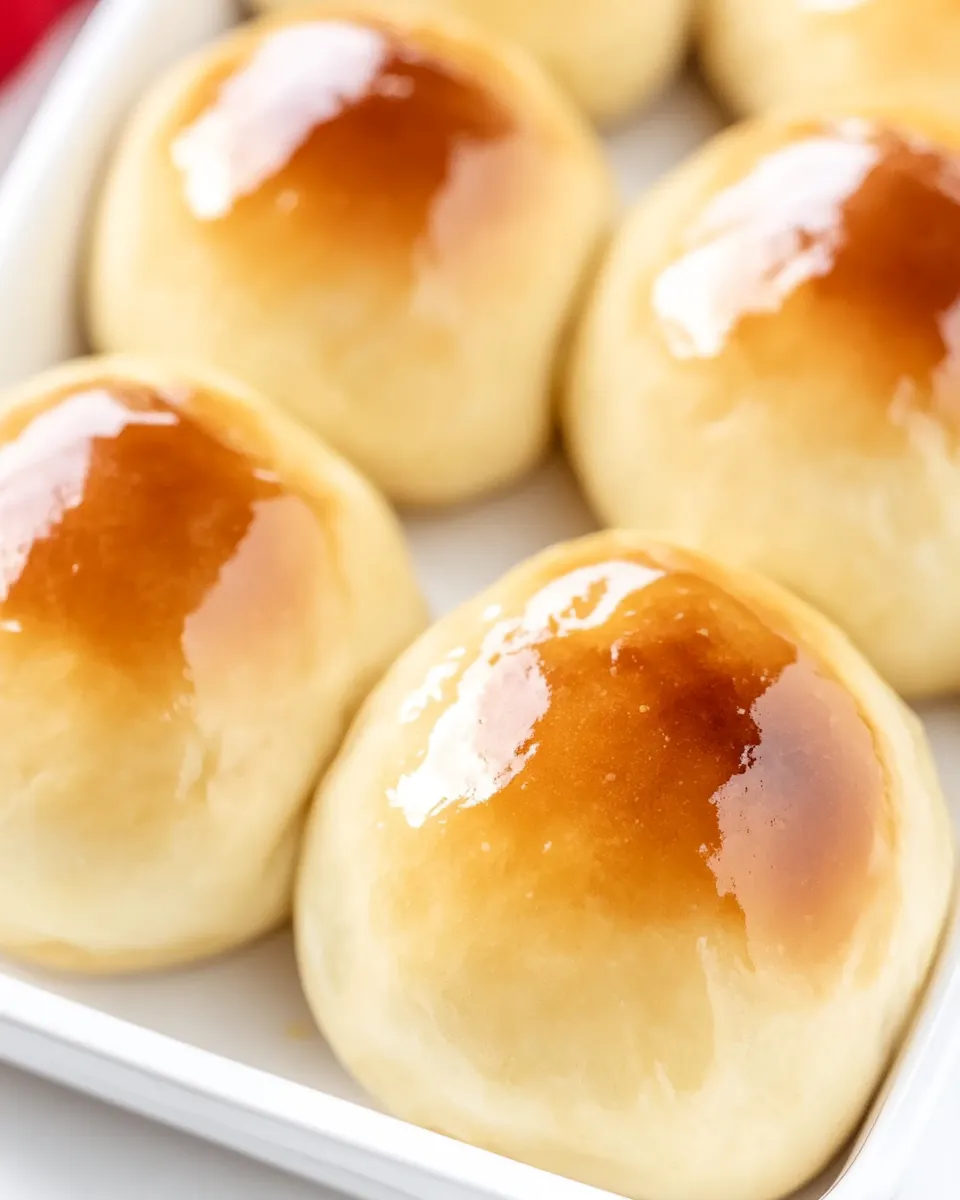
Preheat your oven to 375°F (190°C). Bake the rolls for 15-20 minutes, or until they are golden brown on top.
Step 8: Enjoy!
Remove the rolls from the oven and let them cool slightly before serving. Enjoy them warm with butter, or as a side to your favorite dishes like Creamy Mushroom Thyme Pappardelle or Creamy Spinach Artichoke Tortellini Bake.
Substitutions by Diet
If you have dietary restrictions, here are some substitutions to consider:
- Gluten-Free: Use a gluten-free baking mix instead of regular biscuit/baking mix.
- Vegan: Substitute the biscuit mix with a vegan-friendly mix and ensure that your sugar is vegan.
- Low-Sugar: Reduce the sugar to 1 teaspoon or use a sugar substitute suitable for baking.
Missteps & Fixes
Even the best bakers make mistakes! Here are some common missteps and how to fix them:
- Yeast Not Rising: Ensure your water is warm enough (110-115°F) and not too hot, which can kill the yeast.
- Dough Too Sticky: Add more baking mix gradually until the dough is manageable.
- Rolls Not Fluffy: Check the freshness of your yeast; it should be active and bubbly when mixed with water.
Save for Later: Storage Tips
To keep your Easy Yeast Rolls fresh, consider the following storage tips:
- Room Temperature: Store in an airtight container or wrapped in plastic wrap for up to 2 days.
- Refrigeration: If you need to store them longer, place them in the refrigerator for up to 5 days.
- Freezing: Freeze the rolls in a zip-top bag for up to 3 months. Reheat in the oven to restore their fluffiness.
Your Top Questions
Can I use active dry yeast instead of quick rise yeast?
Yes, you can use active dry yeast, but you will need to let it activate for about 10 minutes before mixing it with the other ingredients.
How can I make these rolls more flavorful?
Add herbs or spices to the dough, such as garlic powder or dried rosemary, for an added flavor boost.
What can I serve these rolls with?
These rolls pair perfectly with soups, stews, or as a side to dishes like Creamy Mushroom Stroganoff Pasta Meat Free. They’re also great with butter or your favorite jam.
Can I make the dough ahead of time?
Yes, you can prepare the dough and refrigerate it after the first rise. When you’re ready to bake, let it come to room temperature before shaping and proceeding with the second rise.
Desserts to Finish
To round out your meal with something sweet, consider these delightful desserts:
- Chocolate Chip Cookies – A classic favorite!
- Lemon Bars – A refreshing citrus treat.
- Brownies – Rich and fudgy, perfect for chocolate lovers.
See You at the Table
These Easy Yeast Rolls are not just a recipe; they’re an invitation to gather around the table with loved ones, sharing stories and laughter over a warm meal. The joy of baking is in the simplicity and the love that goes into each roll.
With just a few ingredients and a little time, you can create something truly special that will have everyone asking for seconds. So, roll up your sleeves, preheat that oven, and let’s bake some magic!
Share on Pinterest
Easy Yeast Rolls
Ingredients
Equipment
Method
- Step 1: Activate the Yeast - In a mixing bowl, combine the warm water and sugar. Stir gently to dissolve the sugar, then sprinkle the Quick Rise Yeast over the top. Let it sit for about 5 minutes until it becomes frothy.
- Step 2: Combine the Ingredients - Once the yeast mixture is frothy, gradually add the Biscuit/Baking Mix to the bowl. Start with 2 1/2 cups and mix until a soft dough forms. If the dough is too sticky, add more baking mix, a little at a time, until it’s manageable.
- Step 3: Knead the Dough - Turn the dough out onto a floured surface. Knead gently for about 5 minutes until the dough is smooth and elastic.
- Step 4: First Rise - Place the kneaded dough in a greased bowl and cover with a kitchen towel. Let it rise in a warm place for about 20 minutes, or until it has doubled in size.
- Step 5: Shape the Rolls - Once the dough has risen, punch it down gently to release the air. Divide the dough into 12 equal pieces and shape each piece into a ball. Place the dough balls on a greased baking sheet, leaving space between each one.
- Step 6: Second Rise - Cover the rolls with the kitchen towel again and let them rise for another 10-15 minutes, until puffy.
- Step 7: Bake - Preheat your oven to 375°F (190°C). Bake the rolls for 15-20 minutes, or until they are golden brown on top.
- Step 8: Enjoy! - Remove the rolls from the oven and let them cool slightly before serving. Enjoy them warm with butter, or as a side to your favorite dishes.
Notes
- Store in an airtight container at room temperature for up to 2 days.
- Freeze the rolls in a zip-top bag for up to 3 months; reheat in the oven to restore fluffiness.
- Add herbs or spices to the dough for extra flavor!