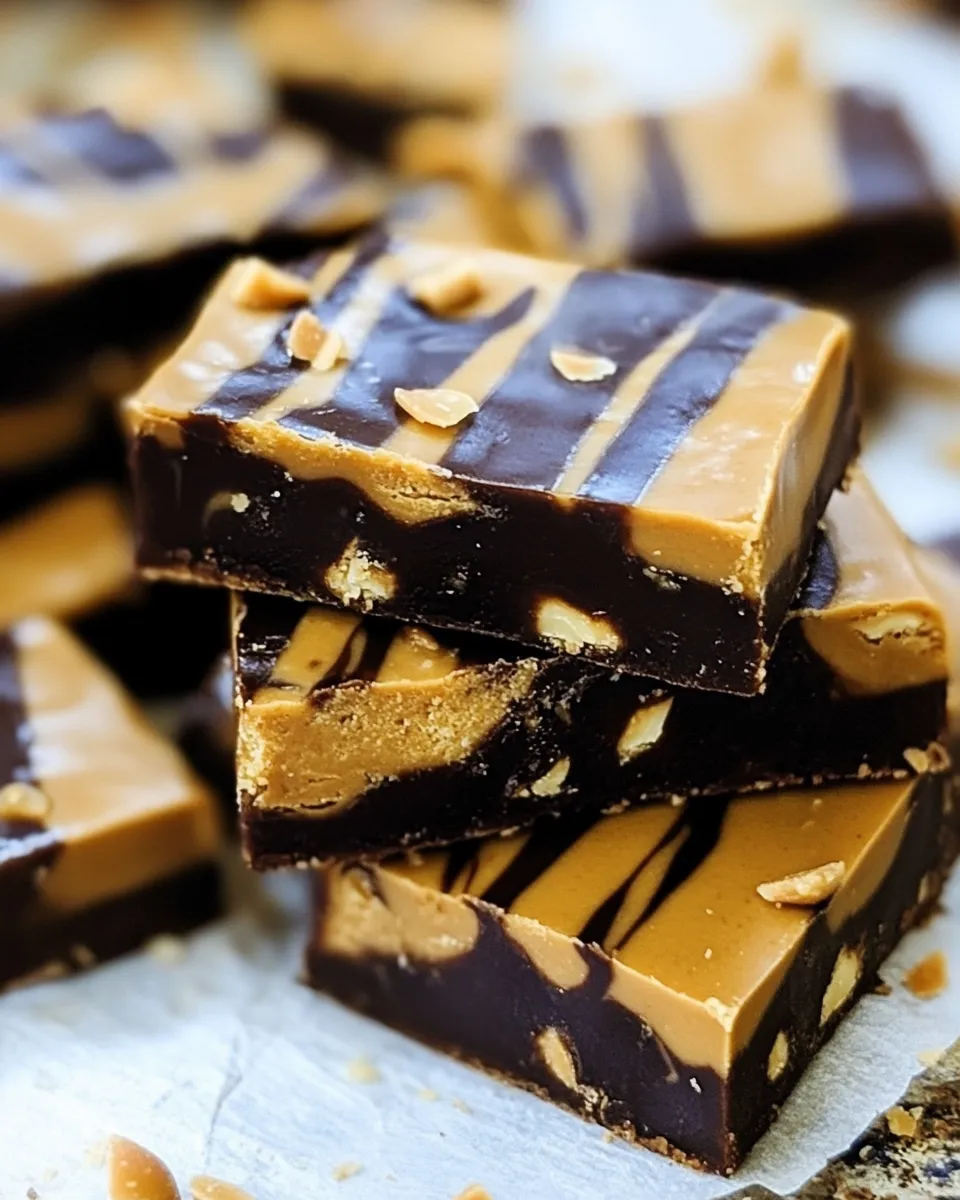
Peanut Butter Fudge Bars
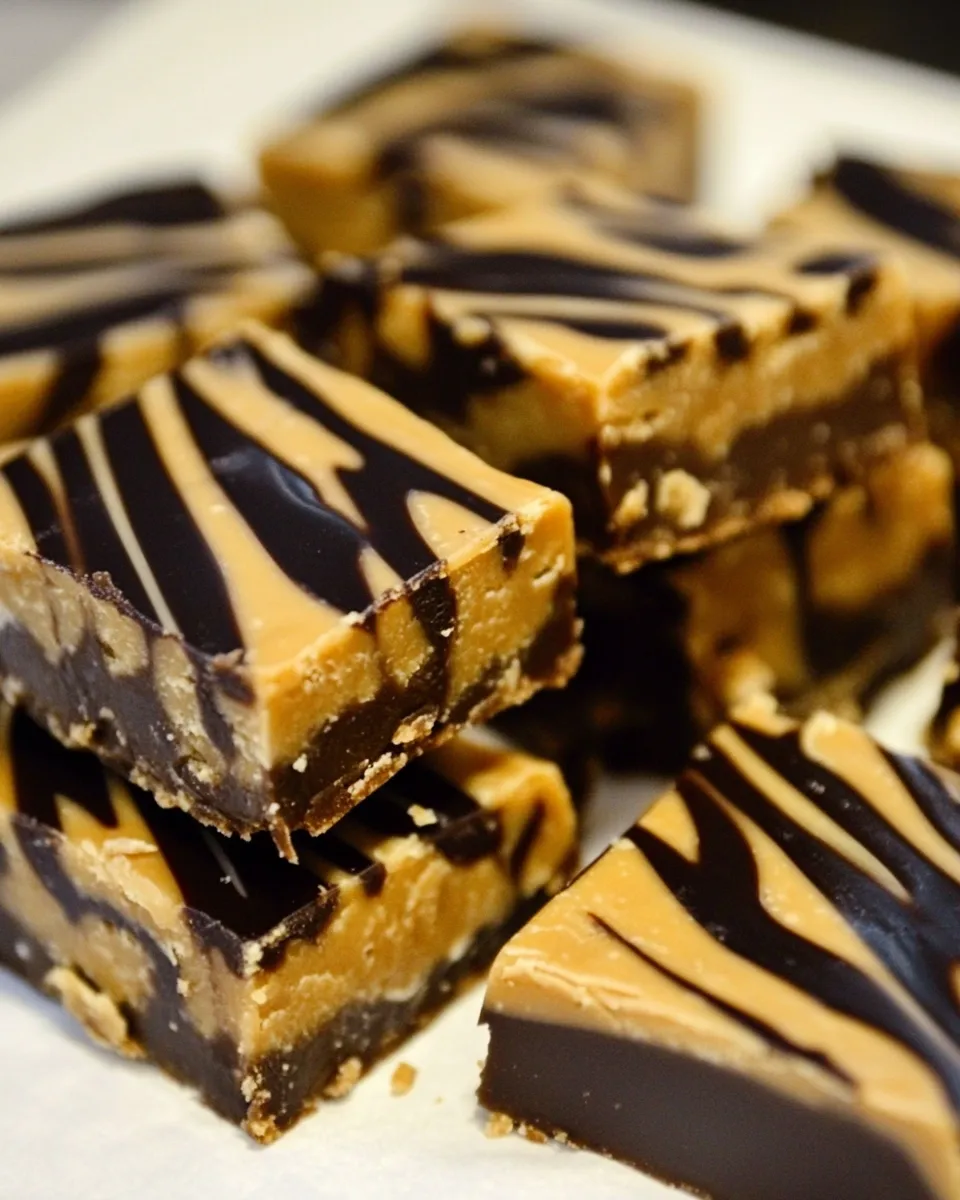
If you’re a peanut butter lover, get ready to fall head over heels for these Peanut Butter Fudge Bars. They are so rich, creamy, and decadently satisfying that you won’t be able to resist going back for seconds. Made with simple ingredients and just a few steps, these bars are perfect for any occasion, whether it’s a casual snack, a dessert for a gathering, or simply a way to indulge your sweet tooth. Let’s dive into the details of how to create these delightful bars that are sure to become a new favorite!
Why This Peanut Butter Fudge Bars Stands Out
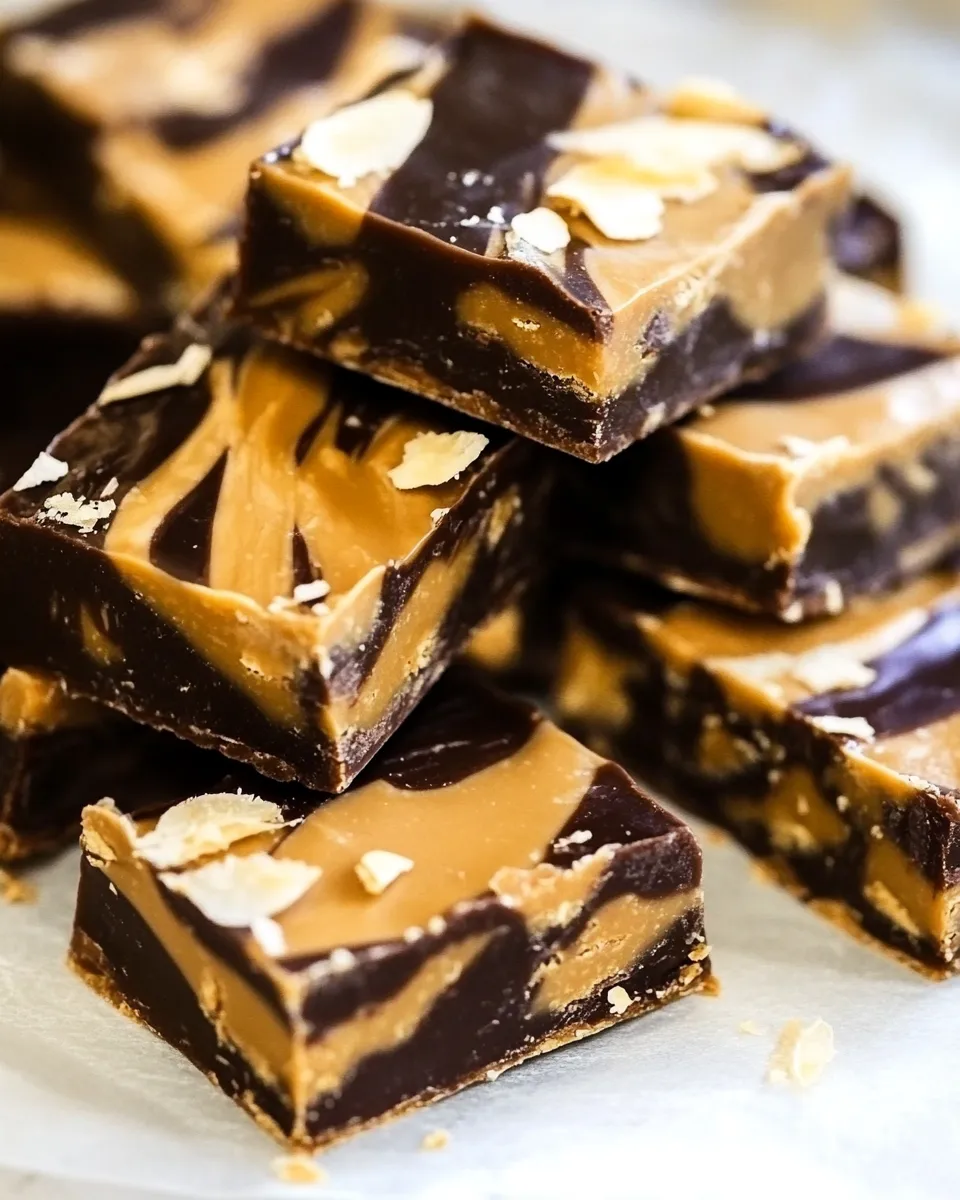
These Peanut Butter Fudge Bars stand out because they combine the irresistible flavors of peanut butter and fudge into a delicious treat that is both easy to make and incredibly satisfying. The creamy texture from the peanut butter and the rich sweetness from the peanut butter chips create a perfect harmony. Plus, they are customizable! You can add toppings of your choice, making each batch uniquely yours. Whether you prefer the crunch of nuts or the sweetness of chocolate, these bars can do it all.
Ingredient Checklist
To make these Peanut Butter Fudge Bars, gather the following ingredients:
- 10 oz peanut butter chips or vegan peanut butter chips
- 1/2 cup crunchy or creamy peanut butter
- Optional: melted white and dark chocolate chips for drizzling
- Optional: chopped peanuts for added crunch
- Optional: shredded coconut for a tropical twist
- Optional: mini chocolate chips for extra sweetness
- Optional: other add-ins of choice
Equipment at a Glance
Before you start baking, make sure you have the following equipment handy:
- Mixing bowl: For combining your ingredients.
- Microwave-safe bowl: To melt the peanut butter chips.
- 9×9 inch baking dish: The perfect size for your fudge bars.
- Parchment paper: To line your baking dish for easy removal.
- Spatula: For spreading the mixture evenly.
- Refrigerator: To set the fudge bars.
Peanut Butter Fudge Bars Made Stepwise
Step 1: Prepare Your Baking Dish
Start by lining your 9×9 inch baking dish with parchment paper. This will make it easy to lift your Peanut Butter Fudge Bars out once they are set. Leave some overhang on the sides for easy removal.
Step 2: Melt the Peanut Butter Chips
In a microwave-safe bowl, combine the peanut butter chips and peanut butter. Microwave in 30-second intervals, stirring in between, until the mixture is completely melted and smooth. This should take about 1-2 minutes.
Step 3: Mix and Pour
Once melted, pour the mixture into your prepared baking dish. Use a spatula to spread it evenly across the bottom, ensuring that it reaches all corners of the dish.
Step 4: Add Optional Toppings
If you’d like to add any optional toppings, now is the time! Drizzle melted white and dark chocolate chips over the top, and sprinkle with chopped peanuts, shredded coconut, or mini chocolate chips as desired.
Step 5: Refrigerate
Place the baking dish in the refrigerator and allow the bars to set for at least 2 hours. This will help them firm up nicely, making them easier to cut.
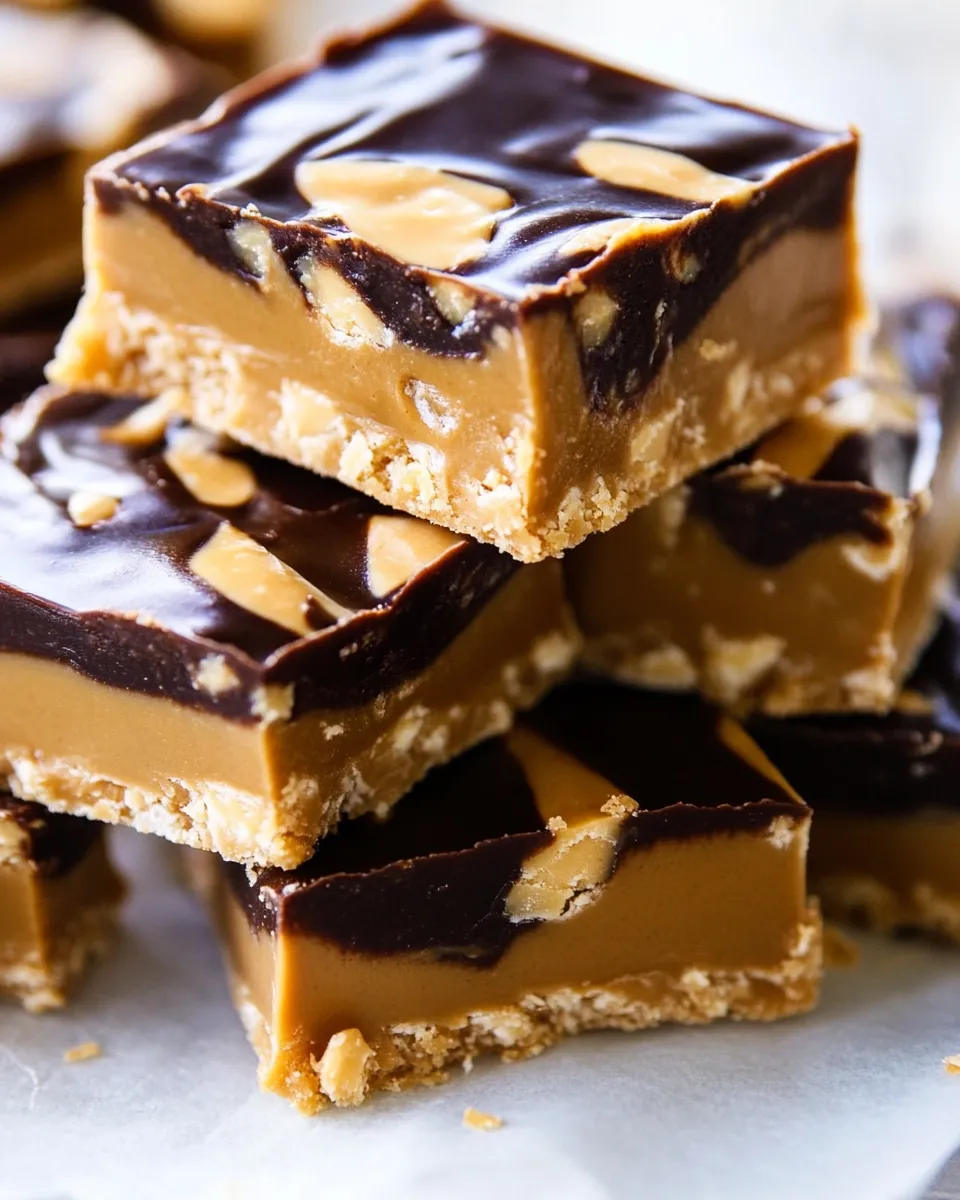
Step 6: Slice and Serve
Once set, lift the bars out of the dish using the parchment paper overhang. Cut into squares or rectangles, and enjoy your delicious Peanut Butter Fudge Bars!
In-Season Swaps
If you’re looking to switch things up, consider these in-season swaps:
- Nut butters: Swap peanut butter for almond or cashew butter for a different flavor profile.
- Sweeteners: Use maple syrup or agave nectar instead of sugar for natural sweetness.
- Fruits: Add dried fruits like cranberries or raisins for a chewy texture.
- Spices: A pinch of cinnamon or nutmeg can add a warm flavor to the bars.
Errors to Dodge
To ensure your Peanut Butter Fudge Bars turn out perfectly every time, avoid these common pitfalls:
- Not properly measuring ingredients can lead to a texture that’s either too dry or too gooey.
- Overheating the peanut butter chips can cause them to seize, so melt in short intervals.
- Skipping the refrigeration step may result in soft bars that are difficult to cut.
- Using a baking dish that’s too large can cause the bars to be too thin.
Best Ways to Store
To keep your Peanut Butter Fudge Bars fresh and delicious, follow these storage tips:
- Store in an airtight container in the refrigerator for up to a week.
- For longer storage, freeze the bars between layers of parchment paper in a freezer-safe container for up to three months.
- Let frozen bars thaw in the refrigerator before enjoying them for the best texture.
Quick Q&A
Can I use natural peanut butter in this recipe?
Yes, you can use natural peanut butter; however, the texture may be slightly different. Natural peanut butter can be more runny, so you may need to adjust the amount slightly to achieve the desired consistency.
Can I make these bars vegan?
Absolutely! Just ensure you use vegan peanut butter chips and check that any additional ingredients, like chocolate chips, are also vegan-friendly.
What can I substitute for peanut butter if I have a nut allergy?
If you have a nut allergy, you can substitute the peanut butter with sun butter or soy nut butter. Both provide a similar creamy texture and delicious flavor.
How do I know when the bars are set?
The bars are set when they are firm to the touch and no longer sticky. They should hold their shape when you lift them out of the baking dish.
More Recipes You’ll Love
If you enjoyed this recipe, you might also love:
Final Thoughts
These Peanut Butter Fudge Bars are not just a treat; they are an experience. The combination of creamy peanut butter with the sweetness of chocolate is simply irresistible. You can enjoy them as a quick snack, a delicious dessert, or even as an energy boost during the day. With just a few simple ingredients and minimal effort, you can create a delightful batch of these bars that will have everyone asking for the recipe. Perfect for sharing or keeping all to yourself, these bars are sure to become a staple in your dessert repertoire!
Peanut Butter Fudge Bars
Ingredients
Equipment
Method
- Start by lining your 9x9 inch baking dish with parchment paper. This will make it easy to lift your Peanut Butter Fudge Bars out once they are set. Leave some overhang on the sides for easy removal.
- In a microwave-safe bowl, combine the peanut butter chips and peanut butter. Microwave in 30-second intervals, stirring in between, until the mixture is completely melted and smooth. This should take about 1-2 minutes.
- Once melted, pour the mixture into your prepared baking dish. Use a spatula to spread it evenly across the bottom, ensuring that it reaches all corners of the dish.
- If you’d like to add any optional toppings, now is the time! Drizzle melted white and dark chocolate chips over the top, and sprinkle with chopped peanuts, shredded coconut, or mini chocolate chips as desired.
- Place the baking dish in the refrigerator and allow the bars to set for at least 2 hours. This will help them firm up nicely, making them easier to cut.
- Once set, lift the bars out of the dish using the parchment paper overhang. Cut into squares or rectangles, and enjoy your delicious Peanut Butter Fudge Bars!
Notes
- Store in an airtight container in the refrigerator for up to a week.
- For longer storage, freeze the bars between layers of parchment paper in a freezer-safe container for up to three months.
- Let frozen bars thaw in the refrigerator before enjoying them for the best texture.