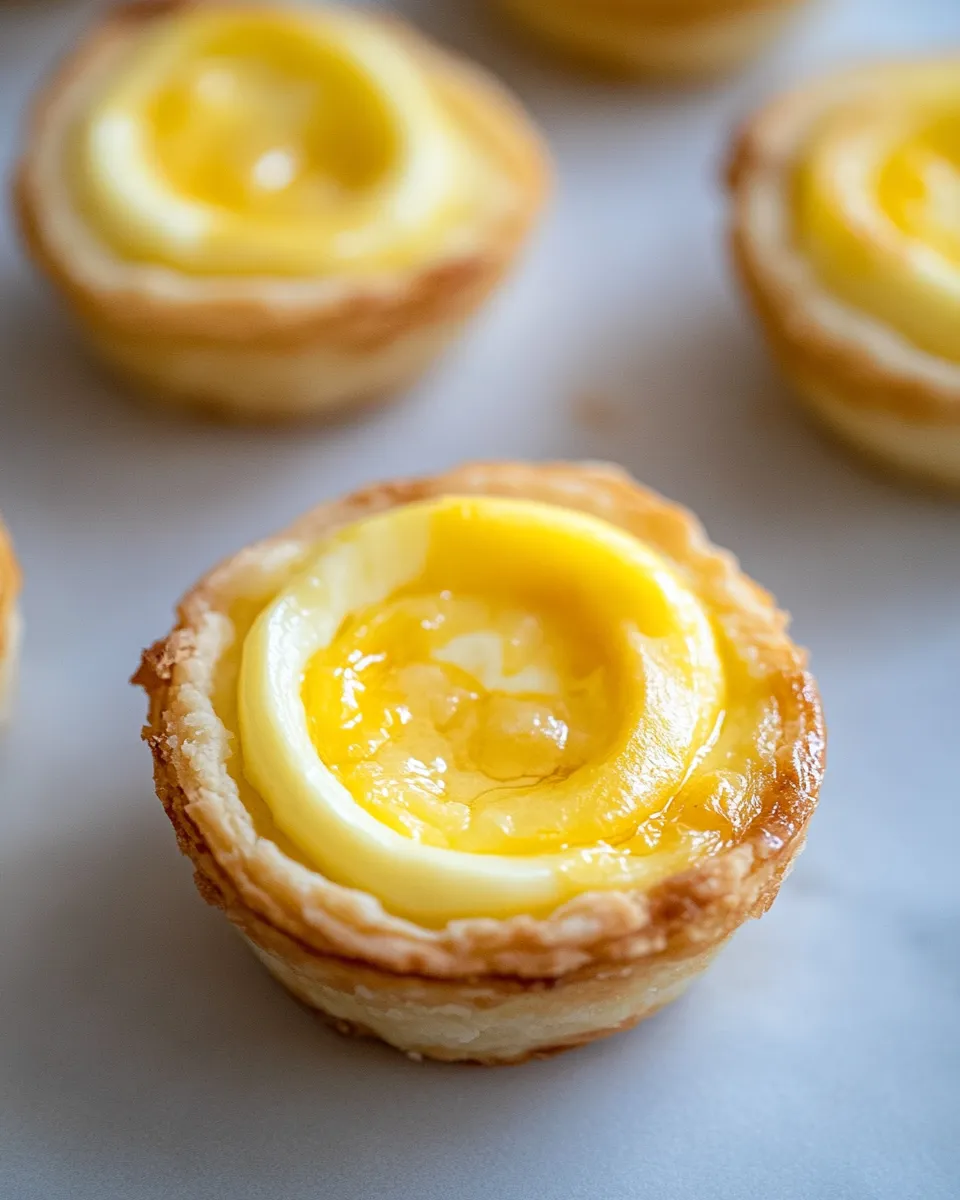
Japanese Cheese Tarts
Japanese Cheese Tarts are a delightful dessert that has captured the hearts of many food lovers worldwide. With their creamy filling and flaky crust, these tarts are the perfect balance of sweetness and richness. This recipe allows you to recreate this beloved treat right in your kitchen, ensuring that every bite is as delicious as it is satisfying. Let’s dive into the world of Japanese Cheese Tarts and discover how to make them from scratch!
Why This Recipe Works
The secret to perfect Japanese Cheese Tarts lies in the combination of quality ingredients and precise techniques. The use of cream cheese creates a rich and creamy filling that melts in your mouth, while the addition of heavy whipping cream adds a lightness that balances out the tartness. The crust, made from all-purpose flour and butter, provides a buttery, flaky base that contrasts beautifully with the smooth filling. Each component works together harmoniously, resulting in a dessert that is both indulgent and comforting.
What You’ll Gather
- 8 1/2 tablespoons unsalted butter: This will create a rich, buttery flavor in the crust.
- 1 1/2 cups all-purpose flour: The backbone of the tart crust, providing structure.
- 1/2 cup powdered icing sugar: Adds sweetness and helps achieve a tender crust.
- 1 egg yolk: Adds richness and helps bind the crust ingredients.
- 1 cup cream cheese: The star of the filling, providing creaminess and tang.
- 3 tablespoons powdered icing sugar (for filling): Sweetens the filling without overpowering it.
- 2/3 cup heavy whipping cream: Adds lightness and richness to the filling.
- 1 teaspoon cornstarch: Helps stabilize the filling for the perfect texture.
- 1/2 tablespoon milk or water: A little moisture to help achieve the right consistency.
- 1 egg yolk (for filling): Adds richness and helps set the filling during baking.
Gear Checklist
- Mixing bowls: For combining the crust and filling ingredients.
- Whisk: Essential for mixing the filling ingredients smoothly.
- Tart pan: Choose a removable bottom tart pan for easy serving.
- Rolling pin: For rolling out the crust evenly.
- Oven: Preheated to ensure even baking.
Mastering Japanese Cheese Tarts: How-To
Step 1: Prepare the Crust
In a mixing bowl, cream together the unsalted butter and powdered icing sugar until light and fluffy. Add the egg yolk and mix until well combined. Gradually incorporate the all-purpose flour until the mixture forms a dough. If the dough is too crumbly, add a few drops of milk or water until it holds together.
Step 2: Roll Out the Dough
On a lightly floured surface, roll out the dough to about 1/8 inch thick. Carefully transfer the dough to your tart pan, pressing it into the bottom and up the sides. Trim any excess dough. Prick the bottom with a fork to prevent bubbling.
Step 3: Pre-bake the Crust
Preheat your oven to 350°F (175°C). Place the tart shell in the oven and bake for about 10-12 minutes, or until lightly golden. Remove from the oven and let it cool while you prepare the filling.
Step 4: Make the Filling
In a mixing bowl, beat the cream cheese until smooth. Gradually add the powdered icing sugar for the filling, mixing until well combined. Next, add the heavy whipping cream, cornstarch, and egg yolk. Whisk until the mixture is smooth and creamy.
Step 5: Fill the Tart Shell
Pour the cheese filling into the pre-baked tart shell, smoothing the top with a spatula.
Step 6: Bake the Tarts
Return the filled tart to the oven and bake for 25-30 minutes, or until the filling is set and lightly browned on top. The center should still have a slight jiggle, as it will firm up as it cools.
Step 7: Cool and Serve
Allow the Japanese Cheese Tarts to cool at room temperature for a bit before transferring them to the refrigerator to chill completely. Serve chilled, and enjoy the delightful creaminess with a cup of tea or coffee!
What to Use Instead

- Gluten-free flour: Substitute all-purpose flour with a gluten-free blend for a gluten-free crust.
- Low-fat cream cheese: Use low-fat cream cheese if you’re looking to reduce calories.
- Plant-based butter: For a dairy-free option, replace unsalted butter with a dairy-free alternative.
What I Learned Testing
- Chilling the crust before baking helps to prevent shrinkage.
- Using room temperature ingredients for the filling results in a smoother mixture.
- Don’t overbake the tarts; they should have a slight jiggle in the center when they come out of the oven.
- These tarts can be topped with fresh fruit or a drizzle of caramel for an extra layer of flavor.
Storage & Reheat Guide
Store any leftover Japanese Cheese Tarts in an airtight container in the refrigerator for up to three days. For best results, serve chilled. Reheating is not recommended as it can alter the texture of the filling.
FAQ
Can I freeze Japanese Cheese Tarts?
Yes, you can freeze them! Wrap the cooled tarts tightly in plastic wrap and place them in a freezer-safe container. They can be frozen for up to a month. Thaw in the refrigerator before serving.
What can I serve with Japanese Cheese Tarts?
These tarts pair beautifully with fresh fruit, whipped cream, or a drizzle of chocolate sauce. You can also enjoy them alongside a cup of tea or coffee.
Can I make these tarts ahead of time?
Absolutely! Japanese Cheese Tarts can be made a day ahead. Just store them in the refrigerator until you’re ready to serve.
Are Japanese Cheese Tarts suitable for special occasions?
Yes! These tarts are perfect for celebrations, gatherings, or any special occasion. Their unique flavor and elegant presentation make them a standout dessert.
Healthy-ish Favorites
Ready to Cook?
Now that you have the recipe for Japanese Cheese Tarts, it’s time to roll up your sleeves and get baking! The delightful combination of creamy filling and buttery crust awaits you, and each bite will transport you to a world of flavor. Whether it’s for a special occasion or just a sweet treat for yourself, these tarts are sure to impress! Happy baking!
Japanese Cheese Tarts
Ingredients
Equipment
Method
- Step 1: Prepare the Crust - In a mixing bowl, cream together the unsalted butter and powdered icing sugar until light and fluffy. Add the egg yolk and mix until well combined. Gradually incorporate the all-purpose flour until the mixture forms a dough. If the dough is too crumbly, add a few drops of milk or water until it holds together.
- Step 2: Roll Out the Dough - On a lightly floured surface, roll out the dough to about 1/8 inch thick. Carefully transfer the dough to your tart pan, pressing it into the bottom and up the sides. Trim any excess dough. Prick the bottom with a fork to prevent bubbling.
- Step 3: Pre-bake the Crust - Preheat your oven to 350°F (175°C). Place the tart shell in the oven and bake for about 10-12 minutes, or until lightly golden. Remove from the oven and let it cool while you prepare the filling.
- Step 4: Make the Filling - In a mixing bowl, beat the cream cheese until smooth. Gradually add the powdered icing sugar for the filling, mixing until well combined. Next, add the heavy whipping cream, cornstarch, and egg yolk. Whisk until the mixture is smooth and creamy.
- Step 5: Fill the Tart Shell - Pour the cheese filling into the pre-baked tart shell, smoothing the top with a spatula.
- Step 6: Bake the Tarts - Return the filled tart to the oven and bake for 25-30 minutes, or until the filling is set and lightly browned on top. The center should still have a slight jiggle, as it will firm up as it cools.
- Step 7: Cool and Serve - Allow the Japanese Cheese Tarts to cool at room temperature for a bit before transferring them to the refrigerator to chill completely. Serve chilled, and enjoy the delightful creaminess with a cup of tea or coffee!
Notes
- Chill the crust before baking to prevent shrinkage.
- Use room temperature ingredients for a smoother filling.
- Don’t overbake; the filling should jiggle slightly when done.
- Top with fresh fruit or caramel for added flavor.