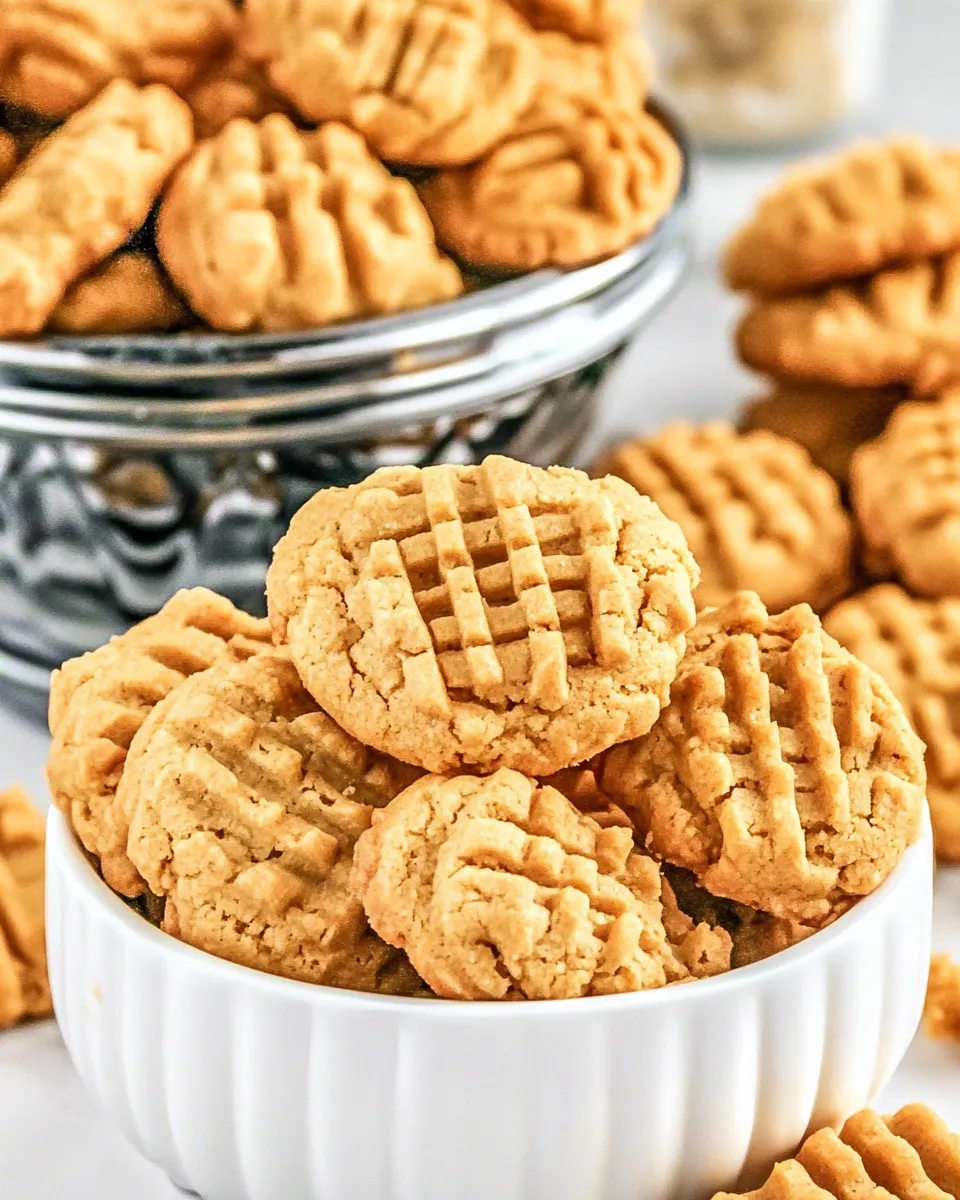
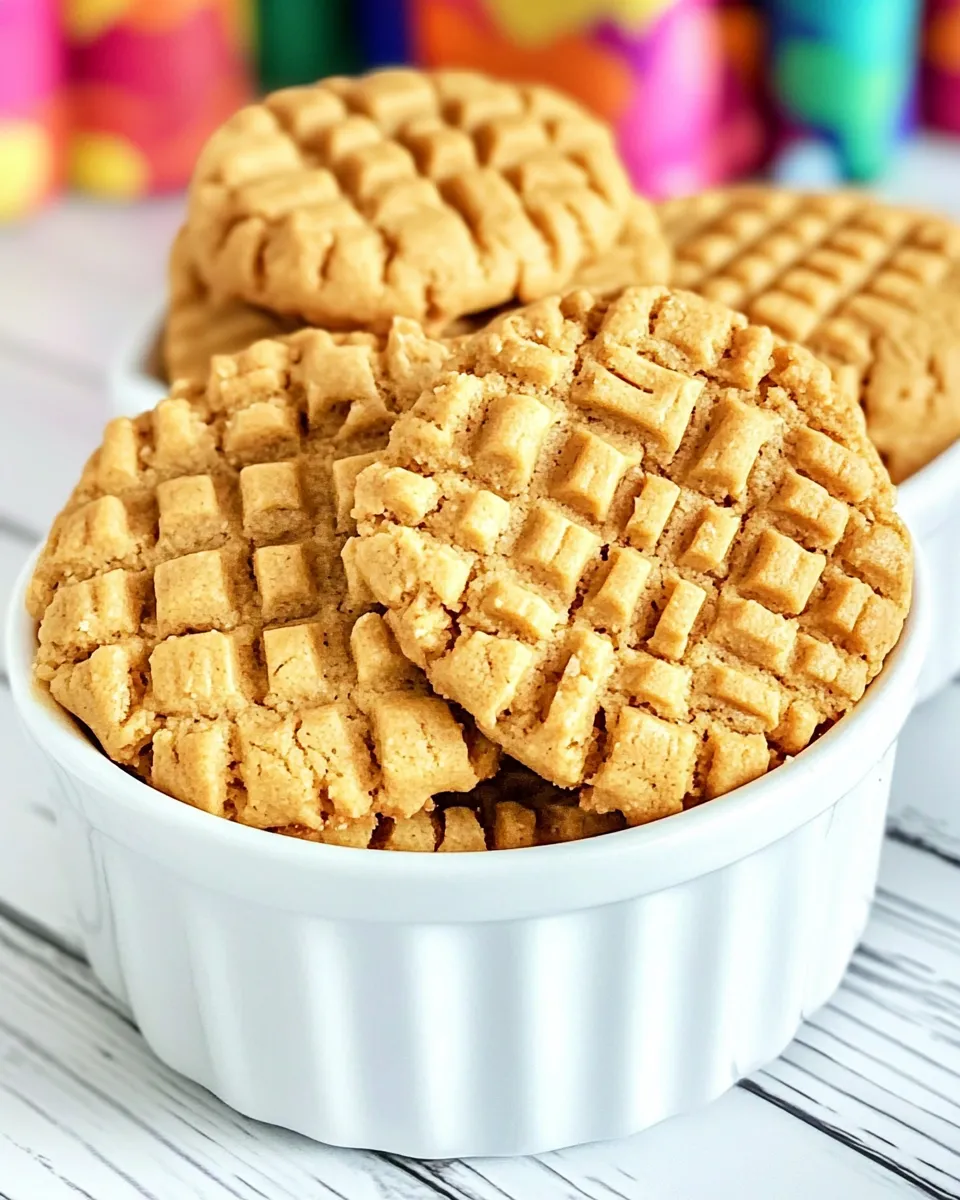
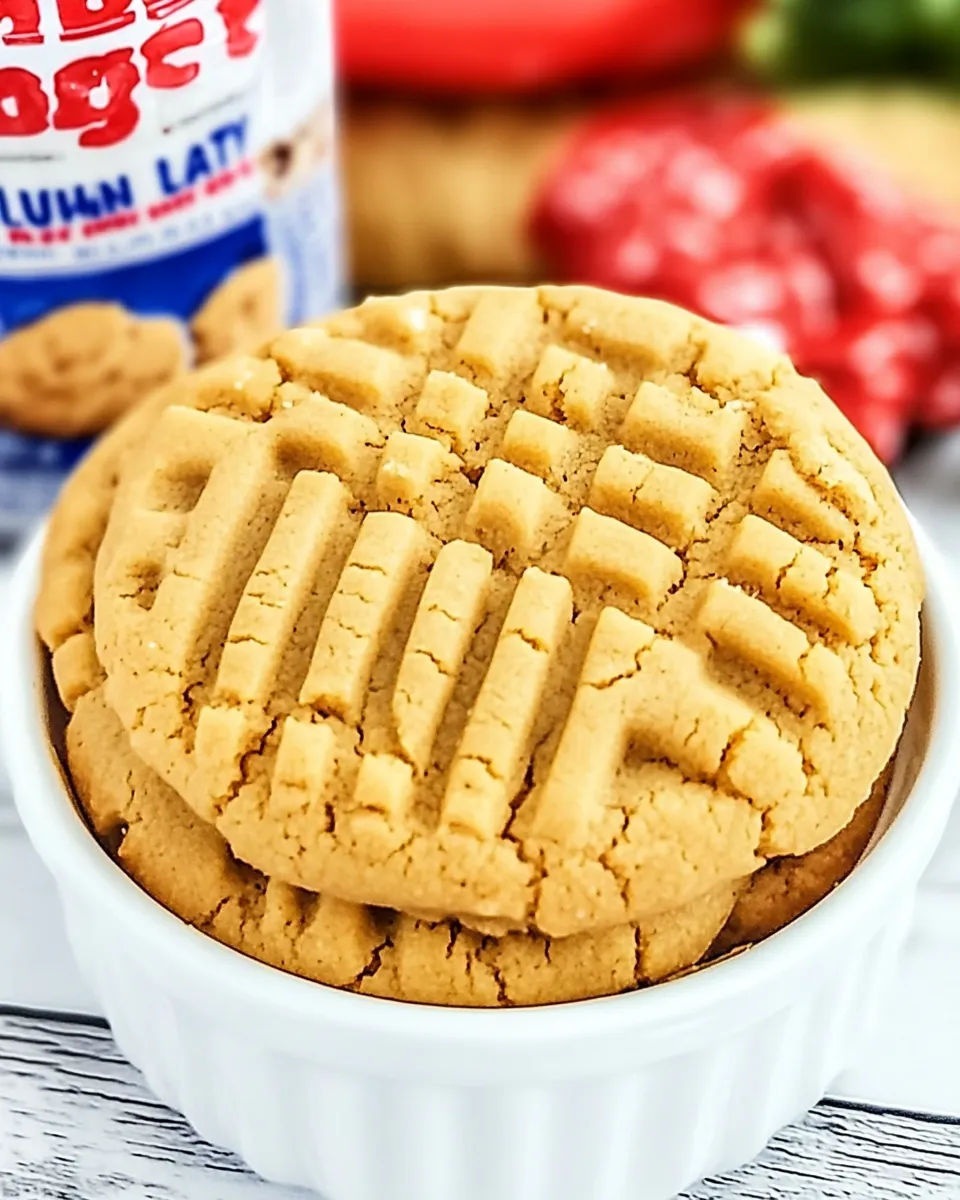
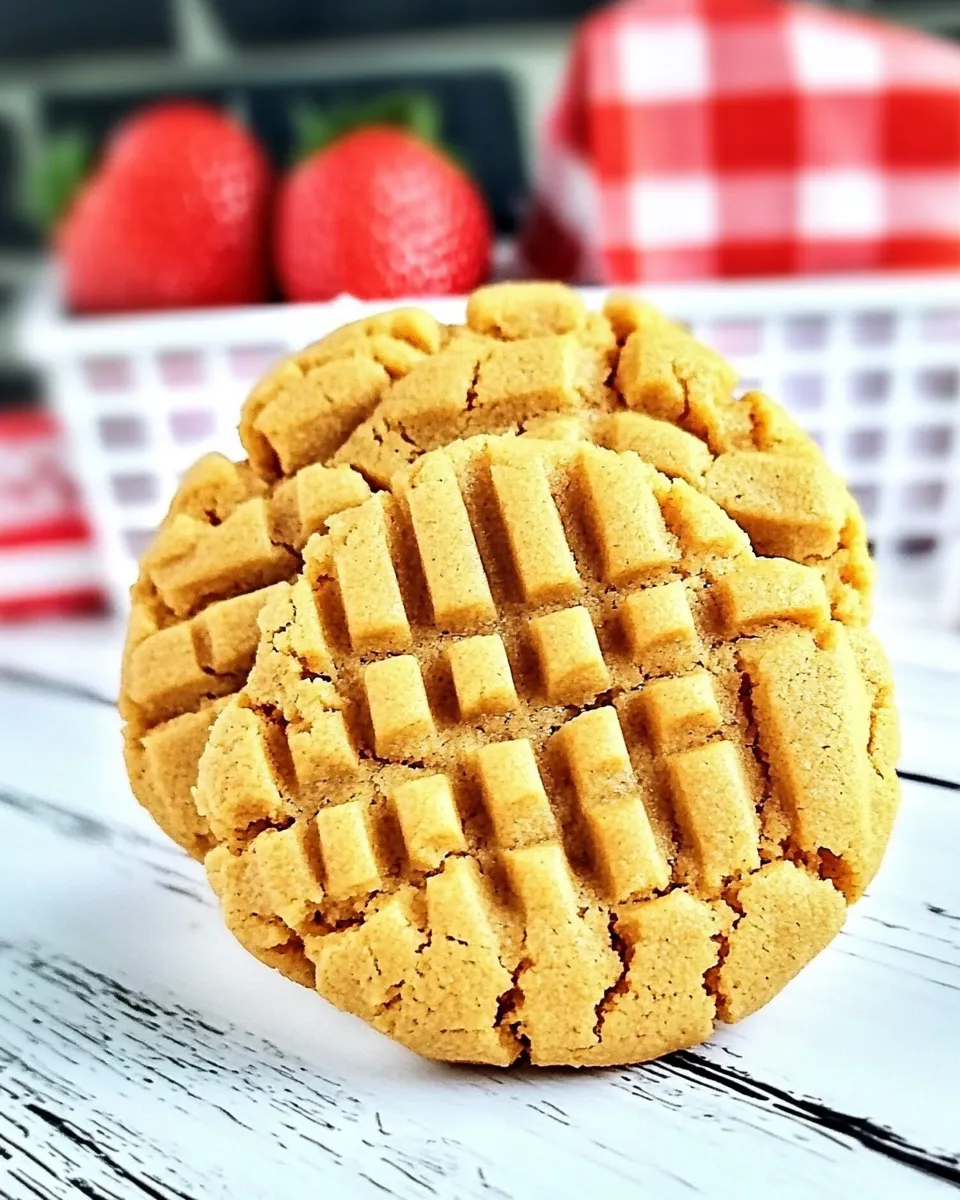
Lunch Lady Peanut Butter Cookies
When you think of nostalgic school lunches, the memory of those classic peanut butter cookies might come to mind. These Lunch Lady Peanut Butter Cookies are a delightful throwback to simpler times, packed with flavor and a chewy texture that makes them irresistible. Perfect for sharing with friends and family, these cookies are sure to bring smiles to faces young and old. Get ready to fill your kitchen with the warm, inviting aroma of these scrumptious treats!
Why It’s Crowd-Pleasing
There’s something about peanut butter cookies that captures the hearts of many. Their soft, chewy texture combined with the rich, nutty flavor makes them a favorite among cookie lovers. Whether you’re serving them at a bake sale, packing them in school lunches, or enjoying them on a cozy afternoon, these Lunch Lady Peanut Butter Cookies are a surefire hit. The balance of sweetness from the sugars, paired with the depth of flavor from the peanut butter, creates a cookie that’s both comforting and satisfying. Plus, these cookies are easy to make, which means you can whip them up in no time for any occasion!
Ingredients at a Glance
To create these mouthwatering Lunch Lady Peanut Butter Cookies, you’ll need the following ingredients:
- 1 cup butter, softened
- 1 cup peanut butter
- 1 cup sugar
- 1 cup brown sugar, packed
- 3 large eggs
- 1 Tbsp vanilla extract
- 1 cup instant nonfat dry milk
- 3 cups all-purpose flour
- 1 tsp baking soda
- 1/2 tsp salt
Gear Checklist
Before you get started, make sure you have the following gear on hand:
- Mixing bowls: For combining your ingredients.
- Measuring cups and spoons: Precision is key in baking!
- Electric mixer: To make blending easier.
- Baking sheets: For placing your cookie dough.
- Parchment paper: To prevent sticking and for easy cleanup.
- Cooling rack: To let your cookies cool properly.
Lunch Lady Peanut Butter Cookies Made Stepwise
Step 1: Preheat the Oven
Start by preheating your oven to 350°F (175°C). This ensures that your cookies bake evenly and come out perfectly golden.
Step 2: Cream the Butters and Sugars
In a large mixing bowl, combine the softened butter and peanut butter. Use your electric mixer to cream them together until the mixture is smooth and well-combined. Gradually add in the sugar and brown sugar, mixing until fluffy.
Step 3: Add Eggs and Vanilla
Crack in the eggs one at a time, mixing well after each addition. Then, pour in the vanilla extract and continue mixing until everything is well incorporated.
Step 4: Mix in the Dry Ingredients
In a separate bowl, whisk together the dry ingredients: instant nonfat dry milk, all-purpose flour, baking soda, and salt. Gradually add this dry mixture to the wet ingredients, mixing on low speed until just combined. Be careful not to overmix.
Step 5: Scoop the Dough
Using a cookie scoop or tablespoon, drop rounded balls of dough onto your prepared baking sheets, spacing them about 2 inches apart. This allows room for spreading while baking.
Step 6: Bake the Cookies
Place the baking sheets in the preheated oven and bake for 10-12 minutes, or until the edges are lightly golden. The centers might look slightly underbaked, but they will continue to firm up as they cool.
Step 7: Cool and Enjoy
Once baked, remove the cookies from the oven and let them cool on the baking sheets for about 5 minutes. Then, transfer them to a cooling rack to cool completely. Enjoy these delicious Lunch Lady Peanut Butter Cookies with a glass of milk or your favorite beverage!
Allergy-Friendly Substitutes
If you or someone you know has allergies, here are some substitutions you can make:
- Nut-free: Use sun butter or soy nut butter instead of peanut butter.
- Dairy-free: Substitute the butter with a dairy-free butter alternative.
- Egg-free: Replace each egg with 1/4 cup unsweetened applesauce or a flax egg (1 tablespoon ground flaxseed mixed with 2.5 tablespoons water).
Avoid These Traps
When making Lunch Lady Peanut Butter Cookies, keep these common pitfalls in mind:
- Don’t skip the dry milk: It adds a unique flavor and texture that you don’t want to miss.
- Measure your flour correctly: Too much flour can lead to dry cookies. Always spoon and level your flour.
- Watch the baking time: Overbaking can result in hard cookies, so keep a close eye on them as they near the end of the baking time.
Make Ahead Like a Pro
Want to prepare these cookies in advance? Here are some tips:
- You can make the dough and refrigerate it for up to 3 days before baking.
- For longer storage, scoop the dough into balls and freeze them. Bake straight from the freezer, adding an extra minute or two to the baking time.
Frequently Asked Questions
Can I use natural peanut butter for this recipe?
Yes, you can use natural peanut butter, but be aware that it may alter the texture slightly. Natural peanut butter tends to be runnier, so adjust the flour if necessary.
How do I store the leftover cookies?
Store leftover cookies in an airtight container at room temperature for up to a week, or freeze them for up to three months.
Can I add chocolate chips to the cookies?
Absolutely! You can fold in a cup of chocolate chips to the dough for an extra sweet treat.
What’s the best way to serve these cookies?
These cookies are delightful on their own, but they pair wonderfully with a glass of cold milk or a warm cup of coffee. They also make a great addition to any dessert platter!
More from the Kitchen
Looking for more delicious recipes? Check out these favorites:
Before You Go
Baking these Lunch Lady Peanut Butter Cookies is a fantastic way to bring back fond memories and create new ones. With just a few simple ingredients and steps, you’ll have a batch of cookies that everyone will love. Whether enjoyed fresh out of the oven or shared at a gathering, these cookies are sure to be a hit. So gather your ingredients, preheat that oven, and get ready to enjoy the deliciousness that is Lunch Lady Peanut Butter Cookies!
Lunch Lady Peanut Butter Cookies
Ingredients
Equipment
Method
- Step 1: Preheat your oven to 350°F (175°C).
- Step 2: In a large mixing bowl, cream together the softened butter and peanut butter until smooth. Gradually add in the sugar and brown sugar, mixing until fluffy.
- Step 3: Crack in the eggs one at a time, mixing well after each addition. Pour in the vanilla extract and continue mixing until well incorporated.
- Step 4: In a separate bowl, whisk together the dry ingredients: instant nonfat dry milk, all-purpose flour, baking soda, and salt. Gradually add this to the wet mixture, mixing on low speed until just combined.
- Step 5: Using a cookie scoop or tablespoon, drop rounded balls of dough onto prepared baking sheets, spacing about 2 inches apart.
- Step 6: Bake in the preheated oven for 10-12 minutes, or until edges are lightly golden.
- Step 7: Let cookies cool on the baking sheets for 5 minutes before transferring to a cooling rack.
Notes
- For nut-free, substitute peanut butter with sun butter or soy nut butter.
- For dairy-free, use a dairy-free butter alternative.
- To make egg-free, replace each egg with 1/4 cup unsweetened applesauce.