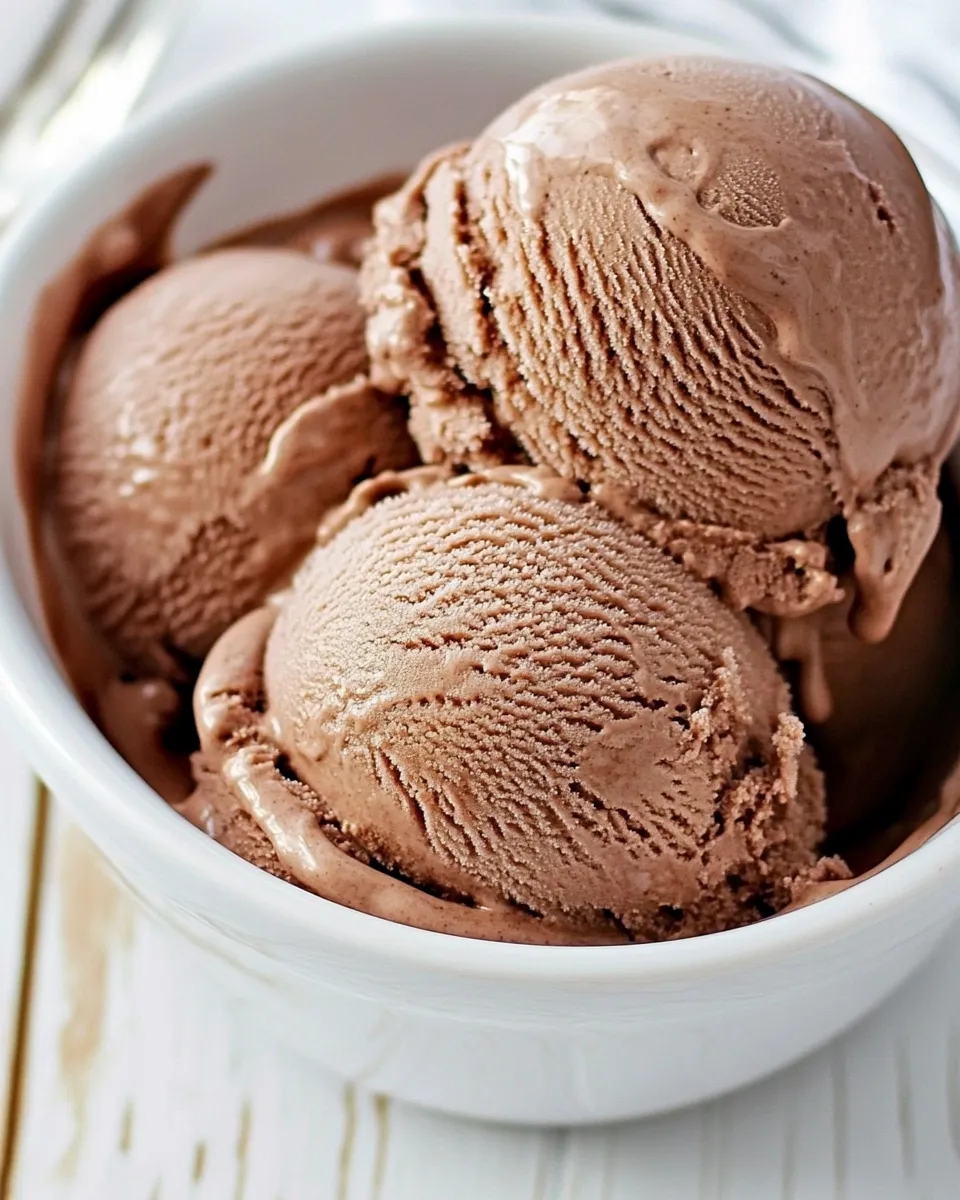
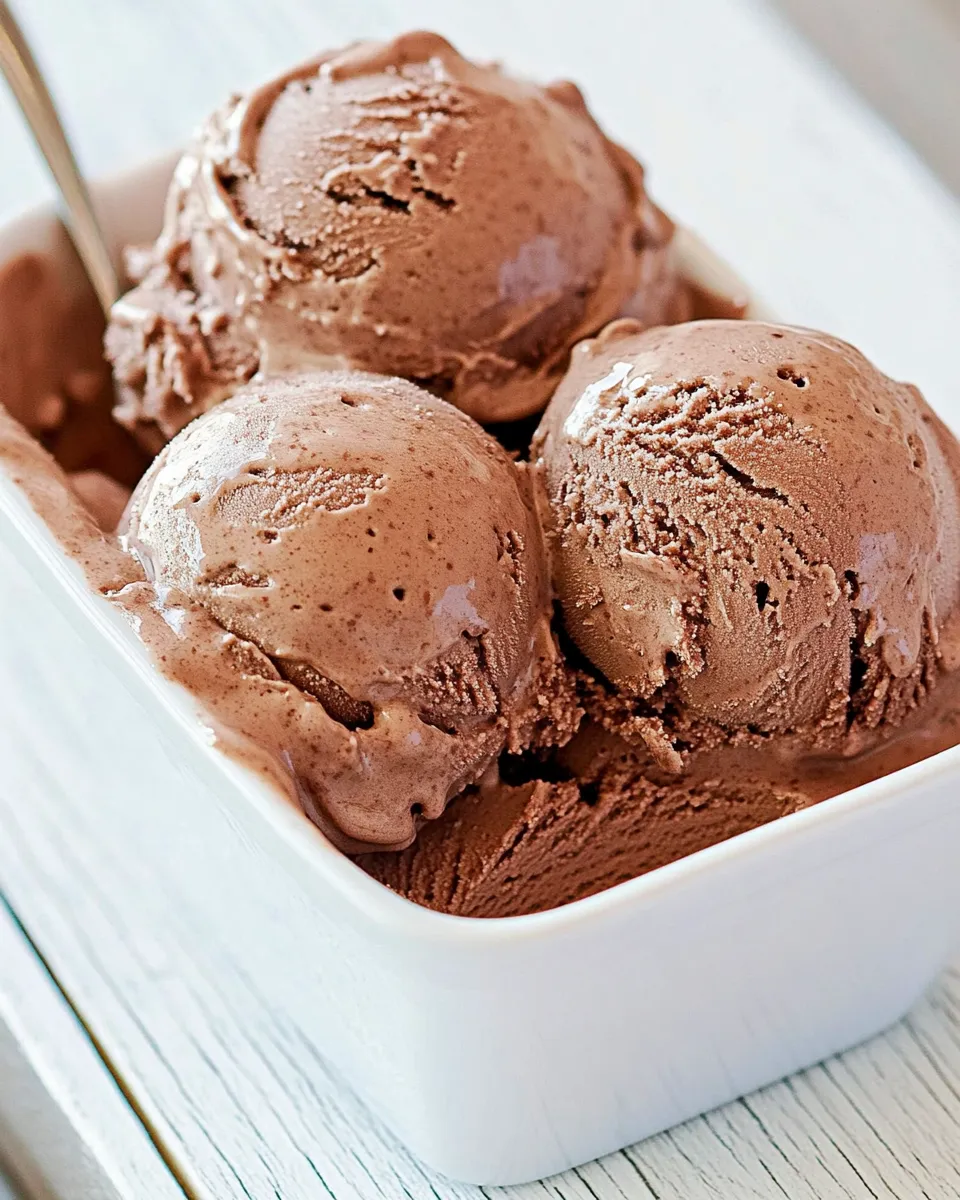
Ben and Jerrys Chocolate Ice Cream Recipe (Easy Copycat)
If you’ve ever indulged in a scoop of Ben and Jerry’s chocolate ice cream, you know it’s a creamy, decadent delight that simply melts in your mouth. But what if I told you that you can recreate this heavenly treat right in your own kitchen? This Ben and Jerrys Chocolate Ice Cream Recipe (Easy Copycat) is not only easy to make, but it also brings the same luxurious taste without the need for a trip to the store. So grab your apron, and let’s dive into this chocolatey adventure!
Why This Recipe Is Reliable
This recipe is inspired by the classic flavors of Ben and Jerry’s but uses simple ingredients you likely already have at home. The balance between the rich chocolate, creamy texture, and just the right amount of sweetness makes it a foolproof option for homemade ice cream. You’ll find that making ice cream from scratch can be incredibly rewarding and is a fantastic way to impress friends and family. With only a few steps and a little patience, you can enjoy a batch of creamy chocolate goodness that rivals the original.
Ingredient Rundown
To create this luscious chocolate ice cream, you’ll need the following ingredients:
- 4 ounces unsweetened chocolate: This is the star of the show, providing that deep, rich chocolate flavor.
- 1 cup milk: Whole milk works best for a creamier texture.
- 2 large eggs: These will help thicken the mixture and add richness.
- 1 cup sugar: Sweetness is key, and sugar balances the bitterness of the chocolate.
- 1 cup heavy cream: This gives the ice cream its smooth, velvety consistency.
- 1 teaspoon vanilla: A splash of vanilla enhances the overall flavor.
- 1 pinch salt: Just a tiny bit to elevate all the flavors.
Gear Checklist
Before we start, gather the following tools to make the process smooth:
- Double boiler or microwave-safe bowl: For melting the chocolate.
- Whisk: Essential for mixing the ingredients together.
- Ice cream maker: A must-have for churning your ice cream.
- Mixing bowls: For combining the ingredients.
- Spatula: To scrape every last bit from your mixing bowls.
- Storage container: To store your finished ice cream.
Directions: Ben and Jerrys Chocolate Ice Cream Recipe (Easy Copycat)
Step 1: Melt the Chocolate
Begin by chopping the 4 ounces of unsweetened chocolate into small pieces. Place these pieces in a double boiler over simmering water or a microwave-safe bowl. If using a microwave, heat in 30-second intervals, stirring in between until completely melted and smooth.
Step 2: Prepare the Egg Mixture
In a separate mixing bowl, whisk together the 2 large eggs and 1 cup of sugar until the mixture is pale and slightly thickened. This should take about 2-3 minutes of vigorous whisking.
Step 3: Combine the Ingredients
Slowly add the melted chocolate to the egg and sugar mixture, whisking continuously to combine. Then, pour in the 1 cup of milk while continuing to whisk until everything is well mixed.
Step 4: Cook the Mixture
Transfer the chocolate mixture to a saucepan over medium heat. Stir continuously until it thickens slightly, about 5-7 minutes. Do not let it come to a boil.
Step 5: Add Cream and Flavoring
Remove the saucepan from the heat and stir in 1 cup of heavy cream, 1 teaspoon of vanilla, and a pinch of salt. Mix until everything is well blended.
Step 6: Chill the Mixture
Allow the mixture to cool to room temperature, then cover it and refrigerate for at least 2 hours, or overnight for the best results.
Step 7: Churn the Ice Cream
Once chilled, pour the mixture into your ice cream maker and churn according to the manufacturer’s instructions, usually around 20-25 minutes.
Step 8: Freeze and Enjoy
After churning, transfer the ice cream to a storage container and freeze for at least 4 hours to firm up before serving.
Allergy-Friendly Substitutes
If you have dietary restrictions or allergies, consider these alternatives:
- Non-dairy chocolate: Replace unsweetened chocolate with a non-dairy alternative.
- Almond milk or oat milk: Use these instead of regular milk for a dairy-free option.
- Flaxseed eggs: Mix 2 tablespoons of ground flaxseed with 6 tablespoons of water to replace the eggs.
- Coconut cream: Use this in place of heavy cream for a dairy-free, rich alternative.
Method to the Madness
Creating your own ice cream might seem daunting, but it’s really about embracing the process. The key is to ensure each step is followed closely, especially when melting chocolate and cooking the egg mixture. This ensures a smooth texture and rich flavor. Remember to let the mixture chill properly, as this is crucial for achieving that creamy consistency we all love in ice cream.
Meal Prep & Storage Notes
To maintain the best flavor and texture, store your homemade ice cream in an airtight container. It can be kept in the freezer for up to two weeks, but for the best experience, enjoy it within the first week. If you notice ice crystals forming on the surface, simply stir the ice cream before serving to bring back its creamy texture.
Helpful Q&A
Can I use a different type of chocolate?
Absolutely! You can use milk chocolate or dark chocolate if you prefer a different flavor. Just be mindful that it will alter the sweetness and richness of the final product.
Is it necessary to use an ice cream maker?
While an ice cream maker is highly recommended for the best texture, you can make ice cream without one. Pour the mixture into a container and freeze it. Every 30 minutes, stir the ice cream with a fork until it reaches the desired consistency.
How can I make this ice cream even more chocolatey?
If you’re a true chocolate lover, consider folding in some chocolate chips or chunks after churning. This will create delightful pockets of chocolate throughout your ice cream.
Can I add mix-ins like nuts or cookies?
Yes! Feel free to fold in your favorite mix-ins, such as crushed cookies, nuts, or even swirls of fudge or caramel. Just add these after the ice cream has churned for the best distribution.
Serve with These
To elevate your ice cream experience, consider serving your homemade treat with:
- Chocolate Banana Bread – A perfect pairing with chocolate ice cream!
- Dulce De Leche Brown Butter Chocolate Chip Cookie Bars – These bars will make a delightful side to your creamy dessert.
- Fresh berries – A burst of freshness to contrast the richness of the ice cream.
- Chocolate sauce – Drizzle on top for an extra chocolatey finish.
Ready, Set, Cook
Now that you have the full scoop on making this Ben and Jerrys Chocolate Ice Cream Recipe (Easy Copycat), it’s time to get cooking! Gather your ingredients, follow the steps, and prepare to impress yourself and your loved ones with this luscious homemade treat. Enjoy every spoonful of your rich, creamy chocolate ice cream, and don’t forget to share the joy!
Ben and Jerrys Chocolate Ice Cream Recipe (Easy Copycat)
Ingredients
Equipment
Method
- Step 1: Melt the Chocolate - Chop the 4 ounces of unsweetened chocolate into small pieces. Place in a double boiler over simmering water or a microwave-safe bowl. Heat in 30-second intervals, stirring until melted.
- Step 2: Prepare the Egg Mixture - In a mixing bowl, whisk together the 2 large eggs and 1 cup of sugar until pale and thickened, about 2-3 minutes.
- Step 3: Combine the Ingredients - Slowly add melted chocolate to the egg mixture, whisking continuously. Then, pour in 1 cup of milk and mix well.
- Step 4: Cook the Mixture - Transfer the mixture to a saucepan over medium heat. Stir until thickened, about 5-7 minutes. Do not boil.
- Step 5: Add Cream and Flavoring - Remove from heat and stir in 1 cup of heavy cream, 1 teaspoon of vanilla, and a pinch of salt.
- Step 6: Chill the Mixture - Allow to cool, then refrigerate for at least 2 hours or overnight.
- Step 7: Churn the Ice Cream - Pour the mixture into an ice cream maker and churn according to instructions, usually around 20-25 minutes.
- Step 8: Freeze and Enjoy - Transfer to a storage container and freeze for at least 4 hours before serving.
Notes
- Store in an airtight container for up to two weeks.
- For a dairy-free version, use non-dairy chocolate and coconut cream.
- Mix in chocolate chips or nuts for added texture.