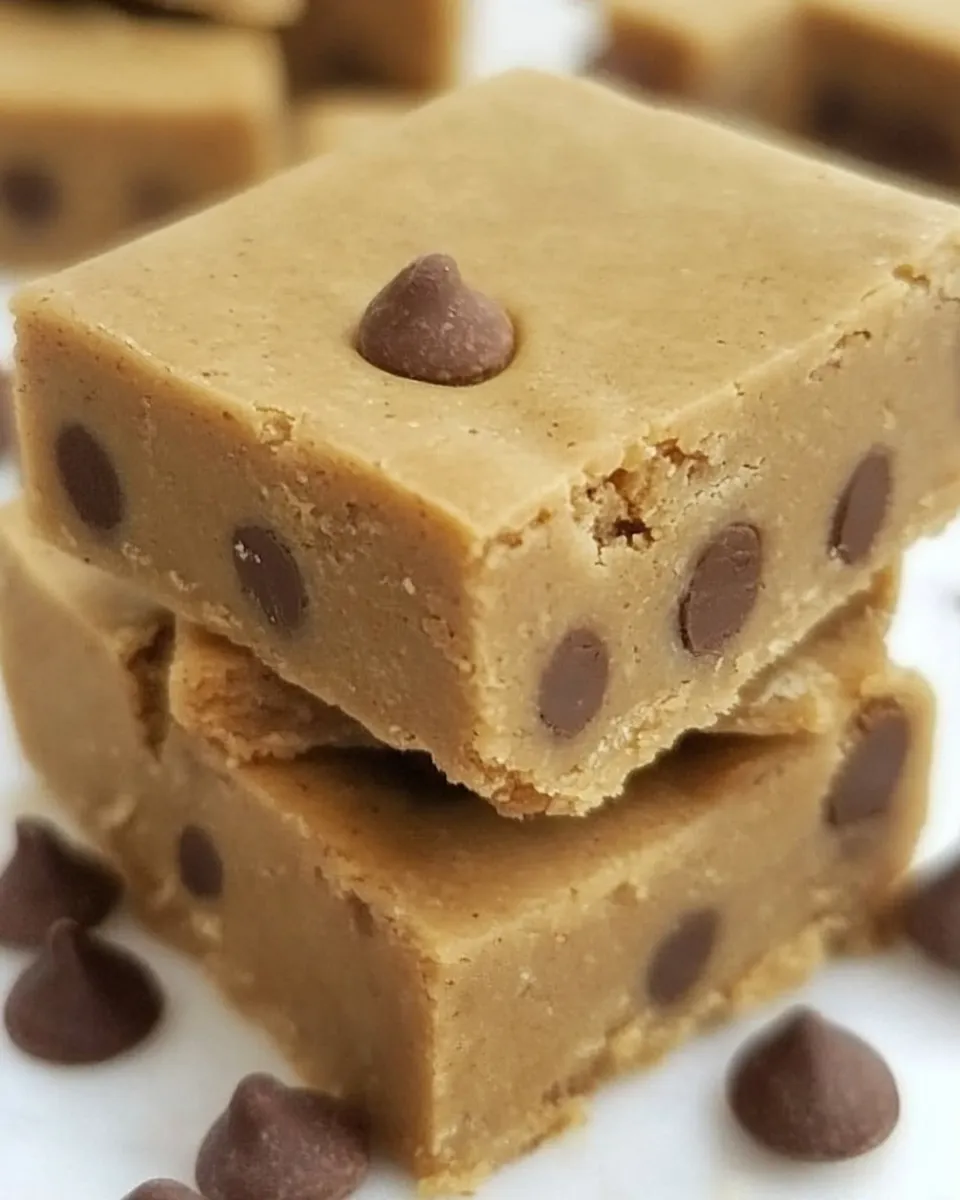
Paleo Bars
Paleo Bars are the perfect snack for anyone looking for a nutritious and satisfying treat without compromising on flavor. Packed with wholesome ingredients, these bars are not only delicious but also easy to make. Whether you’re on the go, at the gym, or just craving a sweet bite, Paleo Bars are your new best friend. With a base of coconut flour and protein powder, these bars are rich in fiber and protein, making them an ideal choice for a post-workout snack or a quick breakfast option. Let’s dive into the details and discover why these bars have become a favorite among health-conscious eaters.
Why Cooks Rave About It
There’s a buzz around Paleo Bars, and for good reason! Home cooks love these bars because they are:
- Versatile: Customize them with your favorite mix-ins such as nuts, seeds, or dried fruits.
- Easy to Make: With just a few simple steps, you can whip up a batch in no time.
- Nutritious: Packed with protein and healthy fats, they keep you full longer.
- Kid-Friendly: Great for lunchboxes or after-school snacks, kids love the sweet, chocolatey flavor.
- Great for Meal Prep: Make a big batch and store them for a quick grab-and-go option during the week.
What We’re Using
To create these mouthwatering Paleo Bars, you’ll need the following ingredients:
- 1 cup coconut flour, sifted: This is the star ingredient that gives the bars their texture and flavor.
- 2 cups protein powder (flavored): Choose a flavor that you love; it adds sweetness and richness.
- 1/2 cup milk of choice: Almond milk, coconut milk, or any other dairy-free option works great.
- 1/2 cup almond butter (optional): Adds creaminess and healthy fats. You can also substitute with another nut butter if you prefer.
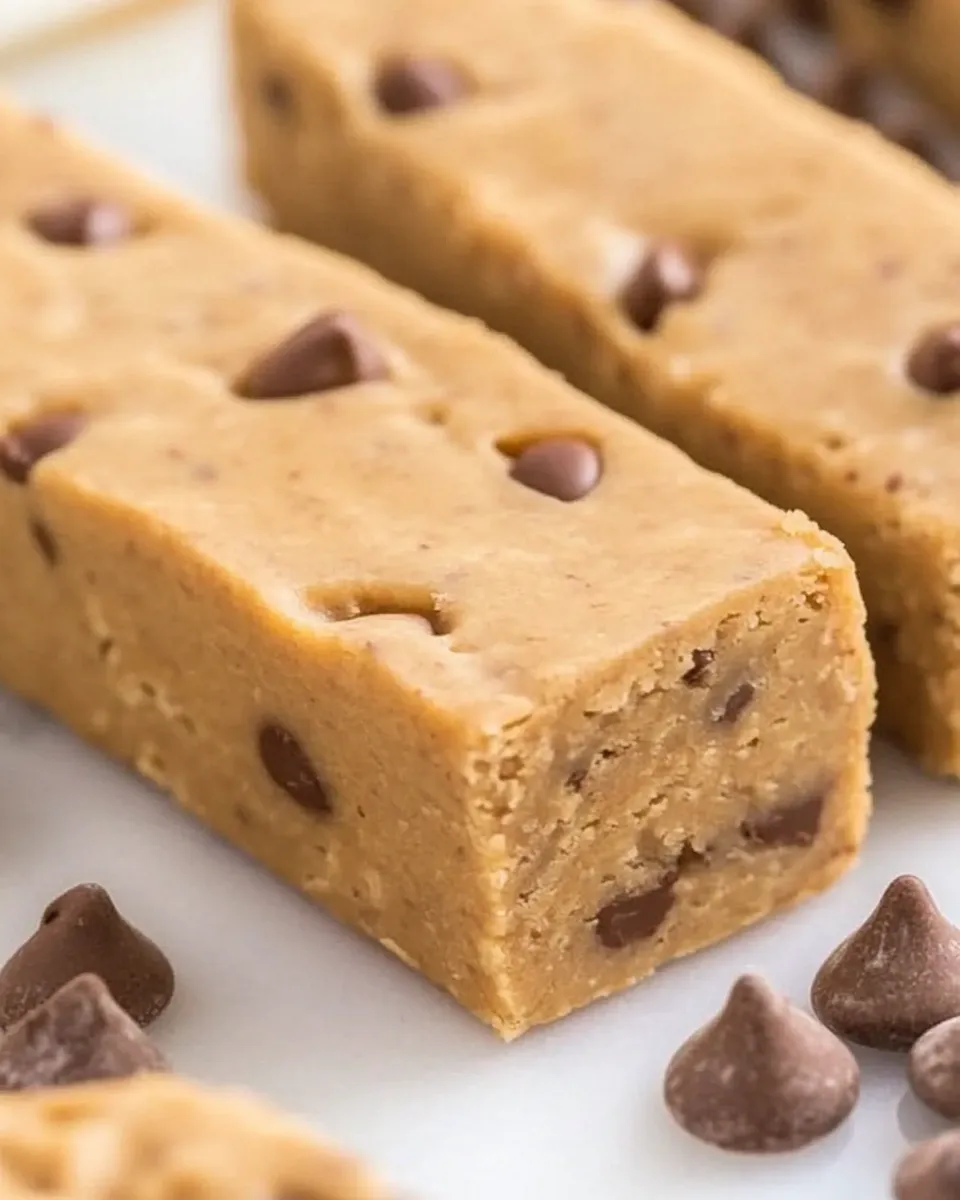
- 1 cup dairy-free chocolate chips (optional): For that extra indulgent touch, these chips are a delicious addition.
Essential Tools for Success
Having the right tools can make all the difference when baking. Here’s what you’ll need:
- Mixing Bowl: A large bowl to combine all your ingredients.
- Measuring Cups: Accurate measurements are key to a successful recipe.
- Spatula: For mixing and transferring the batter.
- Baking Pan: A square or rectangular pan works best for these bars.
- Oven: Preheat your oven to the right temperature for even baking.
Cooking Paleo Bars: The Process
Creating these delightful Paleo Bars is a straightforward process. Follow these steps to ensure your bars come out perfectly every time.
Step 1: Preheat the Oven
Preheat your oven to 350°F (175°C). This ensures that your bars bake evenly and thoroughly.
Step 2: Mix Dry Ingredients
In a large mixing bowl, combine the sifted coconut flour and protein powder. Stir well to combine and ensure there are no lumps.
Step 3: Add Wet Ingredients
Add the milk of choice and almond butter (if using) to the dry mixture. Mix until everything is well combined. The batter should be thick but manageable.
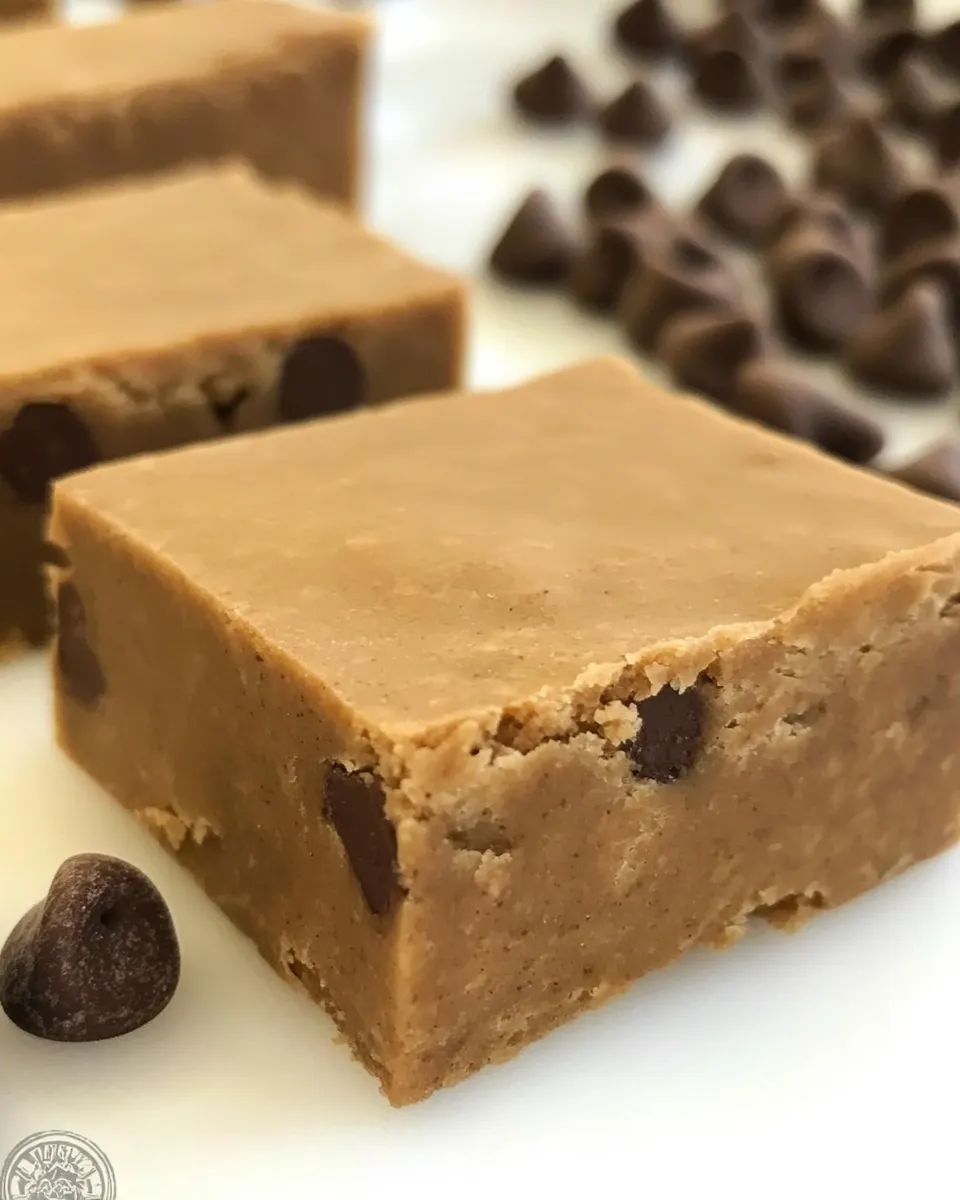
Step 4: Fold in Chocolate Chips
If you’re using dairy-free chocolate chips, now is the time to fold them into the mixture. This will give your bars a delicious, melty chocolate flavor.
Step 5: Transfer to Baking Pan
Pour the batter into a greased baking pan, spreading it evenly to ensure uniform baking. Use your spatula to smooth out the top.
Step 6: Bake
Place the baking pan in the preheated oven and bake for 20-25 minutes, or until the edges are golden and a toothpick inserted in the center comes out clean.
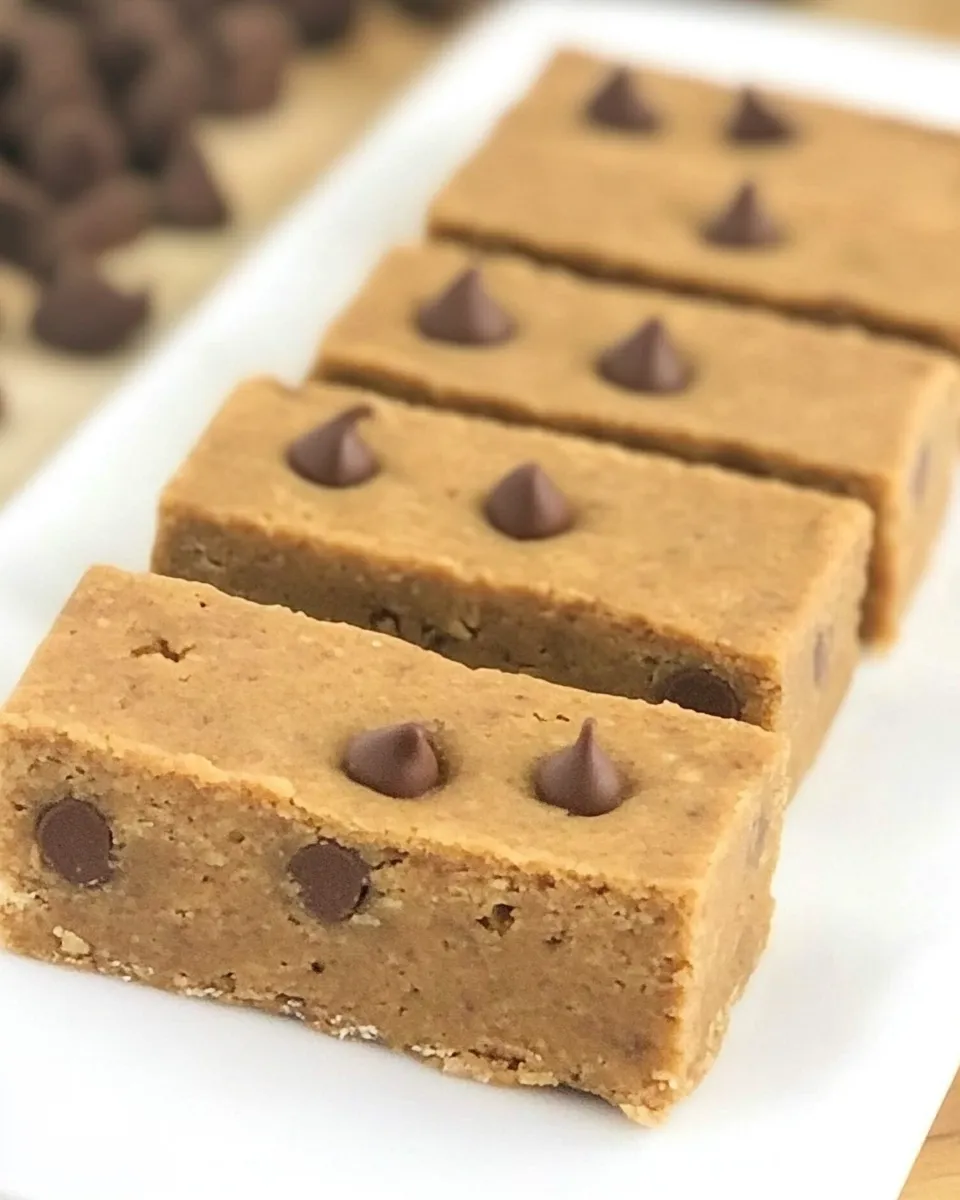
Step 7: Cool and Cut
Once baked, remove the bars from the oven and allow them to cool in the pan for about 10 minutes. Then, transfer them to a wire rack to cool completely before cutting into bars.
If You’re Out Of…
Don’t worry if you find yourself missing an ingredient. Here are some substitutions you can use:
- Protein Powder: You can substitute with a different flavor of protein powder or use a plant-based protein if preferred.
- Coconut Flour: Almond flour works as an alternative, but you may need to adjust the liquid quantities.
- Almond Butter: Any nut or seed butter, such as sunflower seed butter or cashew butter, can be used instead.
- Dairy-free Chocolate Chips: Chopped dark chocolate or cacao nibs can be a great substitute.
What Not to Do
To ensure your Paleo Bars turn out perfectly, keep in mind these common pitfalls:
- Don’t skip the sifting of coconut flour. It helps to avoid clumps in your bars.
- Don’t overmix the batter. Stir just until combined to keep the texture light.
- Avoid using too much liquid. The batter should be thick, not runny.
- Don’t bake for too long. Keep an eye on them to prevent over-baking, which can result in dry bars.
Storing Tips & Timelines
Proper storage can help keep your Paleo Bars fresh and delicious. Here are some tips:
Store the bars in an airtight container at room temperature for up to 5 days. If you want to keep them longer, refrigerate for up to 2 weeks. You can also freeze them for up to 3 months; just wrap each bar individually and place them in a freezer-safe bag.
Top Questions & Answers
Can I make these bars nut-free?
Yes! You can replace almond butter with sunbutter or omit it entirely. Adjust the liquid slightly if needed to maintain the right consistency.
Can I use different flavored protein powder?
Absolutely! Vanilla, chocolate, or even berry-flavored protein powder can enhance the taste of your Paleo Bars.
How can I add more flavor to my bars?
You can incorporate spices such as cinnamon or vanilla extract, or mix in nuts and dried fruit for added texture and taste.
Can I prepare the batter ahead of time?
While it’s best to bake the bars fresh, you can prepare the dry ingredients ahead of time and store them in an airtight container. Then, just add the wet ingredients when you’re ready to bake.
Weekend Projects
If you’re looking to expand your culinary skills, here are some fun weekend projects to try:
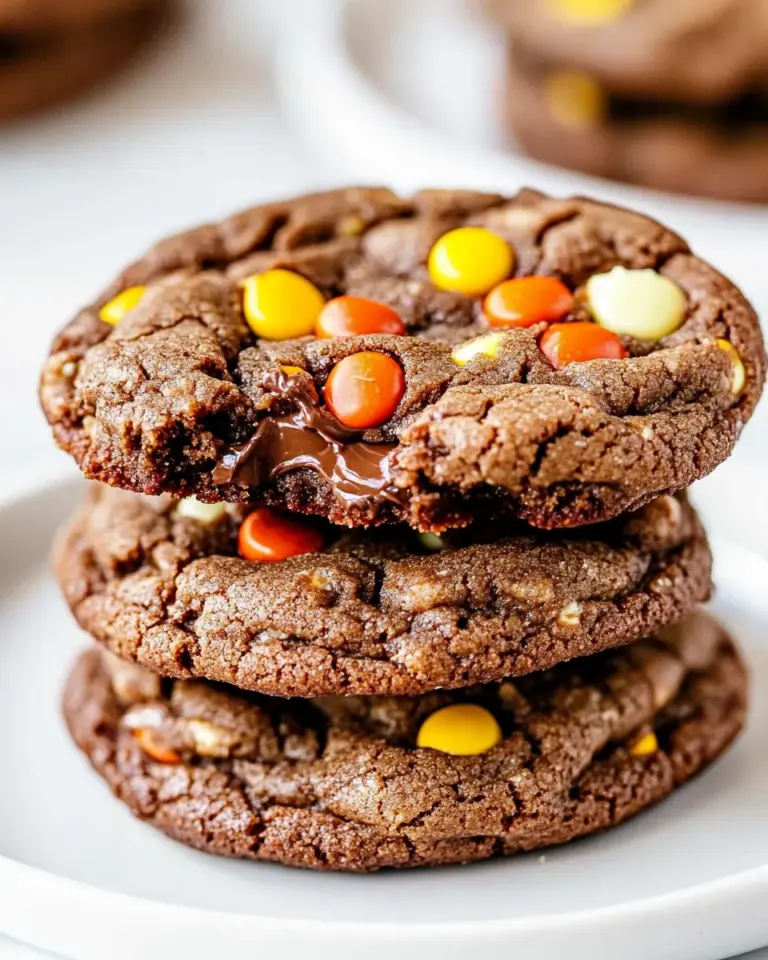
- Paleo Cookies: Delicious cookies that are easy to make and a great treat.
- Paleo Brownies: Rich and fudgy brownies that satisfy your sweet tooth.
- Paleo Muffins: Perfect for breakfast or a snack, these muffins are versatile and tasty.
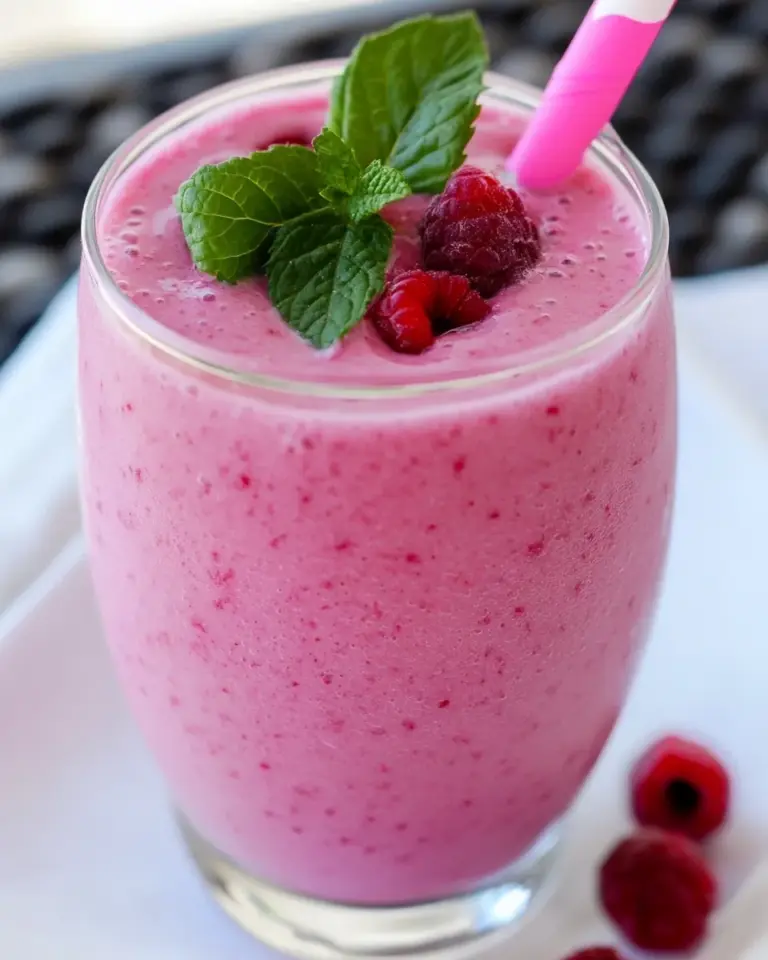
- Paleo Smoothies: Refreshing smoothies packed with nutrients to kickstart your day.
Time to Try It
Now that you have all the knowledge and tools to create your own Paleo Bars, it’s time to get in the kitchen and start baking! The combination of coconut flour, protein powder, and optional mix-ins make for a delightful treat that is sure to impress anyone who tries them. Not only will you enjoy the process, but you’ll also benefit from having a batch of nutritious snacks ready to go. Happy baking!
Paleo Bars
Ingredients
Equipment
Method
- Step 1: Preheat the oven to 350°F (175°C).
- Step 2: In a large mixing bowl, combine the sifted coconut flour and protein powder. Stir well to combine and ensure there are no lumps.
- Step 3: Add the milk of choice and almond butter (if using) to the dry mixture. Mix until everything is well combined.
- Step 4: Fold in the dairy-free chocolate chips, if using.
- Step 5: Pour the batter into a greased baking pan and spread it evenly.
- Step 6: Bake for 20-25 minutes, or until the edges are golden and a toothpick inserted in the center comes out clean.
- Step 7: Allow the bars to cool in the pan for about 10 minutes, then transfer to a wire rack to cool completely before cutting.
Notes
- Store the bars in an airtight container at room temperature for up to 5 days.
- Refrigerate for up to 2 weeks for longer freshness.
- Freeze individually wrapped bars for up to 3 months.