Lemon Dill Hummus (Oil-Free!)
If you’re on the hunt for a vibrant, refreshing dip that’s both healthy and delicious, look no further than this Lemon Dill Hummus (Oil-Free!). With its creamy texture and zesty flavor, it’s the perfect accompaniment to your favorite veggies, pita bread, or even as a spread on sandwiches. This hummus not only packs a punch of flavor but is also incredibly easy to whip up, making it a fantastic addition to any meal or snack time. Plus, it’s oil-free, so you can enjoy it guilt-free!
Why This Recipe Works
This Lemon Dill Hummus (Oil-Free!) recipe is not only simple but also relies on fresh, wholesome ingredients that come together to create a delightful flavor profile. The combination of lemon juice and fresh dill adds a bright, herbaceous note that elevates the classic hummus taste. By using aquafaba, the liquid from the garbanzo beans, we achieve a smooth and creamy consistency without the need for oil. This makes it a lighter option that’s perfect for anyone looking to reduce their fat intake while still enjoying a rich and satisfying dip.
Ingredient Notes
- 15 oz can garbanzo beans: The base of our hummus. You can also use cooked dried chickpeas if you prefer.
- 1-2 Tbsp aquafaba: This is the liquid from the can of garbanzo beans. It helps to achieve a creamy texture.
- 1/4 cup lemon juice: Freshly squeezed lemon juice brings brightness and acidity to the hummus.
- 1/4 tsp lemon zest (optional): Adds an extra layer of lemony flavor.
- 3 Tbsp tahini: A rich and creamy paste made from sesame seeds. It’s essential for authentic hummus flavor.
- 1 clove garlic, minced: Adds a pungent kick that complements the other flavors.
- 1/4 tsp fine grain salt: Enhances all the flavors in the hummus.
- 1/4 cup fresh dill: Fresh dill gives this hummus its distinctive flavor and aroma.
Equipment & Tools
- Food processor: Essential for blending the ingredients into a smooth consistency.
- Measuring cups and spoons: To ensure you get the right amounts of each ingredient.
- Spatula: Useful for scraping down the sides of the food processor to ensure everything is well blended.
Lemon Dill Hummus (Oil-Free!): Step-by-Step Guide
Step 1: Drain and Rinse the Garbanzo Beans
Start by opening your can of garbanzo beans. Drain the liquid and rinse the beans under cold water. This step helps to remove excess sodium and gives your hummus a better flavor.
Step 2: Combine Ingredients in Food Processor
In your food processor, combine the drained garbanzo beans, aquafaba, lemon juice, tahini, minced garlic, salt, and fresh dill. If you’re using lemon zest, add that in too!
Step 3: Blend Until Smooth
Secure the lid on your food processor and blend the mixture until it reaches a smooth and creamy consistency. You may need to stop and scrape the sides of the bowl a few times to ensure everything is well combined.
Step 4: Taste and Adjust
Taste your hummus and see if it needs any adjustments. You can add more lemon juice for tanginess, more salt for flavor, or more dill for an herbaceous kick.
Step 5: Serve and Enjoy!
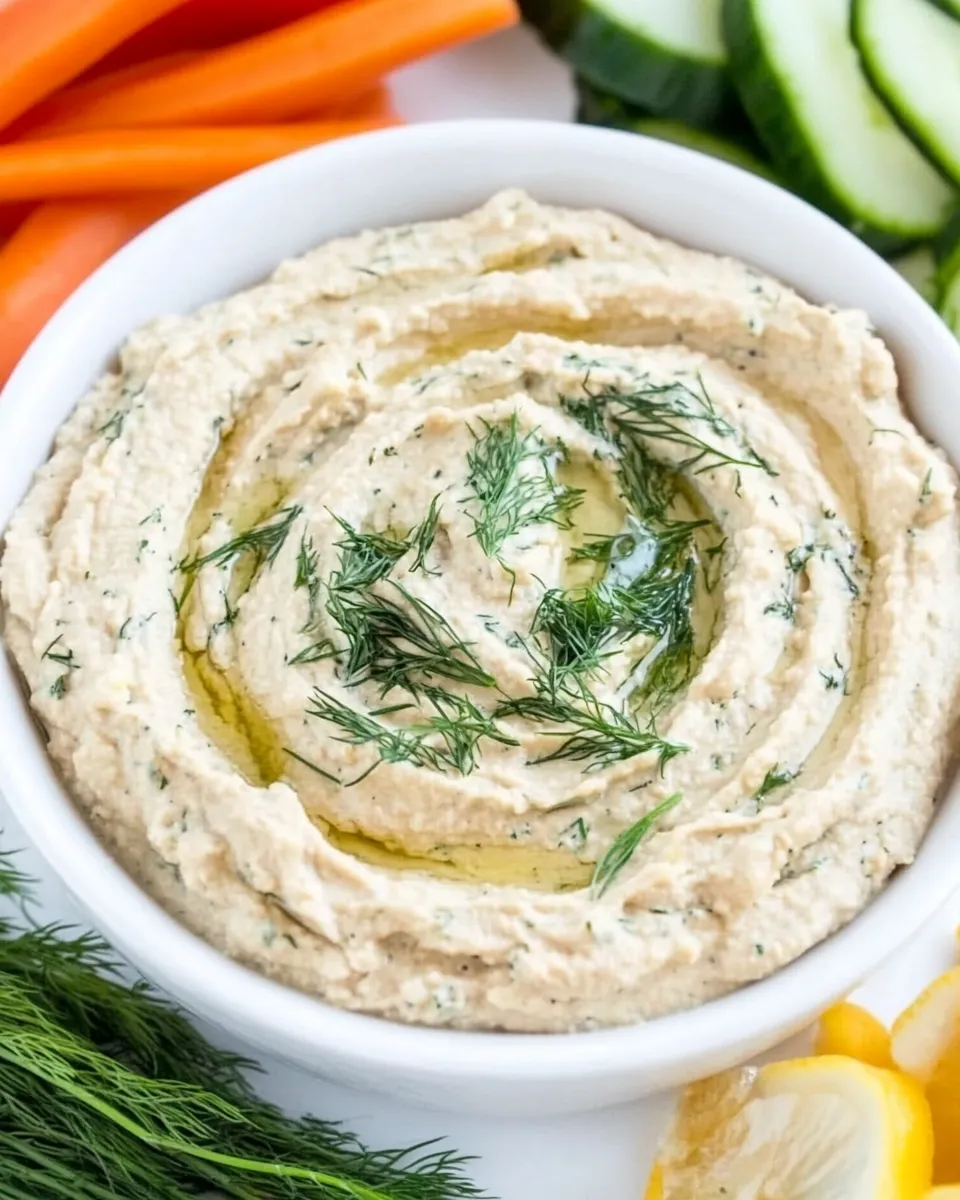
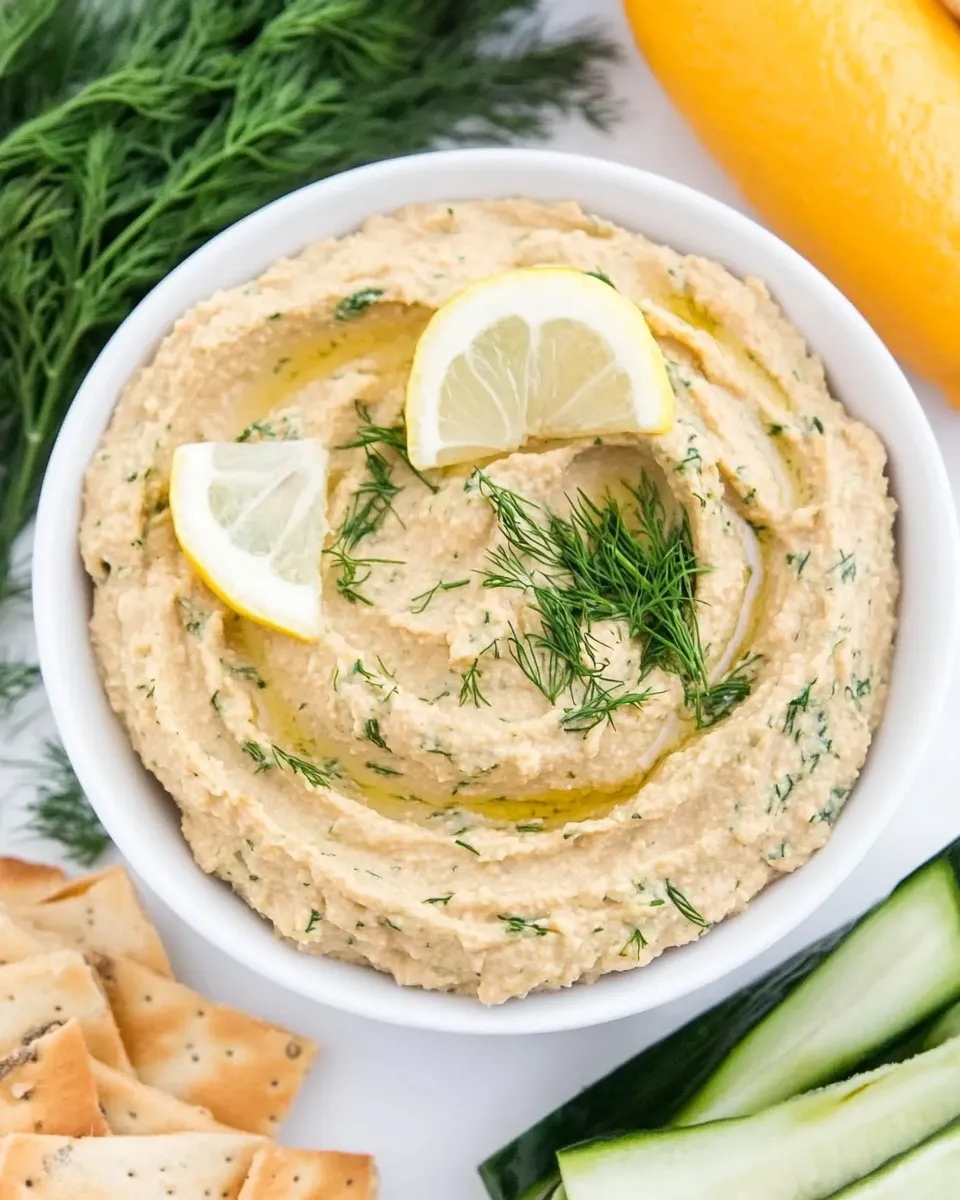
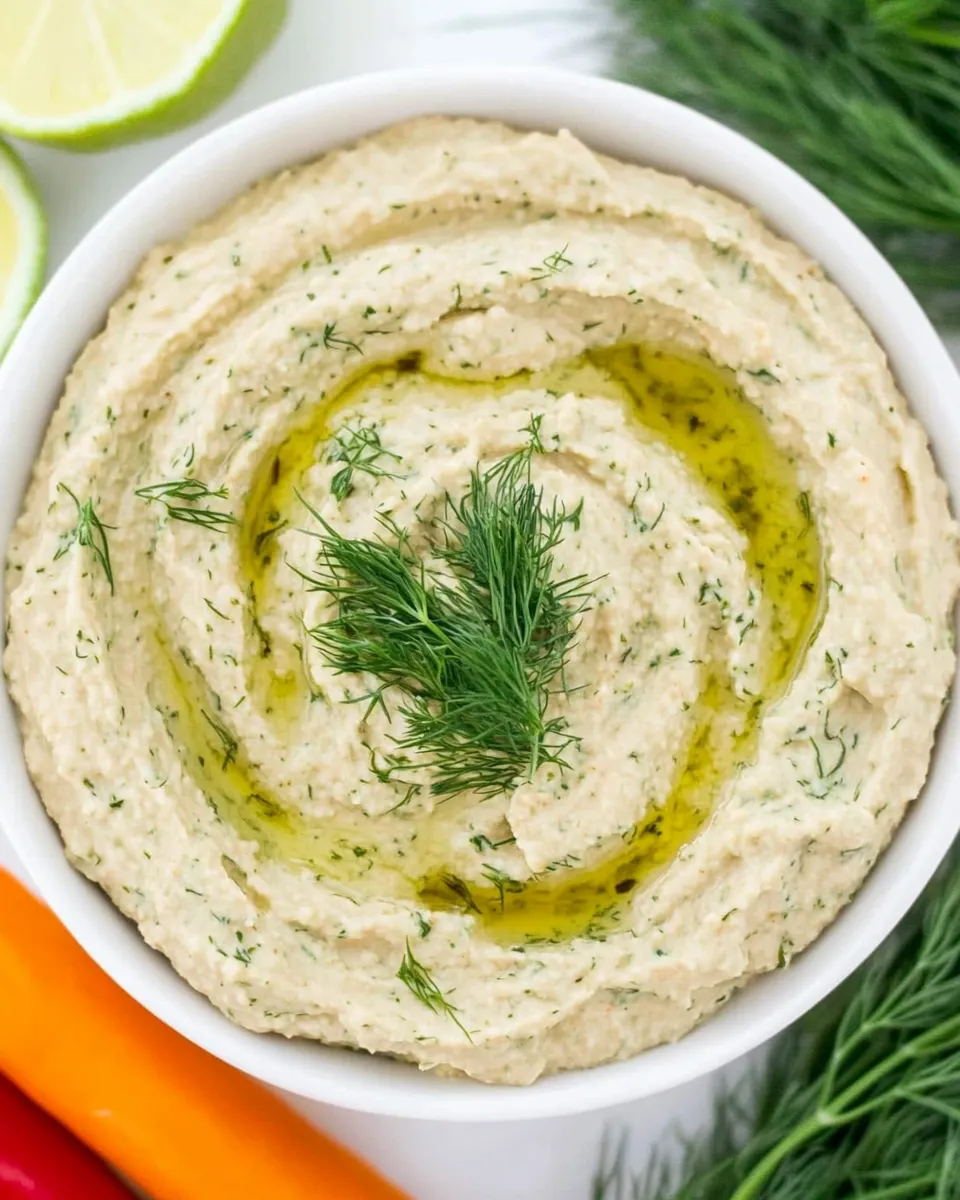
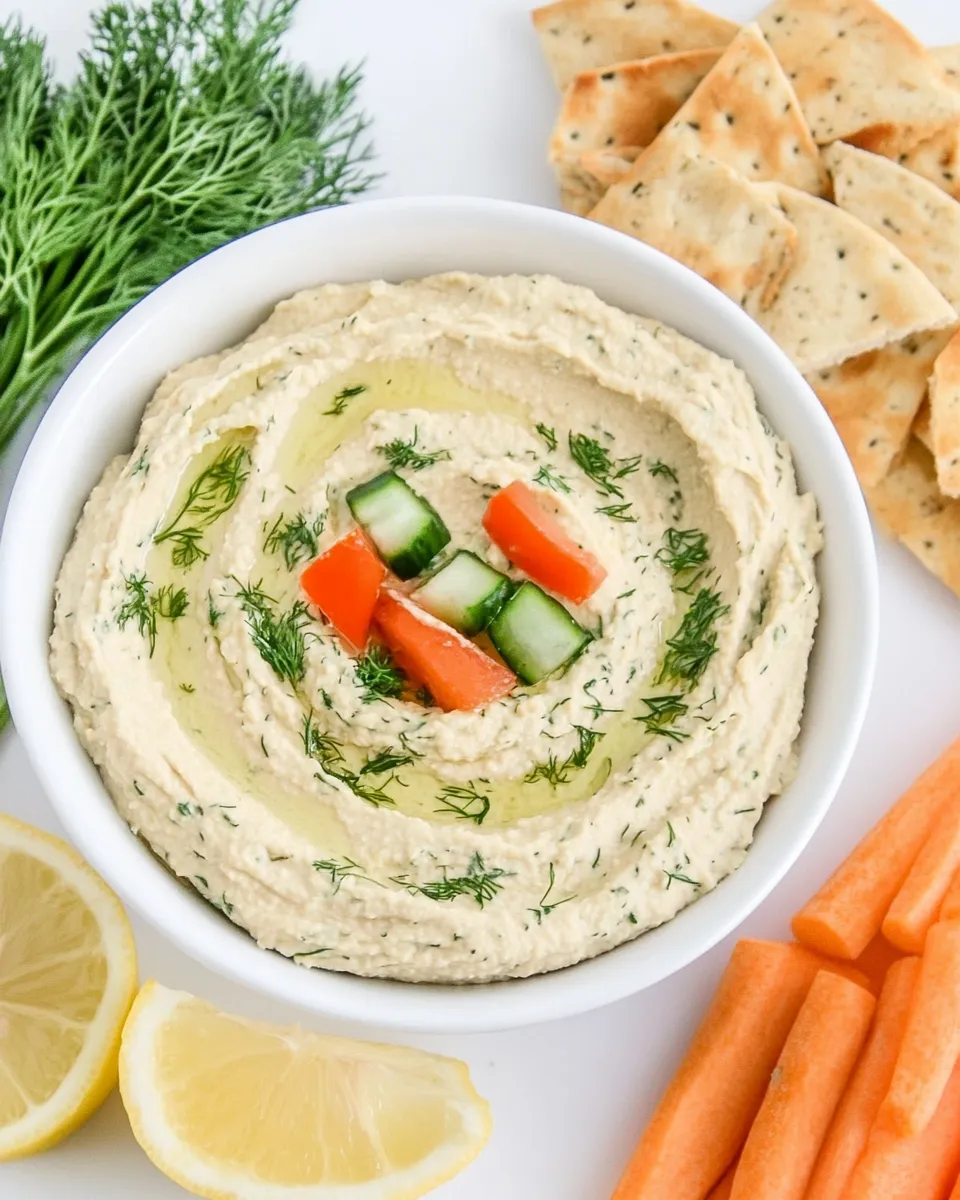
Transfer the hummus to a serving bowl. Drizzle a little aquafaba on top, sprinkle with extra dill, or even add a few lemon slices for garnish. Serve with fresh veggies, pita bread, or spread it on your favorite sandwich.
Vegan & Vegetarian Swaps
- Replace tahini with sunflower seed butter for a nut-free version.
- Use smoked garlic instead of fresh garlic for a different flavor profile.
- Substitute fresh dill with other herbs like parsley or cilantro if you prefer.
If You’re Curious
If you’ve never tried adding dill to hummus before, you’re in for a treat! Dill’s unique flavor pairs wonderfully with lemon, making it a refreshing choice for a dip. You can also experiment with other flavor combinations by adding ingredients like roasted red peppers or sun-dried tomatoes.
Storing, Freezing & Reheating
This Lemon Dill Hummus (Oil-Free!) can be stored in an airtight container in the refrigerator for up to a week. Just give it a good stir before serving as it may thicken slightly while stored. If you want to freeze it, place the hummus in a freezer-safe container, leaving some space at the top for expansion. It can be frozen for up to three months. When ready to enjoy, thaw it in the refrigerator overnight and stir well before serving.
FAQ
Can I use dried chickpeas instead of canned?
Absolutely! If you prefer to use dried chickpeas, soak them overnight and cook until tender before blending them into the hummus.
Is this hummus gluten-free?
Yes, this Lemon Dill Hummus (Oil-Free!) is naturally gluten-free, making it a great option for those with gluten sensitivities.
Can I make this hummus without tahini?
Yes, you can omit the tahini if you’re looking for a lower-fat version. You might consider adding a bit more aquafaba or some avocado for creaminess.
What can I serve with this hummus?
This hummus pairs beautifully with fresh veggies like carrots, cucumbers, and bell peppers. You can also serve it with pita chips or use it as a spread on sandwiches or wraps.
Quick Weeknight Wins
- Cilantro Lime Rice – A zesty side that complements many dishes.
- Lemon Garlic Steak Chuck Blade – A delicious main dish that pairs well with this hummus.
Ready to Cook?
Now that you have all the details to create your own Lemon Dill Hummus (Oil-Free!), it’s time to gather your ingredients and get started! This recipe not only brings a fresh and lively taste to the table but also offers a nutritious option suitable for many diets. Whether you’re hosting a gathering, looking for a midday snack, or just wanting something wholesome, this hummus will surely delight your taste buds. Enjoy the process, and don’t forget to share the love with friends and family!
Lemon Dill Hummus (Oil-Free!)
Ingredients
Equipment
Method
- Step 1: Drain and Rinse the Garbanzo Beans. Start by opening your can of garbanzo beans. Drain the liquid and rinse the beans under cold water.
- Step 2: Combine Ingredients in Food Processor. In your food processor, combine the drained garbanzo beans, aquafaba, lemon juice, tahini, minced garlic, salt, and fresh dill. Add lemon zest if using.
- Step 3: Blend Until Smooth. Secure the lid on your food processor and blend until smooth and creamy. Stop to scrape the sides as needed.
- Step 4: Taste and Adjust. Taste your hummus and adjust flavors as needed, adding more lemon juice, salt, or dill.
- Step 5: Serve and Enjoy! Transfer to a serving bowl and garnish as desired. Serve with veggies, pita, or as a sandwich spread.
Notes
- Store in an airtight container in the refrigerator for up to a week.
- Can be frozen for up to three months; thaw before serving.
- Experiment with different herbs like parsley or cilantro for variations.