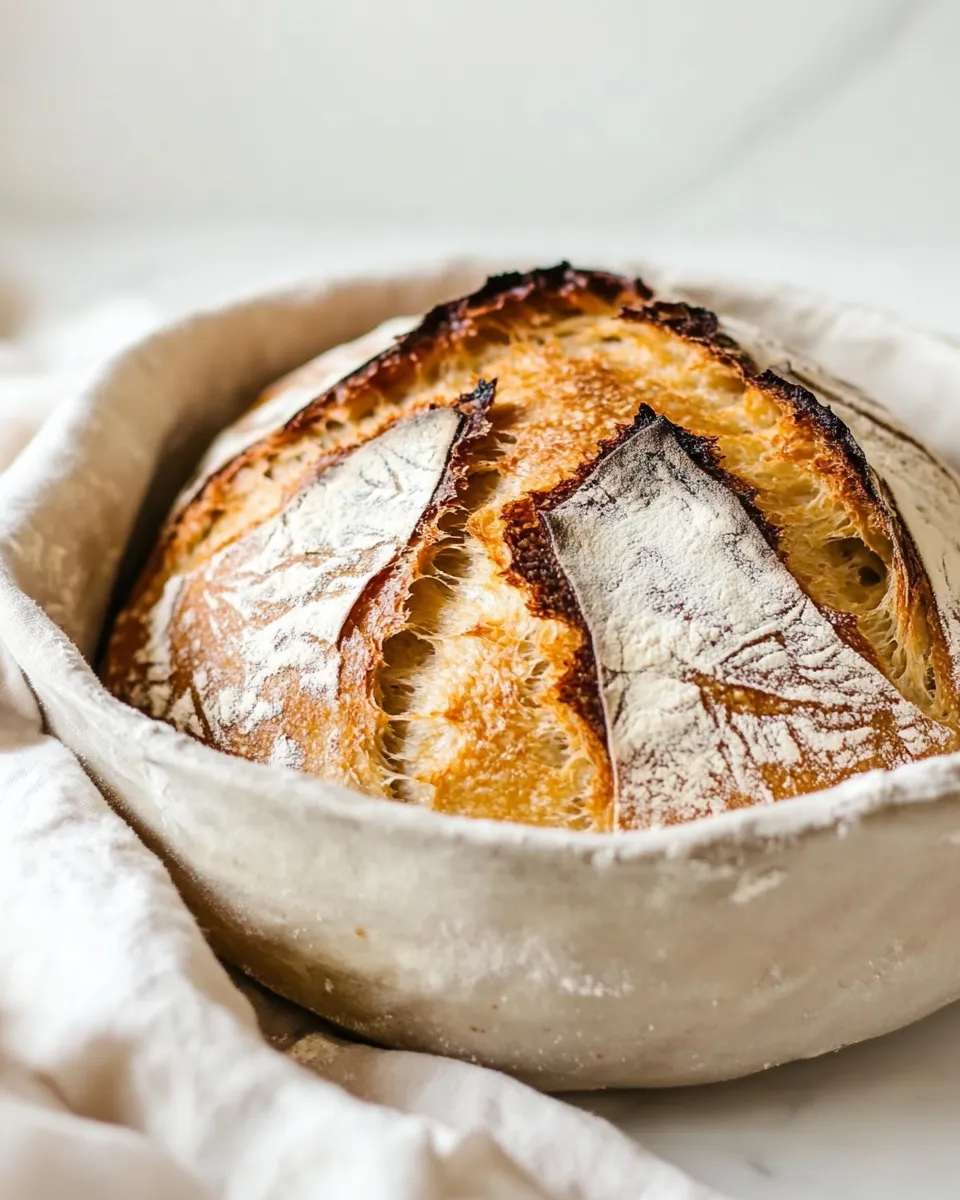
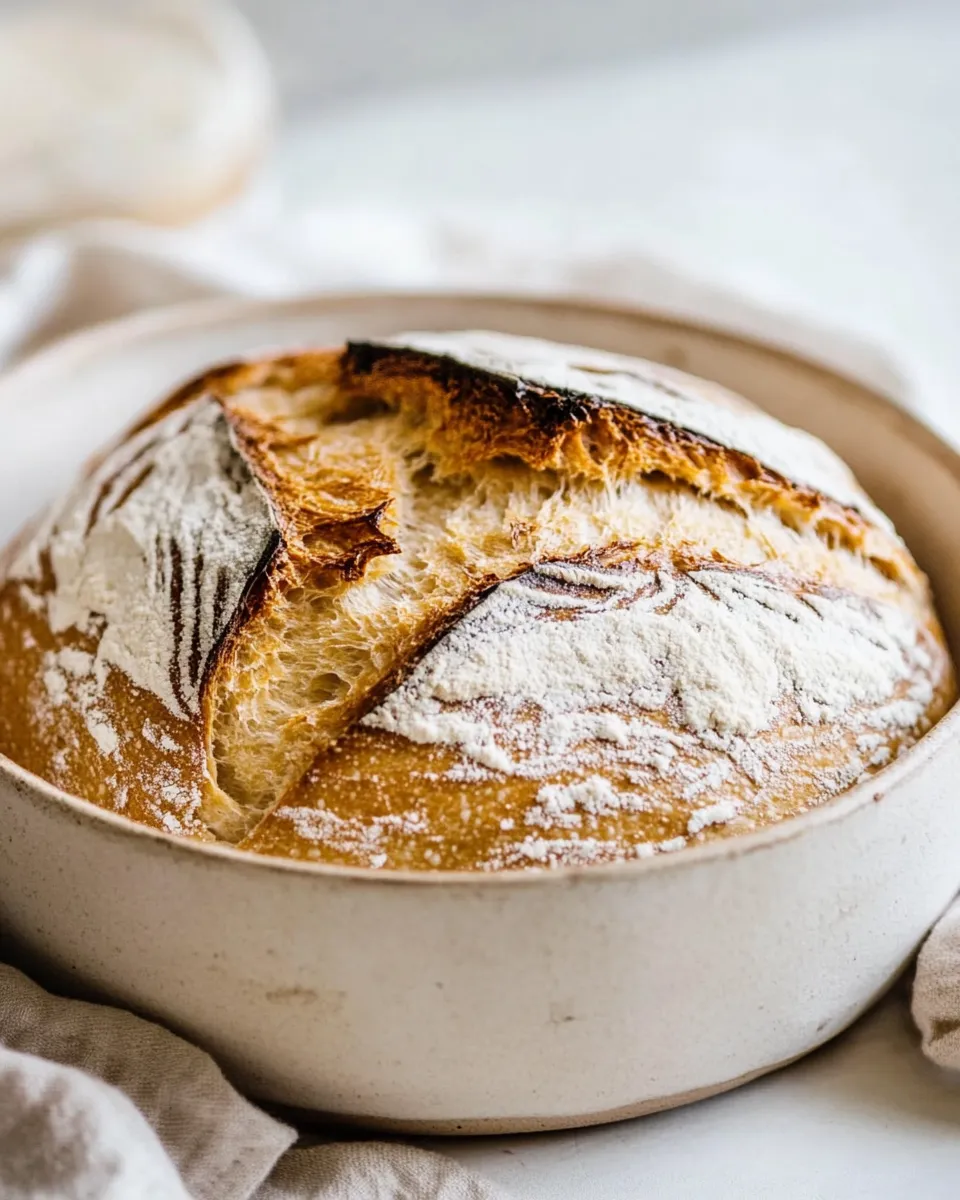
Sourdough Bread
Sourdough bread is more than just a loaf; it’s a symbol of baking tradition, patience, and the joy of creating something delicious from simple ingredients. With its crusty exterior and soft, chewy interior, sourdough bread has a unique tang that comes from the natural fermentation process. This recipe is straightforward yet immensely rewarding, making it perfect for both novice bakers and seasoned pros. With just a few quality ingredients and a bit of patience, you can produce a loaf that rivals any artisan bakery.
Why This Sourdough Bread Stands Out
What makes this sourdough bread recipe truly special? It’s all in the method and the ingredients. Using a homemade or well-fed sourdough starter not only adds flavor but also enhances the texture of the bread. The long fermentation process allows for complex flavors to develop while also improving the bread’s digestibility. This recipe is versatile and adaptable, meaning you can customize it with herbs, seeds, or even cheese if you wish. Each loaf is a unique reflection of the baker’s style, making sourdough a delightful project for anyone who loves to bake.
Ingredient Checklist
- 1/3 cup sourdough starter (90 grams) – This is your leavening agent, providing the natural yeast needed for fermentation.
- 1 cup water (346 grams) – Use warm water to help activate the sourdough starter.
- 2 teaspoons salt – Salt enhances flavor and helps control the fermentation process.
- 3 cups bread flour (520 grams) – Bread flour has a higher protein content, which helps create a chewy texture.
Appliances & Accessories
- Mixing Bowl – A large bowl for combining ingredients.
- Dough Scraper – Useful for handling and shaping the dough.
- Proofing Basket – Helps to shape the dough and create beautiful patterns.
- Baking Stone or Dutch Oven – Essential for achieving a crispy crust during baking.
- Kitchen Scale – For precise measurements, ensuring successful results.
The Method for Sourdough Bread

Step 1: Prepare the Starter
Begin with a well-fed sourdough starter. If your starter has been in the fridge, take it out and feed it a few hours before you plan to bake. You want it to be active and bubbly.
Step 2: Mix the Ingredients
In a large mixing bowl, combine the 1/3 cup of sourdough starter and 1 cup of warm water. Stir until the starter is dissolved. Gradually add the 3 cups of bread flour and 2 teaspoons of salt. Mix until it forms a shaggy dough.
Step 3: Autolyse
Let the dough rest for about 30 minutes. This allows the flour to absorb the water and begins the gluten development process.
Step 4: Knead the Dough
After the autolyse, turn the dough onto a floured surface. Knead for about 10 minutes until smooth and elastic. You can also use the stretch and fold method, which involves stretching the dough and folding it over itself every 30 minutes for 2-3 hours.
Step 5: Bulk Fermentation
Place the dough back in the bowl and cover it with a damp cloth. Let it rise at room temperature for about 4-6 hours, or until it has doubled in size. This is the bulk fermentation phase where the flavors develop.
Step 6: Shape the Dough
Once the dough has risen, turn it out onto a lightly floured surface. Gently shape it into a round loaf or a batard, depending on your preference. Place it seam-side up in a well-floured proofing basket.
Step 7: Final Proof
Cover the dough with a cloth and let it proof for about 1-2 hours at room temperature. Alternatively, you can refrigerate it overnight for a slower fermentation, which enhances the flavor.
Step 8: Preheat the Oven
About 30 minutes before baking, preheat your oven to 450°F (232°C). If you are using a Dutch oven, place it inside to heat as well.
Step 9: Bake the Bread
Once preheated, carefully remove the Dutch oven. Gently turn the proofed dough onto parchment paper. Score the top with a sharp knife to allow for expansion during baking. Lift the parchment and place it inside the hot Dutch oven. Cover with the lid and bake for 30 minutes, then remove the lid and bake for an additional 15-20 minutes until golden brown.
Step 10: Cool and Enjoy
After baking, let the bread cool on a wire rack for at least 1 hour before slicing. This cooling period allows the crumb to set properly and enhances the flavor.
Spring to Winter: Ideas
- In the spring, enjoy your sourdough bread with fresh herbs and a light salad.
- During summer, pair it with bruschetta topped with ripe tomatoes and basil.
- In the fall, serve slices with pumpkin soup or a cozy stew.
- In winter, toast thick slices and use them for hearty sandwiches or French toast.
What I Learned Testing
- Patience is key. The longer you let the dough ferment, the more flavor it develops.
- Temperature affects fermentation. Warmer environments speed up the process, while cooler ones slow it down.
- Each starter behaves differently. Regular feedings and adjustments are necessary for consistent results.
- Practice makes perfect. Don’t be discouraged if your first loaf isn’t perfect; each attempt teaches you something new!
Leftovers & Meal Prep
Leftover sourdough bread can be stored in a paper bag at room temperature for a couple of days or wrapped tightly and frozen for up to a month. To revive stale bread, simply sprinkle it with a little water and warm it in the oven. You can also use stale sourdough for easy yeast rolls or croutons for salads. Consider making a batch of make ahead biscuits recipe to enjoy with your bread as well.
Quick Q&A
Can I use all-purpose flour instead of bread flour?
Yes, you can use all-purpose flour, but the texture may not be as chewy or robust as with bread flour. The higher protein content in bread flour contributes to the bread’s structure.
How long does sourdough bread last?
When stored properly, sourdough bread can last for several days at room temperature. For longer storage, slice and freeze it for future use.
Why is my sourdough bread dense?
A dense loaf can be a result of under-proofing, using an inactive starter, or not kneading enough to develop gluten. Make sure to follow the fermentation times closely.
Can I add ingredients like nuts or cheese to my sourdough?
Absolutely! Adding ingredients like toasted nuts, seeds, or cheese can enhance the flavor and texture of your sourdough bread. Just fold them in gently during the shaping process.
Weekend Projects
- Easy Yeast Rolls – Perfect for a family gathering!
- Make Ahead Biscuits Recipe – Great for breakfast or brunch.
- Perfect New York Style Bagel Recipe – A delightful weekend challenge!
Bring It Home
The joy of baking sourdough bread is not just in the delicious outcome but also in the experience. Each step is an opportunity to learn, create, and enjoy the process. Whether you are baking for yourself, your family, or friends, sourdough bread is a gift that brings people together. So grab your sourdough starter, gather your ingredients, and embark on this delightful baking adventure. Happy baking!
Sourdough Bread
Ingredients
Equipment
Method
- Step 1: Prepare the Starter - Begin with a well-fed sourdough starter. If your starter has been in the fridge, take it out and feed it a few hours before you plan to bake. You want it to be active and bubbly.
- Step 2: Mix the Ingredients - In a large mixing bowl, combine the 1/3 cup of sourdough starter and 1 cup of warm water. Stir until the starter is dissolved. Gradually add the 3 cups of bread flour and 2 teaspoons of salt. Mix until it forms a shaggy dough.
- Step 3: Autolyse - Let the dough rest for about 30 minutes. This allows the flour to absorb the water and begins the gluten development process.
- Step 4: Knead the Dough - After the autolyse, turn the dough onto a floured surface. Knead for about 10 minutes until smooth and elastic. You can also use the stretch and fold method, which involves stretching the dough and folding it over itself every 30 minutes for 2-3 hours.
- Step 5: Bulk Fermentation - Place the dough back in the bowl and cover it with a damp cloth. Let it rise at room temperature for about 4-6 hours, or until it has doubled in size.
- Step 6: Shape the Dough - Once the dough has risen, turn it out onto a lightly floured surface. Gently shape it into a round loaf or a batard, depending on your preference. Place it seam-side up in a well-floured proofing basket.
- Step 7: Final Proof - Cover the dough with a cloth and let it proof for about 1-2 hours at room temperature. Alternatively, you can refrigerate it overnight for a slower fermentation.
- Step 8: Preheat the Oven - About 30 minutes before baking, preheat your oven to 450°F (232°C). If you are using a Dutch oven, place it inside to heat as well.
- Step 9: Bake the Bread - Once preheated, carefully remove the Dutch oven. Gently turn the proofed dough onto parchment paper. Score the top with a sharp knife. Lift the parchment and place it inside the hot Dutch oven. Cover with the lid and bake for 30 minutes, then remove the lid and bake for an additional 15-20 minutes until golden brown.
- Step 10: Cool and Enjoy - Let the bread cool on a wire rack for at least 1 hour before slicing.
Notes
- Patience is key; the longer you let the dough ferment, the more flavor it develops.
- Use a kitchen scale for precise measurements to ensure the best results.
- Experiment with adding herbs, seeds, or cheese for unique flavors.