Red Velvet Fudge
If you’re looking for a festive treat that combines the rich, velvety allure of red velvet cake with the creamy sweetness of fudge, look no further. This delightful Red Velvet Fudge is not only incredibly easy to make, but it also packs a visual punch with its stunning red hue and decadent flavor. Whether you’re planning a holiday gathering, a birthday celebration, or simply craving a sweet treat, this fudge is sure to impress. Let’s dive in and discover how you can whip up this luscious confection in no time!
The Upside of Red Velvet Fudge
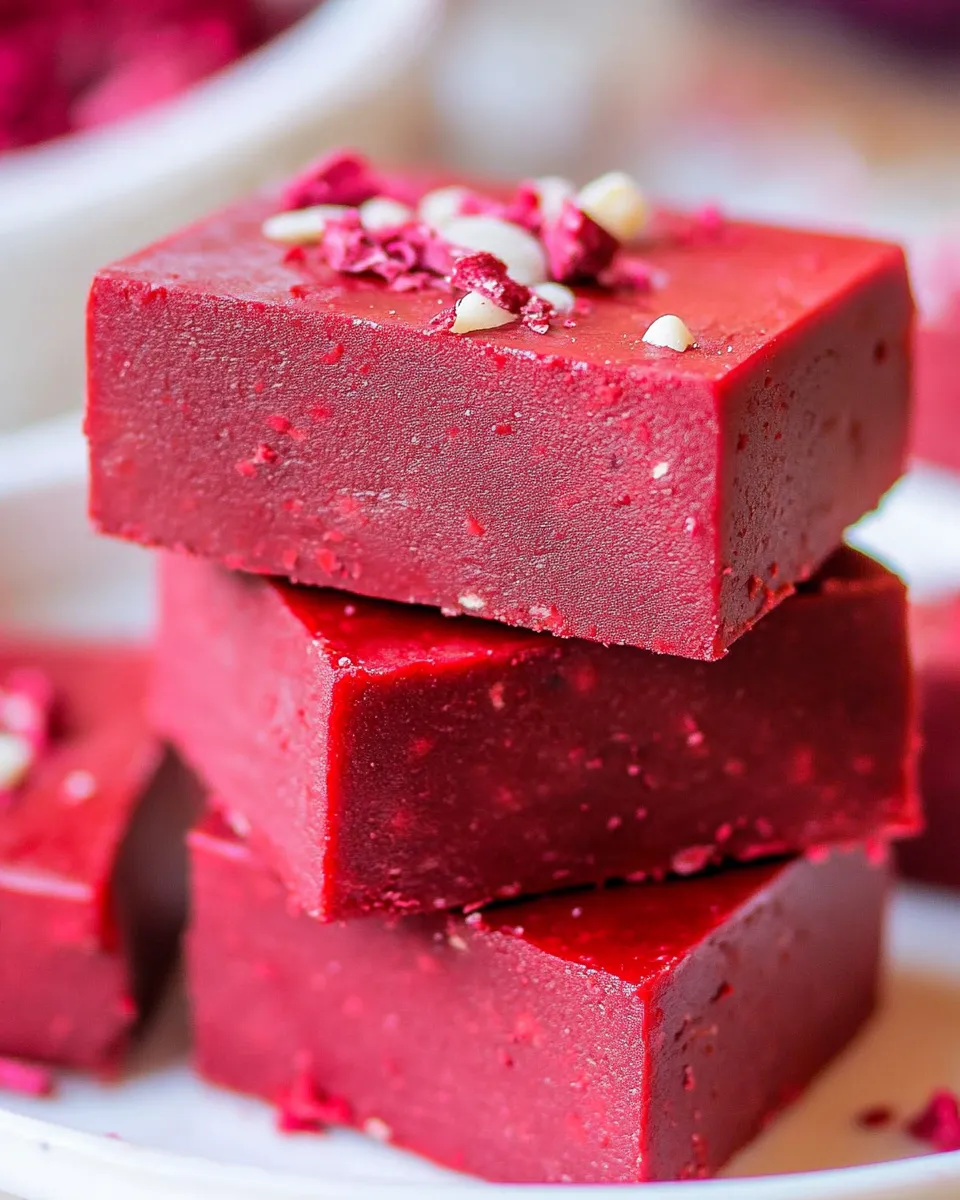
Red Velvet Fudge is a showstopper that’s perfect for any occasion. Its unique flavor profile combines the nostalgic taste of red velvet cake with the creamy texture of fudge, making it a delightful treat for kids and adults alike. Plus, it’s incredibly versatile! You can customize it with your favorite add-ins or toppings. Not to mention, it’s simple enough for beginners but impressive enough to wow your guests. Each bite melts in your mouth, leaving you with a sweet reminder of why you love baking.
Shopping List
- 2 1/2 cups Red Velvet cake mix
- 2 cups confectioners sugar
- 1/4 cup milk
- 1/2 cup salted butter, cut into 8 pieces
- 2/3 cup white chocolate chips
- 2-3 tbsp sprinkles (optional, for garnish)
Prep & Cook Tools
- Mixing Bowl: For combining your ingredients smoothly.
- Microwave-Safe Dish: To melt the butter and chocolate chips.
- Spatula: For mixing and spreading the fudge evenly in the pan.
- 9×9-inch Baking Pan: To hold the fudge as it sets.
- Parchment Paper: To line the baking pan for easy removal.
Red Velvet Fudge: Step-by-Step Guide
Step 1: Prepare Your Baking Pan
Line a 9×9-inch baking pan with parchment paper, allowing some overhang for easy removal later. This will ensure your fudge comes out perfectly without sticking.
Step 2: Melt the Butter and Chocolate
In a microwave-safe dish, add the salted butter and white chocolate chips. Microwave in 30-second intervals, stirring in between, until completely melted and smooth.
Step 3: Combine the Ingredients
In a large mixing bowl, combine the melted butter and chocolate mixture with the Red Velvet cake mix, confectioners sugar, and milk. Stir until all ingredients are well combined, forming a thick batter.
Step 4: Spread the Fudge Mixture
Pour the fudge mixture into the prepared baking pan and use a spatula to spread it evenly. Tap the pan on the counter a few times to remove any air bubbles.
Step 5: Add Sprinkles (Optional)
If you’re using sprinkles, now is the time to sprinkle them on top of the fudge for a festive touch. Press them gently into the fudge to ensure they stick.
Step 6: Chill the Fudge
Place the baking pan in the refrigerator for about 2-3 hours or until the fudge is firm enough to cut into squares.
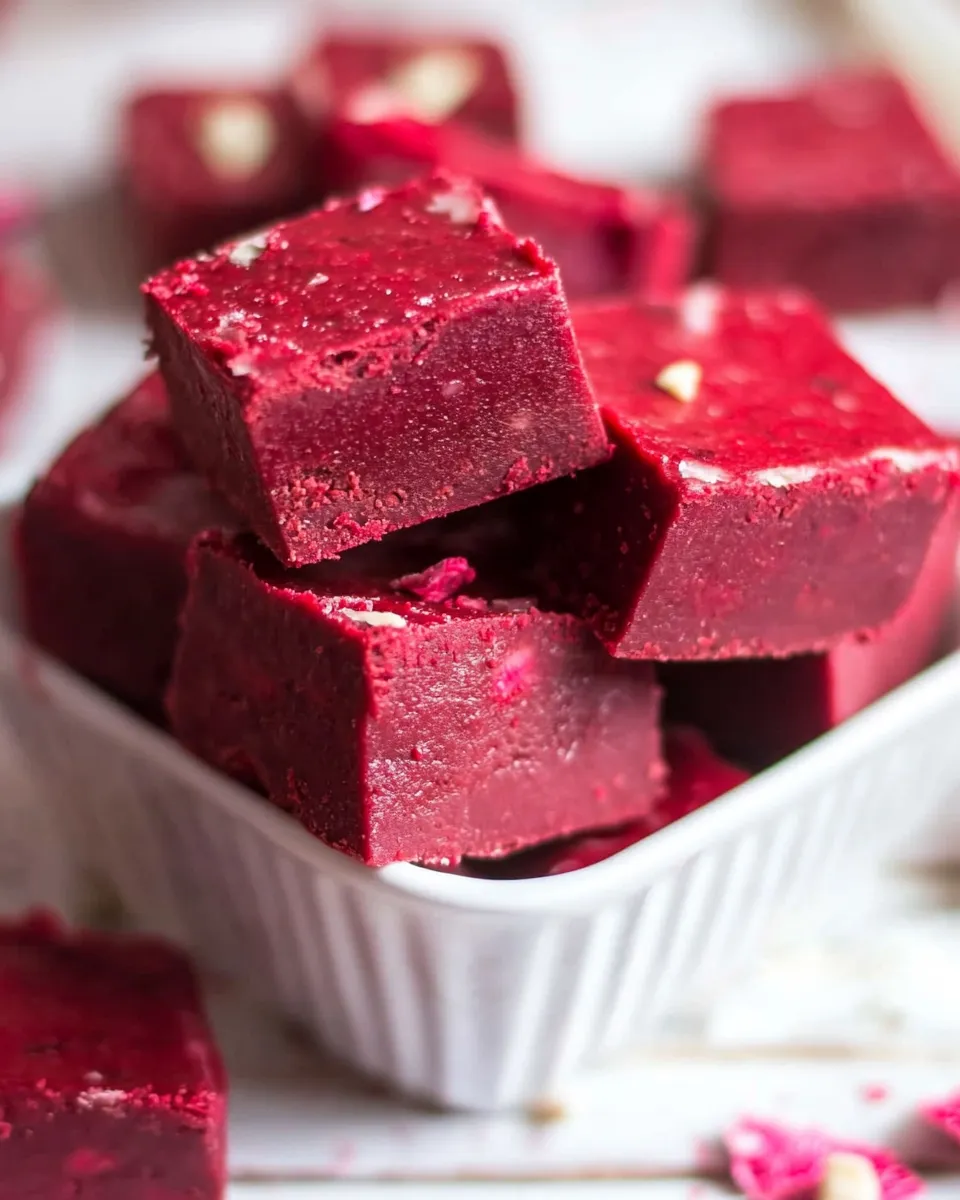
Step 7: Cut and Serve
Once the fudge is set, lift it out of the pan using the parchment paper. Cut the fudge into squares and serve. Enjoy the rich, buttery flavor of your homemade Red Velvet Fudge!
Smart Substitutions

- Butter: You can use unsalted butter if you prefer a less salty flavor.
- Milk: Substitute with almond milk or oat milk for a dairy-free version.
- White Chocolate Chips: Use dairy-free white chocolate chips for a vegan option.
- Sprinkles: Try using different colored sprinkles for various occasions!
Behind the Recipe
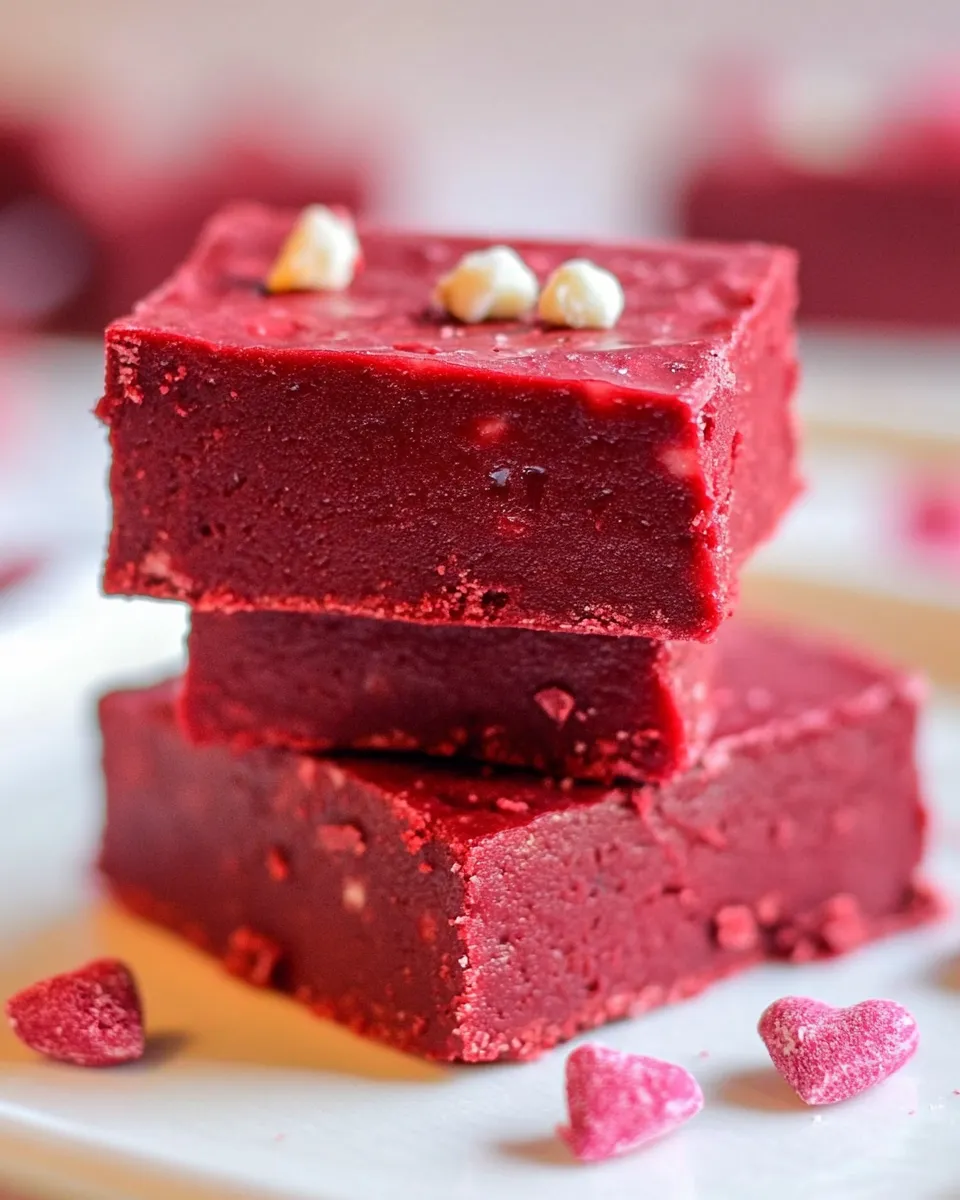
Red Velvet Fudge draws inspiration from the classic red velvet cake, a Southern tradition known for its vibrant red color and subtle cocoa flavor. This fudge recipe takes those beloved elements and transforms them into a quick, no-bake treat. The creaminess of the fudge combined with the cake mix creates a unique texture that is both rich and satisfying. Plus, it’s a cinch to prepare, making it a popular choice for potlucks and gatherings.
Keep-It-Fresh Plan
To keep your Red Velvet Fudge fresh, store it in an airtight container at room temperature for up to a week. If you want it to last longer, refrigerate it for up to 2 weeks. You can also freeze the fudge for up to 3 months. Just make sure to wrap it tightly in plastic wrap and place it in a freezer-safe container. When you’re ready to enjoy, simply thaw it in the fridge overnight.
Quick Q&A
Can I use a different cake mix for this fudge?
Absolutely! You can use any flavor of cake mix you like. Chocolate, vanilla, or even funfetti could work beautifully in this recipe.
What if I don’t have a microwave?
No problem! You can melt the butter and chocolate chips in a double boiler on the stove. Just be sure to stir frequently to avoid burning.
How do I know when the fudge is set?
The fudge should feel firm to the touch and hold its shape when you lift it out of the pan. If it’s still too soft, give it more time in the fridge.
Can I add nuts or other mix-ins?
Yes! Chopped pecans, walnuts, or even crushed cookies can be excellent additions to your fudge for extra texture and flavor.
Reader Favorites
Hungry for More?
If you enjoyed this Red Velvet Fudge recipe, be sure to check out our other delicious treats and desserts! There’s always something new to try, whether you’re in the mood for cookies, cakes, or delightful confections. Keep your sweet tooth satisfied and your baking skills shining bright!
There’s something truly magical about creating treats like Red Velvet Fudge. Not only do you get to indulge in sweet delights, but you also share joy with others through your baking. So gather your ingredients, roll up your sleeves, and let the sweet aroma fill your kitchen. Happy baking!
Red Velvet Fudge
Ingredients
Equipment
Method
- Step 1: Prepare Your Baking Pan - Line a 9x9-inch baking pan with parchment paper, allowing some overhang for easy removal later.
- Step 2: Melt the Butter and Chocolate - In a microwave-safe dish, add the salted butter and white chocolate chips. Microwave in 30-second intervals, stirring in between, until completely melted and smooth.
- Step 3: Combine the Ingredients - In a large mixing bowl, combine the melted butter and chocolate mixture with the Red Velvet cake mix, confectioners sugar, and milk. Stir until all ingredients are well combined, forming a thick batter.
- Step 4: Spread the Fudge Mixture - Pour the fudge mixture into the prepared baking pan and use a spatula to spread it evenly. Tap the pan on the counter a few times to remove any air bubbles.
- Step 5: Add Sprinkles (Optional) - If you’re using sprinkles, now is the time to sprinkle them on top of the fudge for a festive touch. Press them gently into the fudge to ensure they stick.
- Step 6: Chill the Fudge - Place the baking pan in the refrigerator for about 2-3 hours or until the fudge is firm enough to cut into squares.
- Step 7: Cut and Serve - Once the fudge is set, lift it out of the pan using the parchment paper. Cut the fudge into squares and serve.
Notes
- Store the fudge in an airtight container at room temperature for up to a week.
- For longer storage, refrigerate for up to 2 weeks or freeze for up to 3 months.
- Wrap tightly in plastic wrap before freezing for best results.