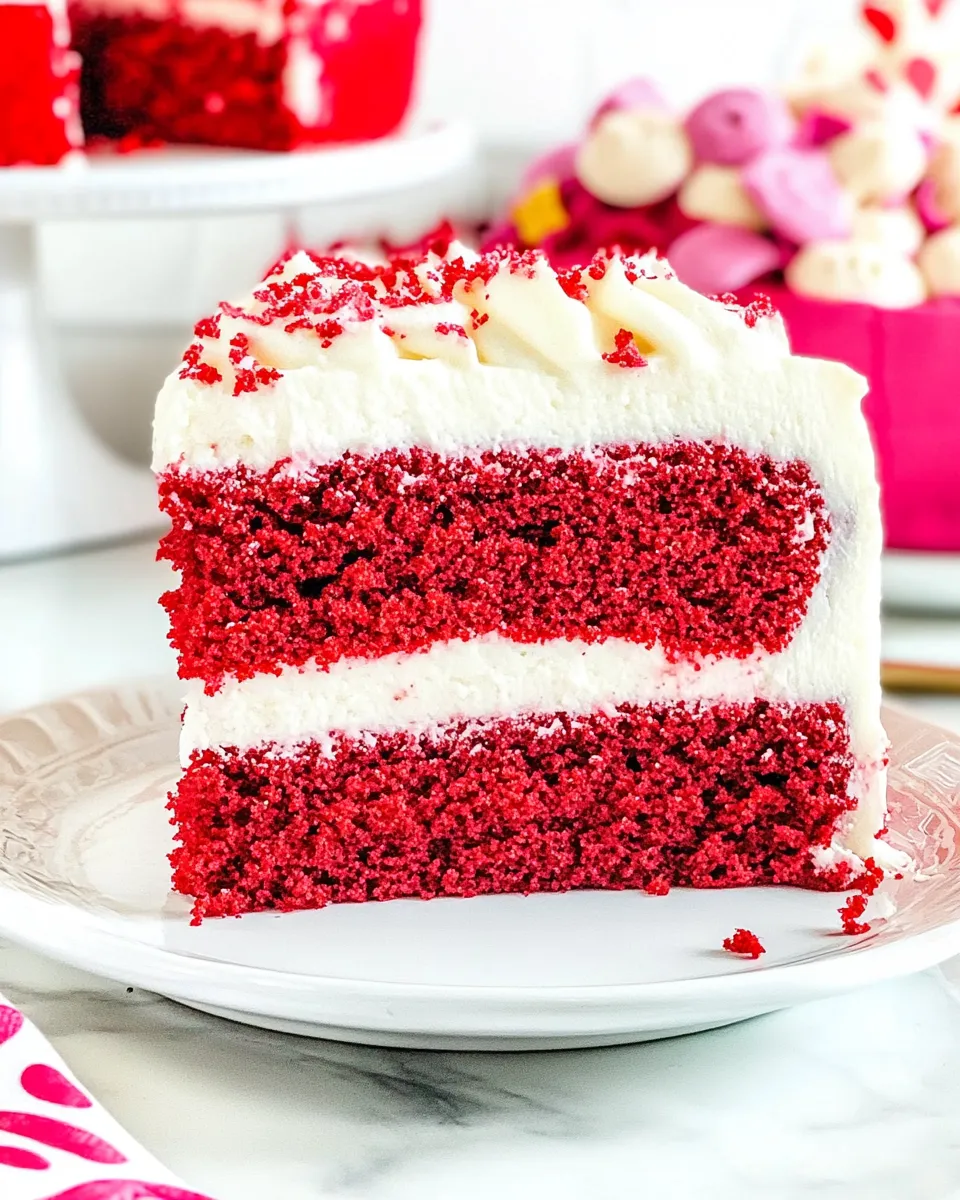
Red Velvet Cake from Scratch
There’s something undeniably captivating about a Red Velvet Cake from Scratch. With its striking crimson hue and velvety texture, this classic dessert is more than just a feast for the eyes; it’s a delightful symphony of flavors that makes any occasion a little more special. Whether you’re celebrating a birthday, an anniversary, or simply indulging in a sweet craving, this cake brings a touch of elegance and nostalgia to the table. In this recipe, we’ll explore how to craft this beautiful cake from scratch, including tips for achieving that perfect texture and flavor balance.
Why This Red Velvet Cake from Scratch Stands Out
This Red Velvet Cake from Scratch stands out not only because of its vibrant color but also due to its unique flavor profile. The combination of cocoa powder and buttermilk gives it a subtle chocolate taste, while the cream cheese frosting adds a rich and tangy sweetness. What makes this recipe particularly special is the use of red gel food coloring, which provides a deep, rich color that simply cannot be achieved with regular food coloring. Plus, baking from scratch allows you to control the ingredients, ensuring a fresher and more delicious result.
Ingredients at a Glance
- 1 cup sugar
- 1 cup vegetable oil
- 2 large eggs
- 3 (1-oz) containers red gel food coloring, such as Wilton’s
- 1 tsp vanilla extract
- 2 cups all-purpose flour
- 2 tbsp cocoa powder
- 1 tsp salt
- 1 cup whole buttermilk
- 2 tsp white vinegar
- 1 tsp baking soda
- 2 (8-oz) packages cream cheese, softened
- 1 cup unsalted butter, softened
- 6 cups powdered sugar
- 1 tbsp vanilla extract
Setup & Equipment
- Oven: Preheat to 350°F (175°C).
- Mixing Bowls: Use large bowls for mixing dry and wet ingredients.
- Stand Mixer or Hand Mixer: For easy mixing and creaming the butter and sugar.
- Measuring Cups and Spoons: Accurate measurements are essential for baking.
- 9-inch Round Cake Pans: Two for baking the layers of the cake.
- Parchment Paper: For lining the cake pans for easier removal.
- Cooling Rack: To cool the cakes properly after baking.
The Method for Red Velvet Cake from Scratch
Step 1: Prepare Your Pans
Start by preheating your oven to 350°F (175°C). Grease two 9-inch round cake pans with vegetable oil and line the bottoms with parchment paper for easy removal.
Step 2: Mix Dry Ingredients
In a medium bowl, whisk together the all-purpose flour, cocoa powder, and salt. Set aside.
Step 3: Cream the Sugar and Oil
In a large mixing bowl, combine the sugar and vegetable oil. Use a stand mixer or hand mixer to beat until well combined.
Step 4: Add Eggs and Coloring
Add the eggs one at a time to the sugar and oil mixture, mixing well after each addition. Then, add the red gel food coloring and vanilla extract, mixing until fully incorporated.
Step 5: Alternate Adding Dry Ingredients and Buttermilk
Gradually add the dry ingredient mixture to the wet ingredients, alternating with the buttermilk. Start and end with the dry ingredients, mixing just until combined.
Step 6: Activate the Baking Soda
In a small bowl, combine the white vinegar and baking soda. It will fizz and bubble, which is normal! Quickly fold this mixture into your cake batter.
Step 7: Bake the Cakes
Divide the batter evenly between the prepared cake pans. Bake in the preheated oven for 25-30 minutes, or until a toothpick inserted in the center comes out clean.
Step 8: Cool the Cakes
Once baked, remove the cakes from the oven and let them cool in the pans for about 10 minutes. Then, transfer them to a cooling rack to cool completely.
Step 9: Make the Cream Cheese Frosting
In a medium bowl, beat the softened cream cheese and butter together until smooth. Gradually add the powdered sugar and mix until light and fluffy. Finally, stir in the vanilla extract.
Step 10: Assemble the Cake
Once the cakes are completely cool, place one layer on a serving plate. Spread a generous amount of cream cheese frosting on top, then place the second layer on top. Frost the top and sides of the cake with the remaining cream cheese frosting.
In-Season Swaps
- For a lighter flavor, consider using lemon or orange zest in the frosting.
- Swap the cream cheese for mascarpone cheese for a different texture.
- In spring, add a hint of almond extract for a floral note.
- Top with fresh berries in summer for a fruity twist.
Don’t Do This
When making your Red Velvet Cake from Scratch, avoid the following common pitfalls:
- Don’t overmix the batter; this can lead to a dense cake.
- Avoid using liquid food coloring; it won’t provide the same vibrant color.
- Don’t skip the cooling step; frosting a warm cake can lead to melted frosting.
- Don’t rush the baking time; always check with a toothpick to ensure doneness.
Meal Prep & Storage Notes
This Red Velvet Cake from Scratch can be prepared ahead of time. Here are some storage tips:
- Store the cooled cake layers in an airtight container at room temperature for up to 2 days.
- You can refrigerate the frosted cake for up to 5 days.
- For longer storage, freeze the unfrosted cake layers wrapped tightly in plastic wrap for up to 3 months.
- Thaw frozen layers in the refrigerator overnight before frosting.
FAQ
Can I use regular food coloring instead of gel food coloring?
While you can use regular food coloring, it may not provide the same deep red hue as gel food coloring. Gel food coloring is more concentrated, so it’s recommended for the best results.
What can I substitute for buttermilk?
If you don’t have buttermilk on hand, you can make a quick substitute by mixing 1 cup of milk with 1 tablespoon of white vinegar or lemon juice. Let it sit for about 5 minutes before using.
Can I make this cake ahead of time?
Yes! You can bake the cake layers in advance and store them in an airtight container. Frosting can also be made ahead and stored in the refrigerator until you’re ready to assemble the cake.
Is Red Velvet Cake really chocolate cake?
Yes, Red Velvet Cake has a mild chocolate flavor due to the cocoa powder, but it is often considered a different dessert because of its vibrant color and unique frosting.
Weekend Projects
- Try Red Velvet Cupcakes for individual treats.
- Make Red Velvet Pancakes for a fun brunch idea.
- Explore Vegan Red Velvet Cake as a dairy-free alternative.
- Check out Red Velvet Smoothies for a healthy twist.
Time to Try It
Now that you have all the tools and knowledge to create a stunning Red Velvet Cake from Scratch, it’s time to roll up your sleeves and start baking! The process may seem involved, but the result is a show-stopping dessert that’s sure to impress family and friends alike. Don’t forget to take pictures of your beautiful creation, and most importantly, enjoy every bite. Happy baking!
Red Velvet Cake from Scratch
Ingredients
Equipment
Method
- Step 1: Prepare Your Pans - Start by preheating your oven to 350°F (175°C). Grease two 9-inch round cake pans with vegetable oil and line the bottoms with parchment paper for easy removal.
- Step 2: Mix Dry Ingredients - In a medium bowl, whisk together the all-purpose flour, cocoa powder, and salt. Set aside.
- Step 3: Cream the Sugar and Oil - In a large mixing bowl, combine the sugar and vegetable oil. Use a stand mixer or hand mixer to beat until well combined.
- Step 4: Add Eggs and Coloring - Add the eggs one at a time to the sugar and oil mixture, mixing well after each addition. Then, add the red gel food coloring and vanilla extract, mixing until fully incorporated.
- Step 5: Alternate Adding Dry Ingredients and Buttermilk - Gradually add the dry ingredient mixture to the wet ingredients, alternating with the buttermilk. Start and end with the dry ingredients, mixing just until combined.
- Step 6: Activate the Baking Soda - In a small bowl, combine the white vinegar and baking soda. It will fizz and bubble, which is normal! Quickly fold this mixture into your cake batter.
- Step 7: Bake the Cakes - Divide the batter evenly between the prepared cake pans. Bake in the preheated oven for 25-30 minutes, or until a toothpick inserted in the center comes out clean.
- Step 8: Cool the Cakes - Once baked, remove the cakes from the oven and let them cool in the pans for about 10 minutes. Then, transfer them to a cooling rack to cool completely.
- Step 9: Make the Cream Cheese Frosting - In a medium bowl, beat the softened cream cheese and butter together until smooth. Gradually add the powdered sugar and mix until light and fluffy. Finally, stir in the vanilla extract.
- Step 10: Assemble the Cake - Once the cakes are completely cool, place one layer on a serving plate. Spread a generous amount of cream cheese frosting on top, then place the second layer on top. Frost the top and sides of the cake with the remaining cream cheese frosting.
Notes
- For a lighter flavor, consider adding lemon or orange zest to the frosting.
- Swap the cream cheese for mascarpone cheese for a different texture.
- Store the cake layers in an airtight container at room temperature for up to 2 days.