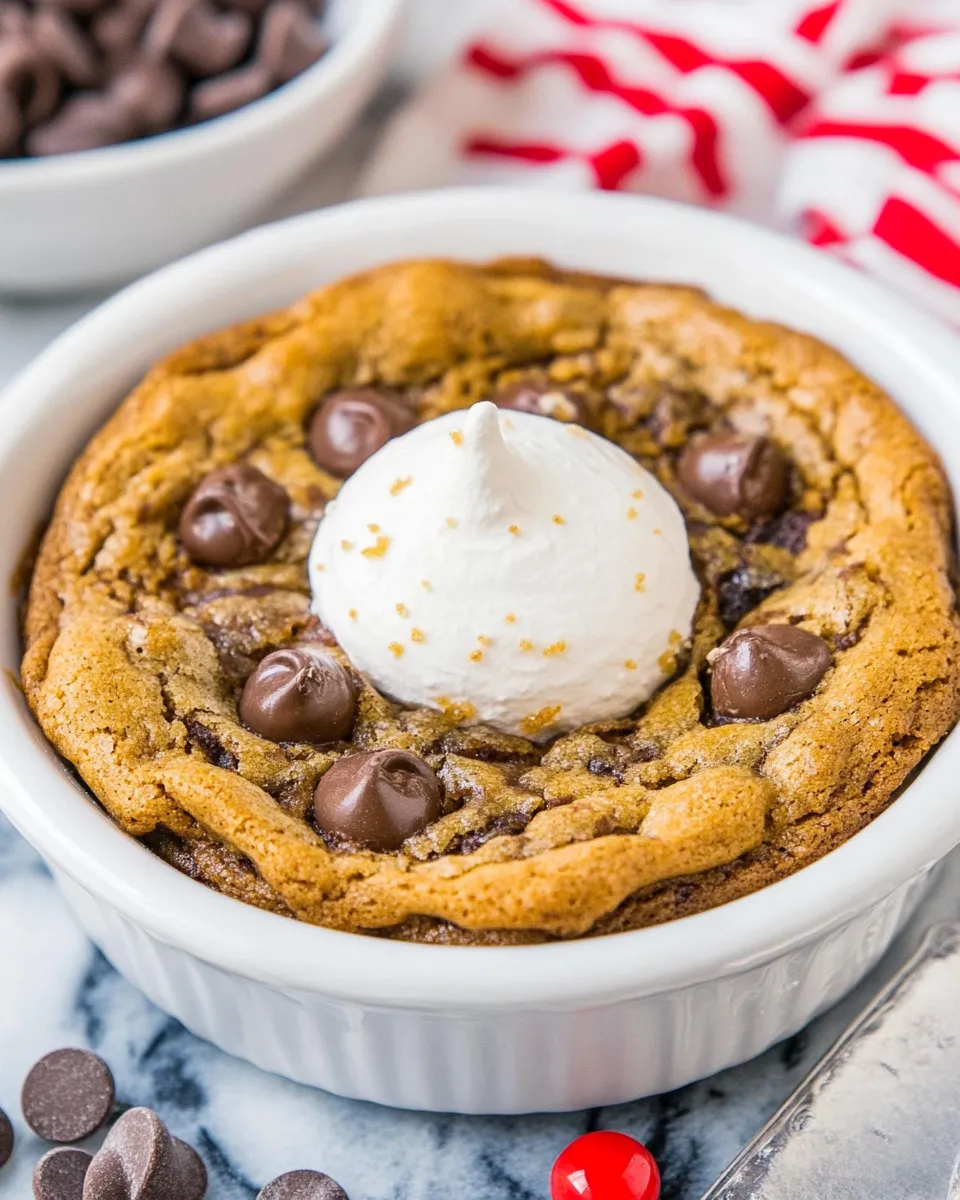
Pizookie Recipe
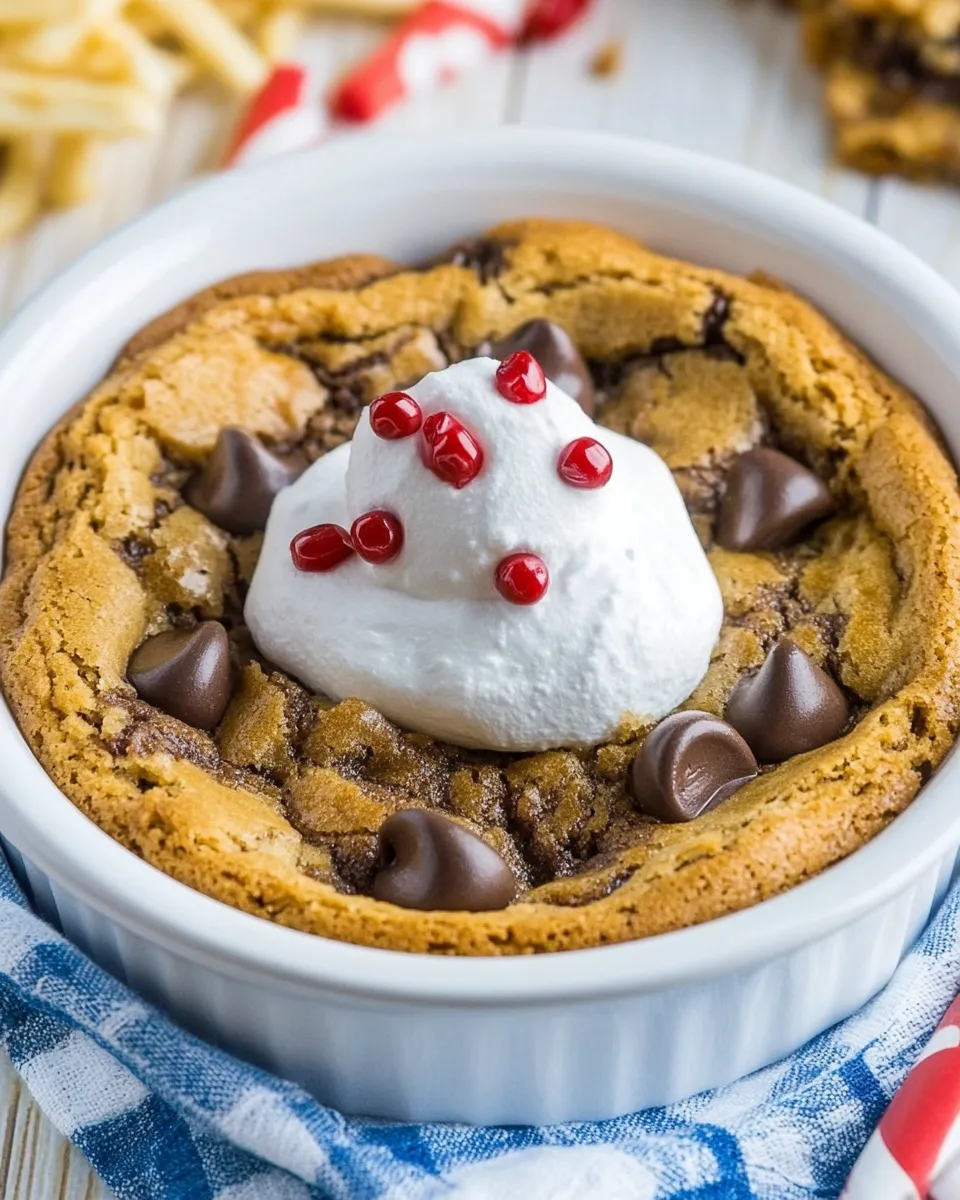
If you’re looking for a dessert that’s a perfect blend of warm, gooey cookie and ice cream, look no further than this Pizookie Recipe. This delectable treat, served right in its baking dish, is not only easy to whip up but also incredibly satisfying. Just imagine digging into a warm, chocolatey cookie topped with a scoop of your favorite ice cream! Whether you’re hosting a gathering or simply indulging in a sweet night in, this Pizookie is sure to delight.
Why Pizookie Recipe is Worth Your Time
The Pizookie is a delightful fusion of two beloved desserts: cookies and brownies. It’s baked in a skillet or a small baking dish, making it easy to serve and share. The warm, melty center paired with cold ice cream creates a texture and temperature contrast that’s simply irresistible. With simple ingredients that you likely have on hand, this Pizookie Recipe enables you to create a dessert that feels gourmet without requiring a lot of effort. In just a short time, you can impress friends and family, or treat yourself to a decadent sweet.
What’s in the Bowl
To create this indulgent Pizookie, you will need the following ingredients:
- 1/2 cup (57g) butter, melted – This gives the cookie its rich flavor and soft texture.
- 8 teaspoons (38g) granulated sugar – For sweetness and a slight crunch.
- 1/4 cup (50g) packed brown sugar – Adds moisture and a hint of caramel flavor.
- 1 large egg yolk – Aiding in binding and enriching the cookie.
- 1 teaspoon vanilla extract – For that classic cookie flavor.
- 1/2 teaspoon baking soda – Helps the cookie rise slightly.
- 1/4 teaspoon salt – Enhances the sweetness.
- 1/2 cup (62g) all-purpose flour – The base of our cookie.
- 1/2 cup (56g) mini chocolate chips – For melty goodness. You can also use other chocolate chips or candy!
Setup & Equipment
Before you start baking, make sure you have the following equipment ready:
- Oven – Preheat to 350°F (175°C).
- 8-inch cast iron skillet or oven-safe baking dish – For baking your Pizookie.
- Mixing bowls – One for wet ingredients and another for dry.
- Spatula or wooden spoon – For mixing the batter.
- Measuring cups and spoons – To ensure accurate ingredient measurements.
Cook Pizookie Recipe Like This
Creating your own Pizookie is a straightforward process! Follow these steps:
Step 1: Preheat the Oven
Begin by preheating your oven to 350°F (175°C). This ensures that your Pizookie bakes evenly from the start.
Step 2: Melt the Butter
In a microwave-safe bowl, melt the butter until it’s completely liquid. Allow it to cool slightly before proceeding to the next step.
Step 3: Mix the Sugars
In a mixing bowl, combine the melted butter with granulated sugar and brown sugar. Stir until the mixture is smooth and well blended.
Step 4: Add the Egg Yolk and Vanilla
Add the egg yolk and vanilla extract to the sugar mixture. Mix until everything is well incorporated.
Step 5: Combine Dry Ingredients
In another bowl, whisk together the baking soda, salt, and all-purpose flour. This step helps to evenly distribute the leavening agent.
Step 6: Mix Wet and Dry Ingredients
Gradually add the dry ingredients to the wet ingredients, stirring until just combined. Be careful not to overmix, as this can lead to a tough texture.
Step 7: Fold in Chocolate Chips
Gently fold in the mini chocolate chips or any candy of your choice. This is where your Pizookie gets its delicious, gooey chocolatey goodness!
Step 8: Bake
Pour the batter into your prepared skillet or baking dish, spreading it out evenly. Bake for about 20-25 minutes, or until the edges are golden brown and the center is still soft.
Step 9: Serve Hot
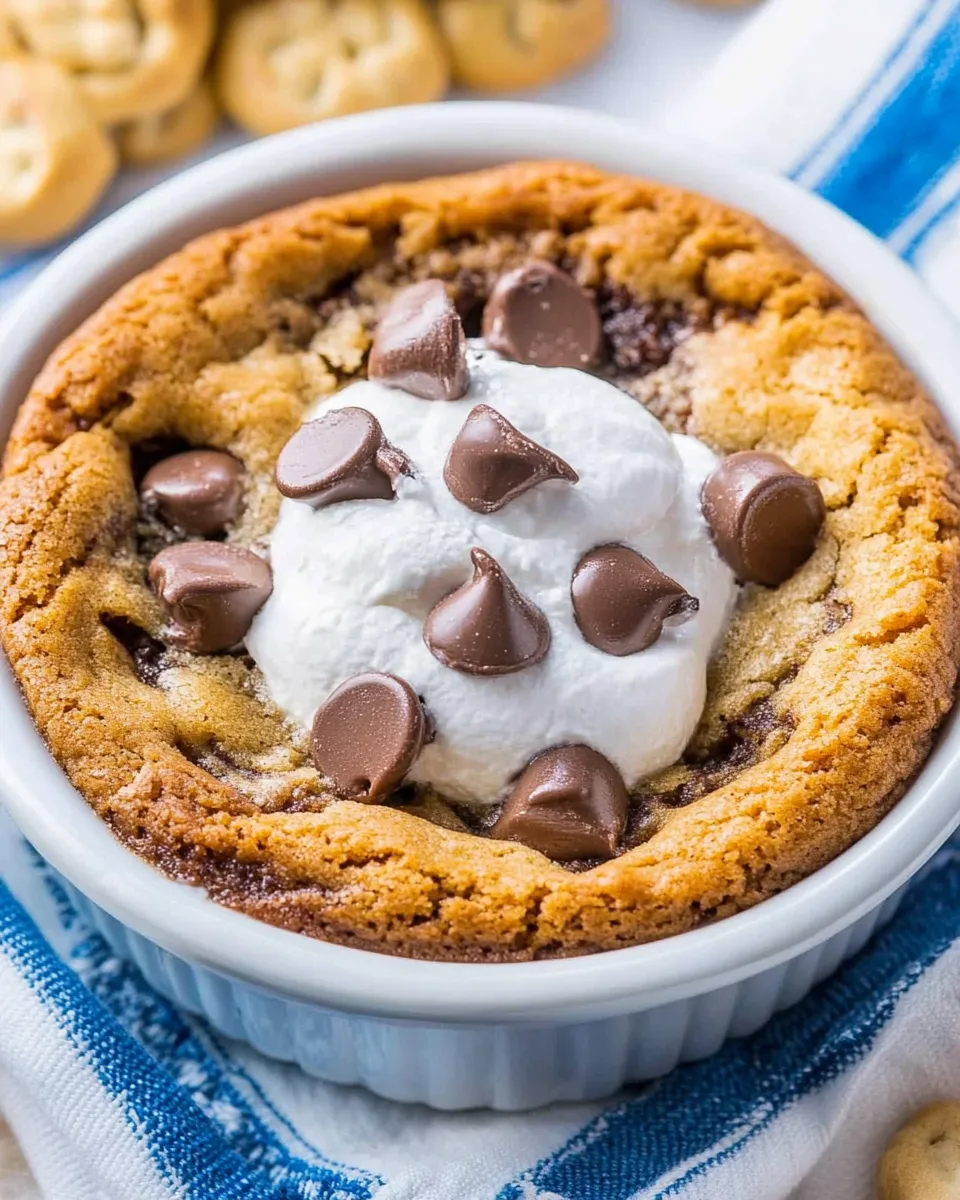
Remove from the oven and let it cool for a couple of minutes before adding a generous scoop of ice cream on top. Enjoy your Pizookie while it’s warm!
Seasonal Flavor Boosts

Want to take your Pizookie to the next level? Consider these flavor variations:
- Peanut Butter Chocolate Pizookie – Add 1/4 cup of creamy peanut butter to the batter for a nutty twist.
- Mint Chocolate Pizookie – Use mint chocolate chips instead of regular ones for a refreshing change.
- Spiced Pumpkin Pizookie – Add 1/4 cup of pumpkin puree and 1 teaspoon of pumpkin spice for a fall-inspired treat.
- Salted Caramel Pizookie – Drizzle caramel sauce over the top just before serving, and sprinkle with a pinch of sea salt.
Flavor Logic
The magic of this Pizookie Recipe lies in its balance of flavors and textures. The combination of granulated and brown sugars provides a unique sweetness. Brown sugar adds moisture and a deeper flavor, while granulated sugar offers a slight crunch. The melted butter ensures a rich, tender cookie, while the egg yolk contributes to a chewy center. The baking soda helps the cookie rise, giving it a soft, pillowy feel. Each bite, especially when paired with cold ice cream, creates an experience that is truly indulgent.
Prep Ahead & Store
If you’d like to prepare your Pizookie ahead of time, you can make the dough and store it in the refrigerator for up to two days. When you’re ready to bake, simply spread the chilled dough into your skillet and bake as directed.
For leftover Pizookie, cover it with plastic wrap or transfer it to an airtight container. It can be stored at room temperature for up to 2 days or in the fridge for up to a week. Reheat in the oven for a few minutes to regain that warm, gooey texture before serving with ice cream.
Reader Questions
Can I use whole eggs instead of just the yolk?
While using a whole egg is possible, it will change the texture slightly, making it less chewy and more cake-like. For the best results, stick to just the yolk.
What can I use if I don’t have mini chocolate chips?
If mini chocolate chips aren’t available, feel free to use regular chocolate chips, chopped chocolate bars, or even other candies like M&Ms or chopped nuts!
Can I make this Pizookie gluten-free?
Absolutely! Substitute the all-purpose flour with a 1:1 gluten-free flour blend, and your Pizookie will still turn out delicious.
How do I know when the Pizookie is done baking?
The edges should be set and slightly golden brown, while the center should look a bit underbaked. It will continue to cook slightly as it cools, giving you that perfect gooey texture.
Keep Cooking
If you loved this Pizookie Recipe, you might enjoy trying out these other delightful treats:
- Classic Chocolate Chip Cookies
- Fudgy Brownies
- No-Bake Cookie Dough Bites
- Homemade Ice Cream Sandwiches
Serve & Enjoy
Now that you’ve mastered this Pizookie Recipe, it’s time to dig in! Serve it warm, straight from the oven, topped with a scoop of ice cream. You can also add whipped cream, sprinkles, or even a drizzle of chocolate syrup for an extra touch. Whether it’s a special occasion or a casual night at home, this Pizookie is sure to be the star of the dessert table. Enjoy every warm and gooey bite!
Pizookie Recipe
Ingredients
Equipment
Method
- Step 1: Preheat the OvenBegin by preheating your oven to 350°F (175°C). This ensures that your Pizookie bakes evenly from the start.
- Step 2: Melt the ButterIn a microwave-safe bowl, melt the butter until it’s completely liquid. Allow it to cool slightly before proceeding to the next step.
- Step 3: Mix the SugarsIn a mixing bowl, combine the melted butter with granulated sugar and brown sugar. Stir until the mixture is smooth and well blended.
- Step 4: Add the Egg Yolk and VanillaAdd the egg yolk and vanilla extract to the sugar mixture. Mix until everything is well incorporated.
- Step 5: Combine Dry IngredientsIn another bowl, whisk together the baking soda, salt, and all-purpose flour. This step helps to evenly distribute the leavening agent.
- Step 6: Mix Wet and Dry IngredientsGradually add the dry ingredients to the wet ingredients, stirring until just combined. Be careful not to overmix, as this can lead to a tough texture.
- Step 7: Fold in Chocolate ChipsGently fold in the mini chocolate chips or any candy of your choice. This is where your Pizookie gets its delicious, gooey chocolatey goodness!
- Step 8: BakePour the batter into your prepared skillet or baking dish, spreading it out evenly. Bake for about 20-25 minutes, or until the edges are golden brown and the center is still soft.
- Step 9: Serve HotRemove from the oven and let it cool for a couple of minutes before adding a generous scoop of ice cream on top. Enjoy your Pizookie while it’s warm!
Notes
- You can prepare the dough ahead of time and store it in the refrigerator for up to 2 days.
- Cover leftovers with plastic wrap or store in an airtight container for up to a week.
- Reheat in the oven for a few minutes to regain the warm, gooey texture.