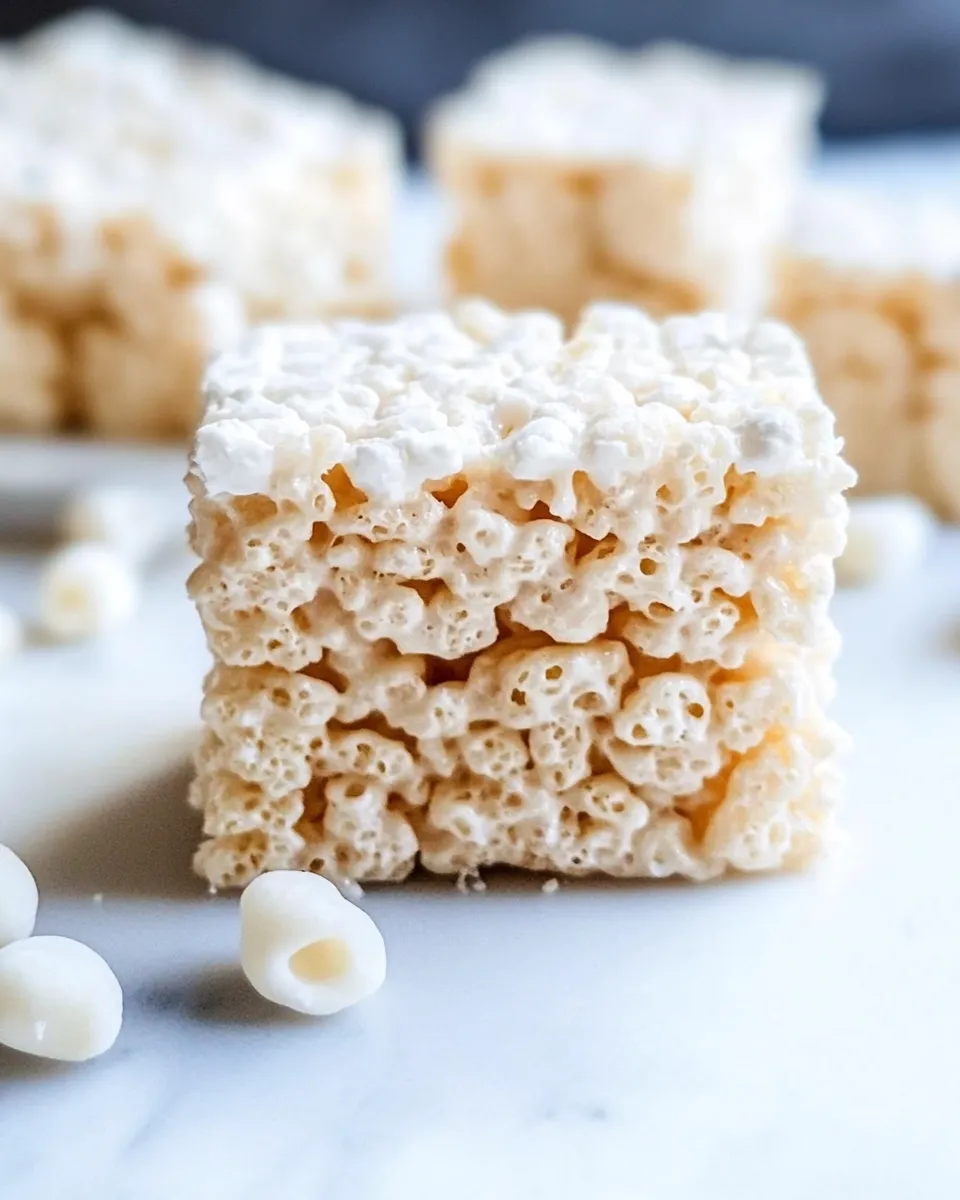
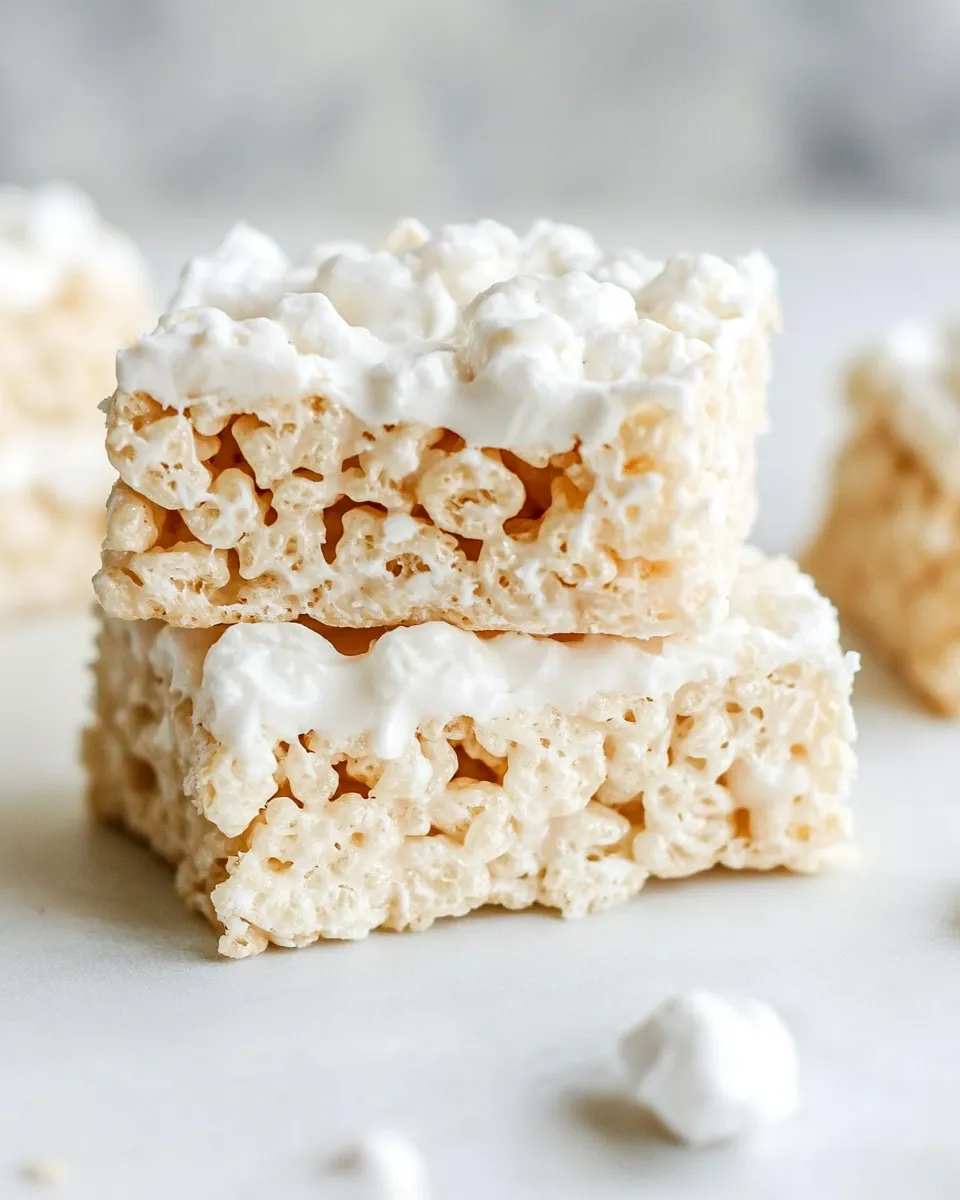
Perfect Rice Krispie Treats
There’s something truly magical about the combination of gooey marshmallows and crispy cereal. If you’re looking for a nostalgic treat that brings back childhood memories, look no further than these Perfect Rice Krispie Treats. They are quick to make, require minimal ingredients, and are a surefire way to delight both kids and adults alike. Whether you’re hosting a gathering or simply satisfying a sweet craving, these treats will not disappoint. Let’s dive into this classic recipe and discover how to create the best Rice Krispie Treats ever!
Why This Perfect Rice Krispie Treats Stands Out
What makes this recipe stand out from the rest? It’s all about the balance of flavors and textures. The butter adds a rich depth, while the marshmallows provide that delightful chewiness. Adding an optional cup of mini marshmallows gives you those little pockets of gooey goodness, taking your treats to the next level. Plus, the simplicity of the ingredients means you can whip these up anytime, without fuss.
Gather These Ingredients
To make these Perfect Rice Krispie Treats, you’ll need the following ingredients:
- 1/2 cup butter – This will bring a rich flavor to your treats.
- 1 (10 ounce bag) mini marshmallows – The star of the show!
- 5 cups Rice Krispies cereal – The crispy base that holds everything together.
- 1 cup mini marshmallows (optional) – For extra gooeyness and texture.
Hardware & Gadgets
To make your Perfect Rice Krispie Treats, gather these essential tools:
- Large saucepan – For melting the butter and marshmallows.
- Wooden spoon or spatula – For stirring and mixing ingredients.
- 9×13 inch baking pan – To shape and set your treats.
- Parchment paper (optional) – For easy removal of the treats from the pan.
Perfect Rice Krispie Treats Cooking Guide

Follow these simple steps to create your Perfect Rice Krispie Treats:
Step 1: Melt the Butter
In a large saucepan over medium heat, melt 1/2 cup of butter. Stir it continuously to prevent browning, ensuring it melts evenly.
Step 2: Add Marshmallows
Once the butter is fully melted, add the entire 10-ounce bag of mini marshmallows. Stir the mixture until the marshmallows are completely melted and smooth. This process usually takes about 2-3 minutes.
Step 3: Combine with Rice Krispies
Remove the saucepan from the heat and add 5 cups of Rice Krispies cereal to the marshmallow mixture. If you’re including the optional mini marshmallows, add them now too. Gently fold the mixture until all the cereal is evenly coated and no dry spots remain.
Step 4: Transfer to Baking Pan
Using the wooden spoon or spatula, transfer the mixture to a greased 9×13 inch baking pan. Press down firmly to create an even layer. You can use a piece of wax paper or lightly greased hands to help press the mixture down without sticking.
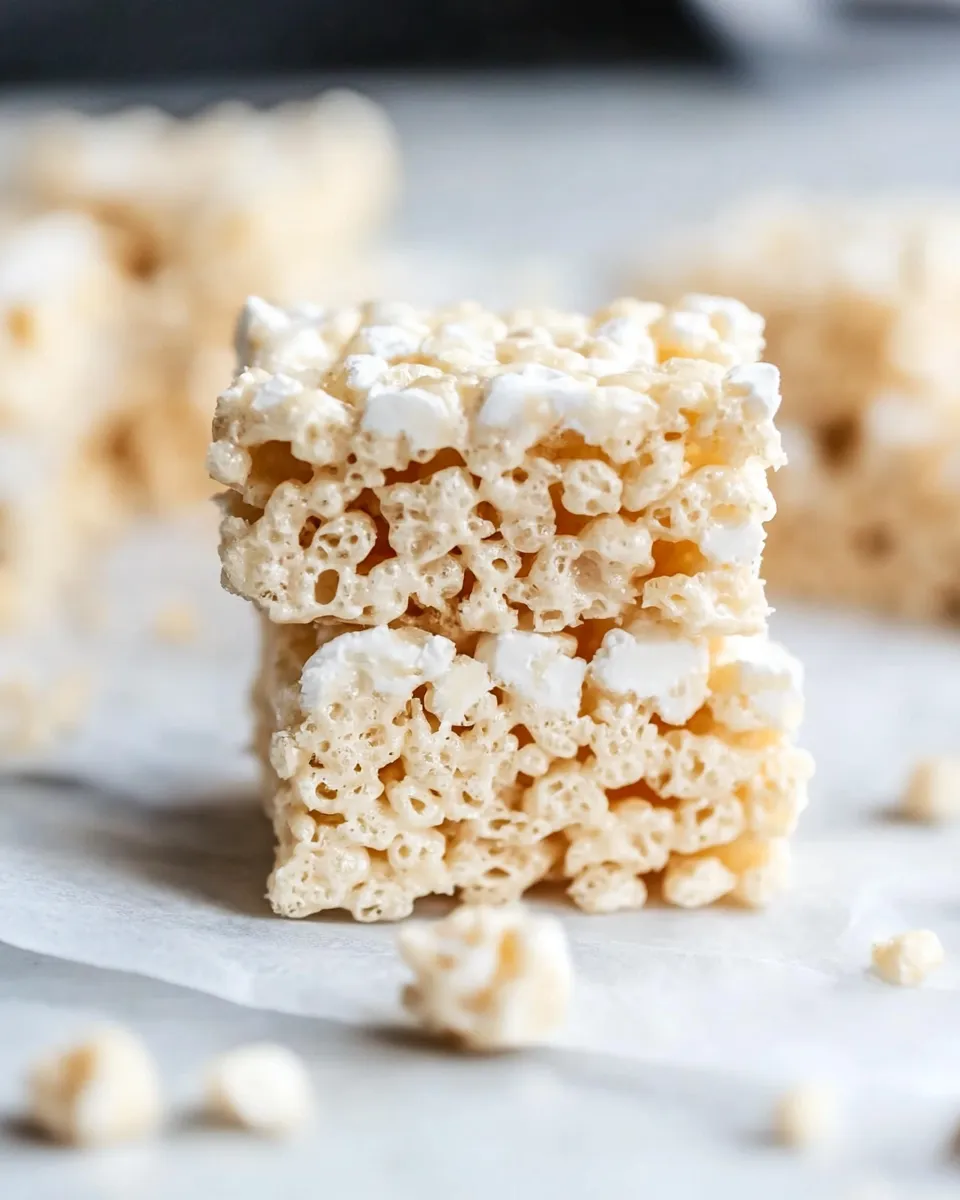
Step 5: Cool and Cut
Allow the treats to cool at room temperature for about 30 minutes. Once set, cut them into squares or rectangles. Enjoy your Perfect Rice Krispie Treats immediately, or store them for later!
No-Store Runs Needed
One of the best things about making Perfect Rice Krispie Treats is that you likely have all the ingredients on hand. Here’s a quick list of items you can use without making a trip to the store:
- Butter – Most kitchens always have this staple.
- Rice Krispies cereal – A common pantry item.
- Mini marshmallows – If you have any leftover from baking, they are perfect for this recipe.
Notes on Ingredients
When it comes to making the best Perfect Rice Krispie Treats, the quality of your ingredients matters. Here are some notes to consider:
- Use unsalted butter for more control over the flavor.
- Mini marshmallows melt more evenly than regular-sized ones, making them ideal for this recipe.
- If you prefer a sweeter treat, feel free to add the extra mini marshmallows.
Prep Ahead & Store
You can easily prepare your Perfect Rice Krispie Treats ahead of time. Here are some tips for storing them:
Store the treats in an airtight container at room temperature for up to 3 days. If you want to keep them fresh longer, consider freezing them. Just wrap the squares tightly in plastic wrap and place them in a freezer-safe container. They can be frozen for up to 2 months!
FAQ
Can I use different types of cereal?
Absolutely! While Rice Krispies are traditional, you can experiment with other cereals like Fruity Pebbles or Cocoa Krispies for a fun twist on the flavor.
Why did my Rice Krispie Treats turn out hard?
If your treats are hard, it may be due to overcooking the marshmallows or not adding enough marshmallows to the mixture. Make sure to follow the recipe closely for the best results.
Can I add mix-ins to my Rice Krispie Treats?
Yes! Feel free to add your favorite mix-ins like chocolate chips, nuts, or sprinkles for added flavor and texture. Just be sure not to overwhelm the mixture.
How do I prevent sticking when cutting the treats?
To prevent sticking, you can lightly grease your knife with cooking spray or butter before cutting. Alternatively, place a layer of parchment paper in the bottom of the pan before adding the mixture.
Reader Favorites
If you enjoyed making these Perfect Rice Krispie Treats, you might also love these reader favorites:
- German Chocolate Rice Krispie Treats – A decadent twist on the classic!
- Mini Peanut Butter Cookies – Perfect for snacking alongside your treats.
Hungry for More?
If you found joy in these Perfect Rice Krispie Treats, make sure to explore more delicious recipes that will satisfy your sweet tooth. From indulgent desserts to easy snacks, there’s always something new to try. Happy cooking!
Perfect Rice Krispie Treats
Ingredients
Equipment
Method
- In a large saucepan over medium heat, melt 1/2 cup of butter while stirring continuously.
- Add the entire 10-ounce bag of mini marshmallows and stir until completely melted and smooth, about 2-3 minutes.
- Remove from heat and fold in 5 cups of Rice Krispies cereal until evenly coated. Add optional mini marshmallows if desired.
- Transfer the mixture to a greased 9x13 inch baking pan and press down firmly to create an even layer.
- Allow to cool at room temperature for about 30 minutes, then cut into squares or rectangles.
Notes
- Use unsalted butter for better flavor control.
- Adding extra mini marshmallows enhances the gooey texture.
- Store in an airtight container for up to 3 days at room temperature.