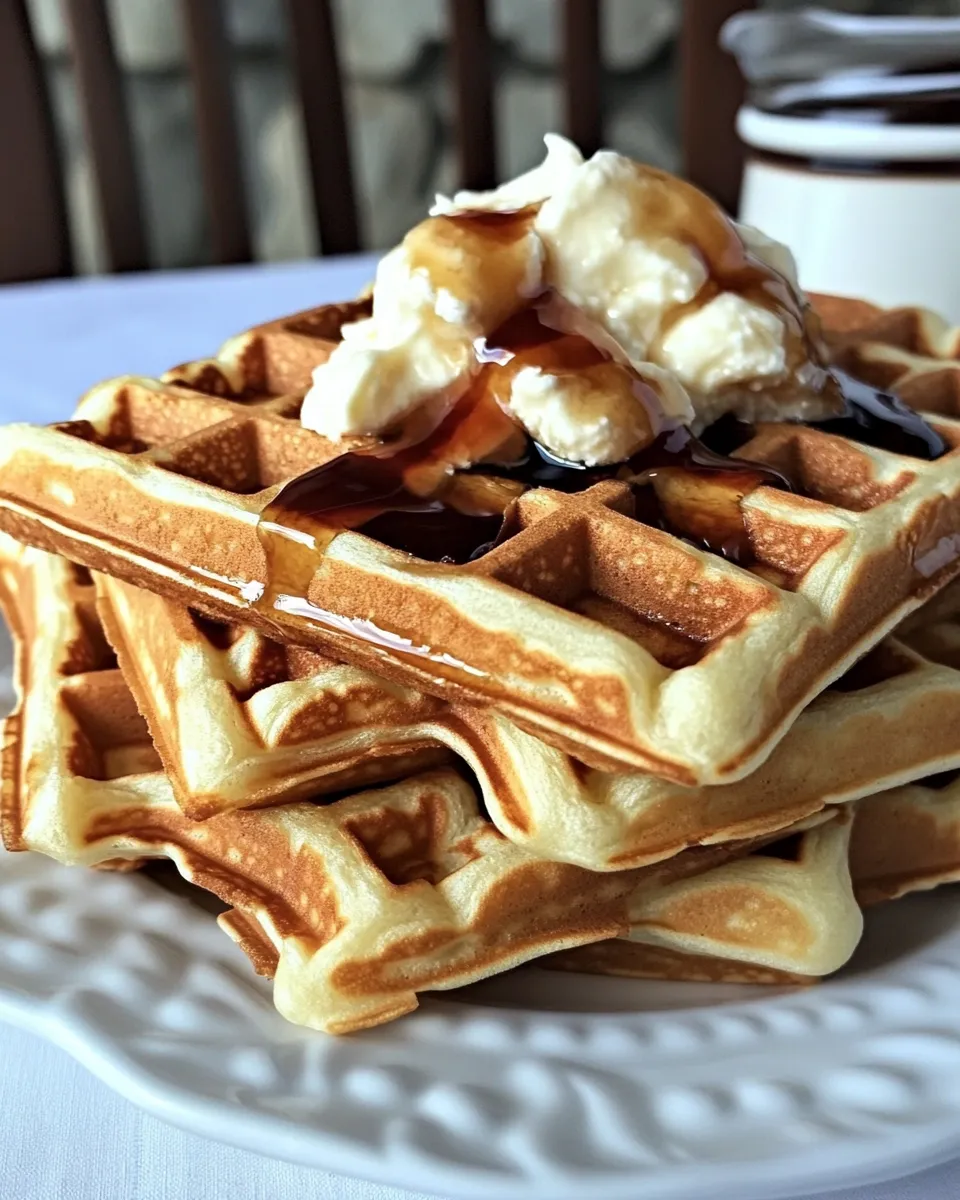
Our Favorite Buttermilk Waffles Recipe
There’s something undeniably comforting about a stack of fluffy, golden brown waffles. Whether it’s a lazy Sunday morning or a festive brunch with friends, waffles have a way of bringing joy to any table. Today, we’re excited to share our favorite buttermilk waffles recipe that promises to be the star of your breakfast spread. With a perfect blend of ingredients that create a light and airy texture, these waffles are easy to whip up and simply delightful to eat. Let’s dive into why this recipe is a keeper!
Why This Recipe is a Keeper
This buttermilk waffle recipe stands out for several reasons. First and foremost, the use of buttermilk lends a rich flavor and tender crumb that elevates these waffles above the rest. The balance of baking powder and baking soda ensures they rise beautifully, creating that coveted fluffy texture. Plus, the addition of vanilla extract adds a subtle sweetness that complements your favorite toppings, whether you prefer syrup, fruit, or whipped cream.
What we love most about this recipe is its simplicity. With just a handful of pantry staples, you can create a breakfast that tastes gourmet without the fuss. Perfect for both novice and experienced cooks, this recipe is sure to become a staple in your home.
What Goes In
To make our favorite buttermilk waffles, you will need the following ingredients:
- 1 cup (120g) all-purpose flour – The base of your waffles, providing structure.
- 1/4 teaspoon (0.65g) kosher salt – Enhances flavor and balances sweetness.
- 1 tablespoon (12g) sugar – Adds a touch of sweetness.
- 1 teaspoon (4g) baking powder – Helps the waffles rise and become fluffy.
- 1/2 teaspoon (2g) baking soda – Works with the buttermilk to create a light texture.
- 1 cup (245g) buttermilk – The secret to tender, flavorful waffles.
- 1 large (50g) egg – Binds the ingredients together.
- 3 tablespoons (42g) butter, melted – Adds richness and flavor.
- 1 teaspoon (5g) vanilla extract – Infuses a delightful aroma and taste.
Cook’s Kit
Before you start, gather your cooking essentials:
- Waffle iron – This is key for achieving that perfect waffle shape and texture.
- Mixing bowls – Use one for the dry ingredients and another for the wet.
- Whisk – Essential for blending your ingredients smoothly.
- Measuring cups and spoons – Accurate measurements are crucial for perfect waffles.
- Spatula – Handy for folding ingredients and transferring the batter.
Step-by-Step: Our Favorite Buttermilk Waffles Recipe
Ready to make some delicious waffles? Follow these simple steps for a breakfast treat that will impress everyone at the table.
Step 1: Preheat the Waffle Iron
Begin by preheating your waffle iron according to the manufacturer’s instructions. This ensures your waffles cook evenly and achieve that perfect crispy exterior.
Step 2: Combine the Dry Ingredients
In a mixing bowl, whisk together the all-purpose flour, kosher salt, sugar, baking powder, and baking soda until well combined. This step ensures that your leavening agents are evenly distributed throughout the flour.
Step 3: Mix the Wet Ingredients
In another bowl, combine the buttermilk, egg, melted butter, and vanilla extract. Whisk until the mixture is smooth and well blended.
Step 4: Combine Wet and Dry Ingredients
Pour the wet ingredients into the bowl with the dry ingredients. Gently fold the mixture together using a spatula. Be careful not to overmix; a few lumps are perfectly fine. Overmixing can lead to tough waffles.
Step 5: Cook the Waffles
Lightly grease the preheated waffle iron with a bit of cooking spray or melted butter. Pour the recommended amount of batter onto the hot waffle iron (usually about 1/2 to 3/4 cup, depending on the size of your waffle iron). Close the lid and cook according to the manufacturer’s instructions until the waffles are golden brown and crispy.
Step 6: Serve and Enjoy!
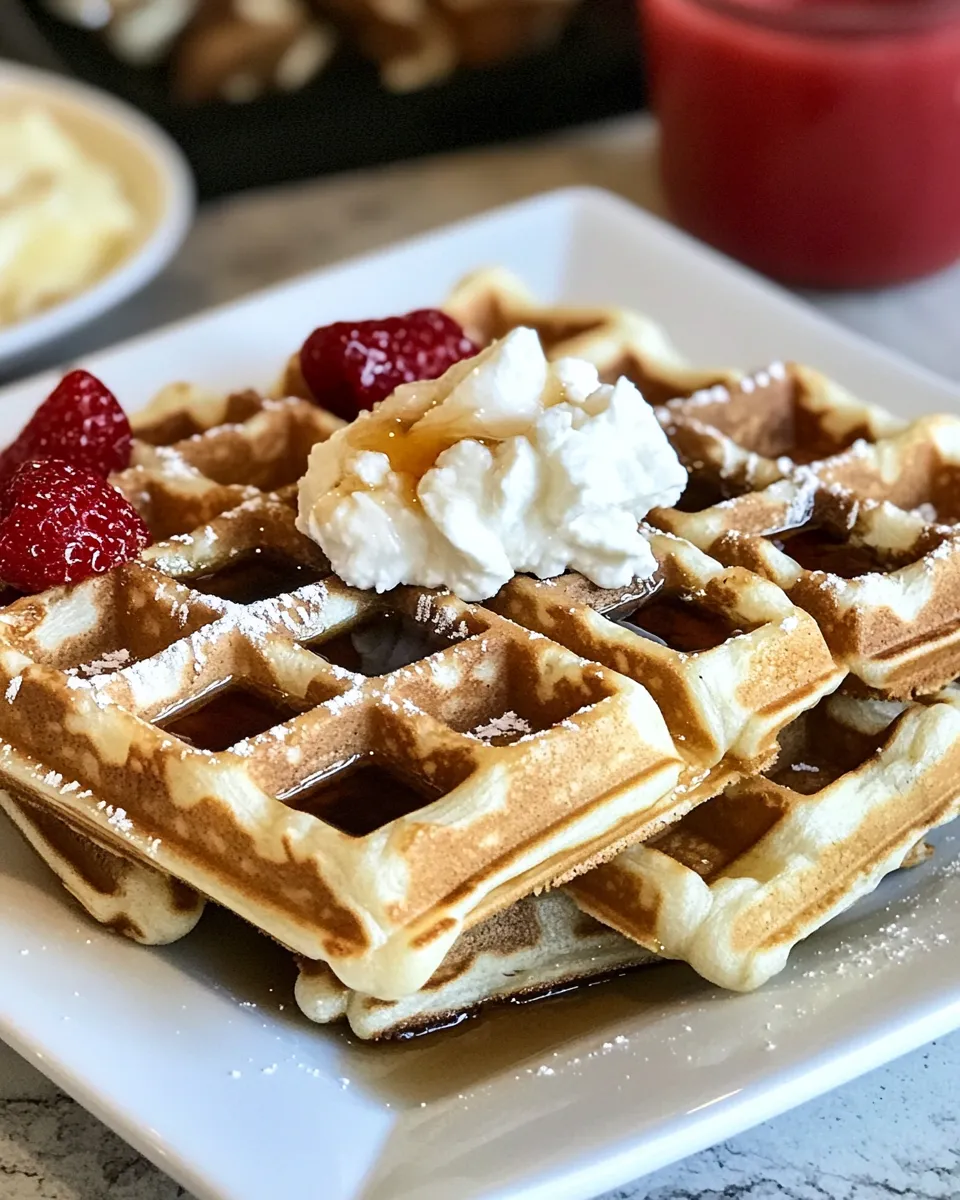
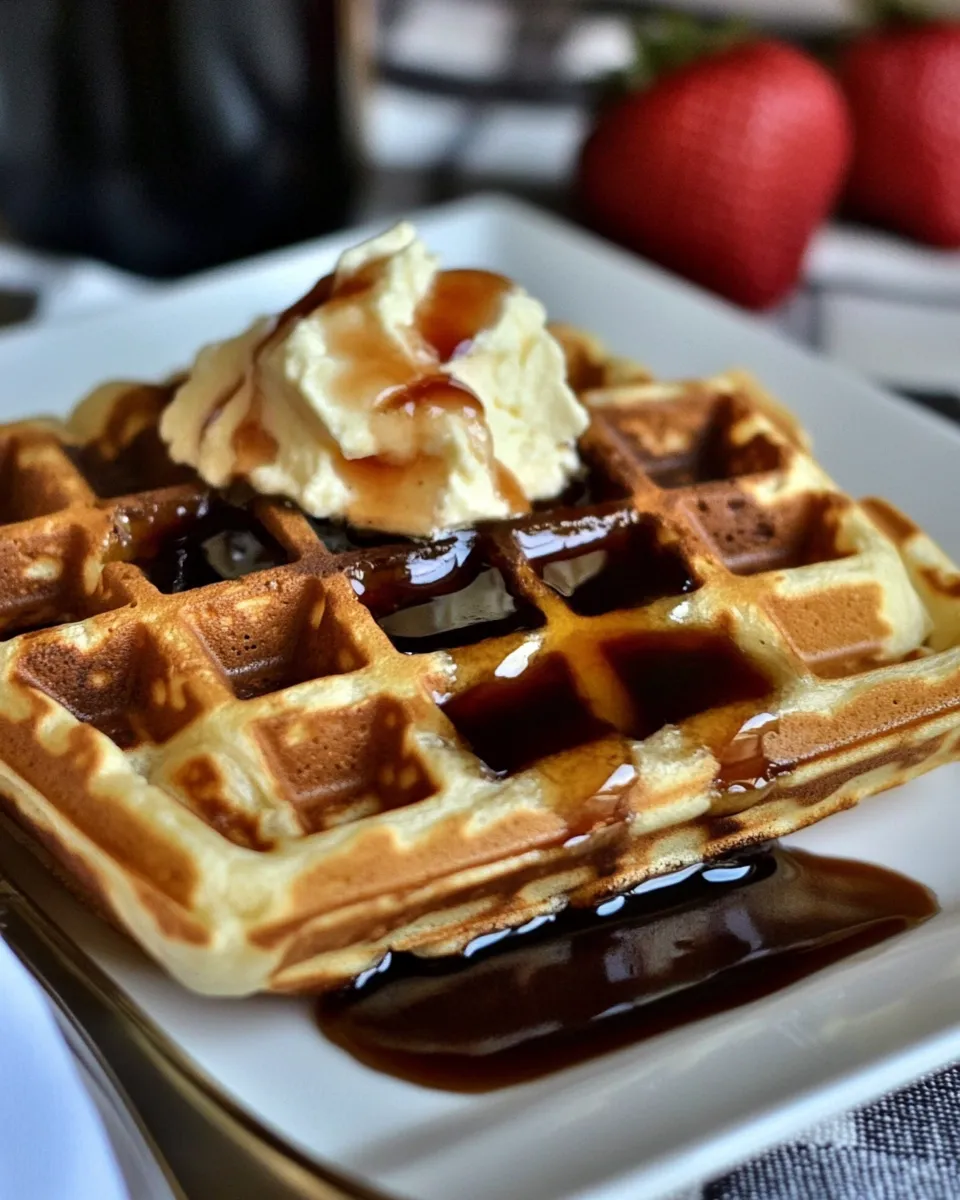
Once cooked, carefully remove the waffles from the iron and place them on a plate. Serve immediately with your favorite toppings, such as maple syrup, fresh fruits, or whipped cream.
Easy Ingredient Swaps

If you’re missing an ingredient or looking to customize your waffles, consider these easy swaps:
- Flour: Whole wheat flour or a gluten-free blend can be used in place of all-purpose flour.
- Sweetener: Substitute with honey, maple syrup, or coconut sugar for a more natural sweetener.
- Milk: If you don’t have buttermilk, make a quick substitute by adding 1 tablespoon of vinegar or lemon juice to regular milk.
- Butter: Coconut oil or vegetable oil can replace melted butter for a dairy-free option.
Errors to Dodge
While making buttermilk waffles is straightforward, there are common pitfalls to avoid:
- Overmixing the batter can lead to dense waffles. Mix just until combined.
- Not preheating the waffle iron properly can result in soggy waffles.
- Using cold ingredients can affect the consistency. Let the egg and buttermilk sit at room temperature for a bit.
- Not greasing the waffle iron can cause sticking, so don’t skip this step.
Keep-It-Fresh Plan
To enjoy the best of your buttermilk waffles, consider these storage tips:
- Refrigerate: Store leftover waffles in an airtight container in the refrigerator for up to 3 days.
- Freeze: For longer storage, freeze waffles by placing them in a single layer on a baking sheet, then transferring to a freezer-safe bag once solid. They can be kept for up to 3 months.
- Reheat: To reheat, pop frozen waffles in the toaster or warm them in the oven at 350°F (175°C) until heated through and crispy.
Frequently Asked Questions
Can I make these waffles ahead of time?
Absolutely! You can prepare the batter the night before and store it in the refrigerator. Just give it a gentle stir before using it the next morning.
What can I use instead of buttermilk?
If you don’t have buttermilk, you can easily make a substitute by combining 1 cup of milk with 1 tablespoon of vinegar or lemon juice. Let it sit for about 5 minutes, and it’s ready to use.
Can I add mix-ins to the batter?
Definitely! Feel free to add chocolate chips, blueberries, or chopped nuts to the batter for an extra tasty twist.
How do I make my waffles crispy?
For crispy waffles, ensure your waffle iron is preheated well, and consider using a bit more butter in the batter. Cooking them until they are golden brown also helps achieve that perfect crispiness.
Try These Next
If you loved our favorite buttermilk waffles, you might also enjoy trying:
Final Thoughts
There you have it—our favorite buttermilk waffles recipe that is sure to impress your family and friends. With its simple ingredients and easy-to-follow steps, you can create a breakfast that feels special any day of the week. Whether you stack them high with toppings or enjoy them plain, these waffles are a delightful way to start your day. Don’t forget to get creative with toppings and variations, making this recipe your own. Happy cooking!
Our Favorite Buttermilk Waffles Recipe
Ingredients
Equipment
Method
- Step 1: Preheat the Waffle Iron. Begin by preheating your waffle iron according to the manufacturer’s instructions.
- Step 2: Combine the Dry Ingredients. In a mixing bowl, whisk together the all-purpose flour, kosher salt, sugar, baking powder, and baking soda until well combined.
- Step 3: Mix the Wet Ingredients. In another bowl, combine the buttermilk, egg, melted butter, and vanilla extract. Whisk until the mixture is smooth and well blended.
- Step 4: Combine Wet and Dry Ingredients. Pour the wet ingredients into the bowl with the dry ingredients. Gently fold the mixture together using a spatula.
- Step 5: Cook the Waffles. Lightly grease the preheated waffle iron and pour the recommended amount of batter onto it. Cook until golden brown and crispy.
- Step 6: Serve and Enjoy! Carefully remove the waffles and serve immediately with your favorite toppings.
Notes
- For crispy waffles, ensure your waffle iron is well preheated.
- Let ingredients sit at room temperature for best results.
- Store leftovers in an airtight container in the fridge for up to 3 days.