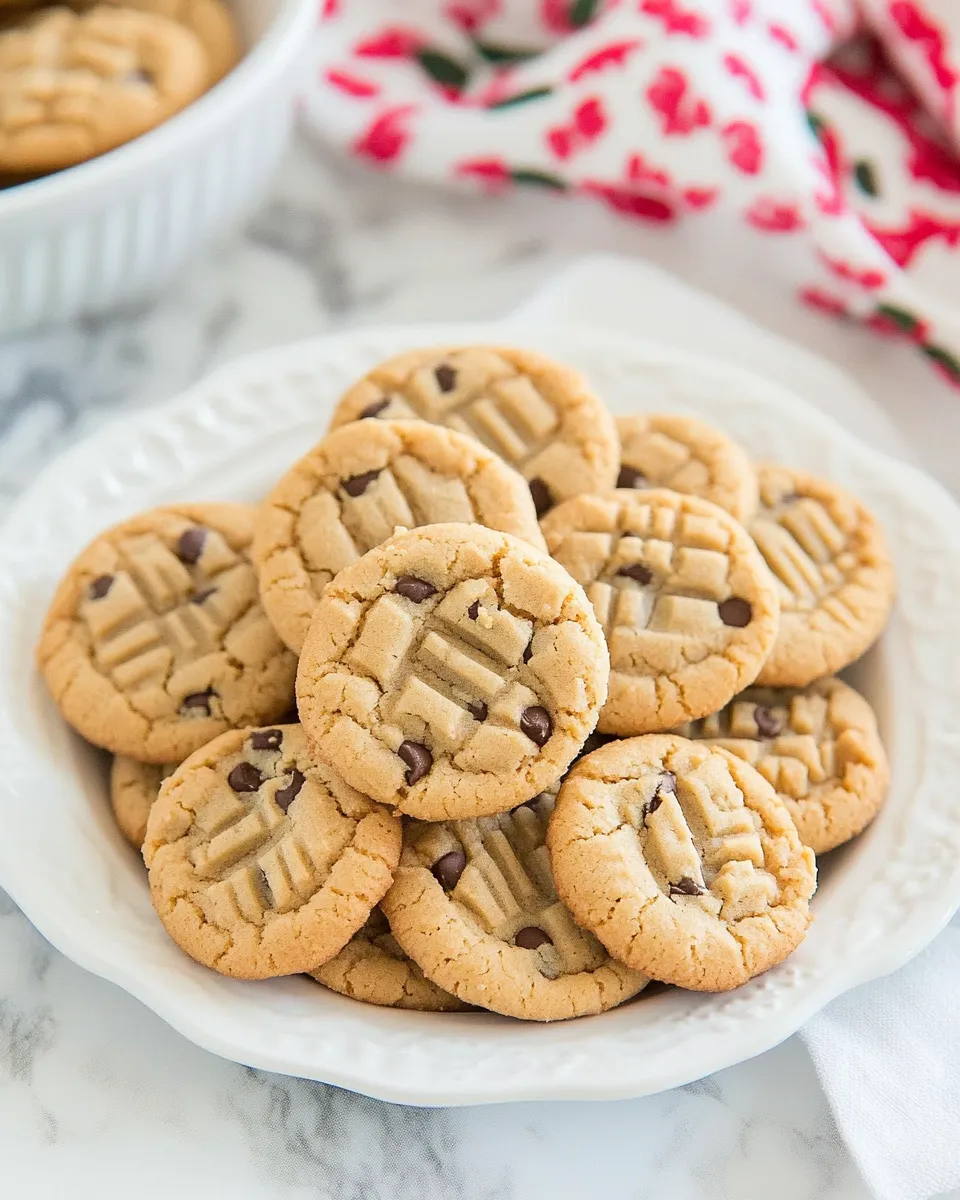
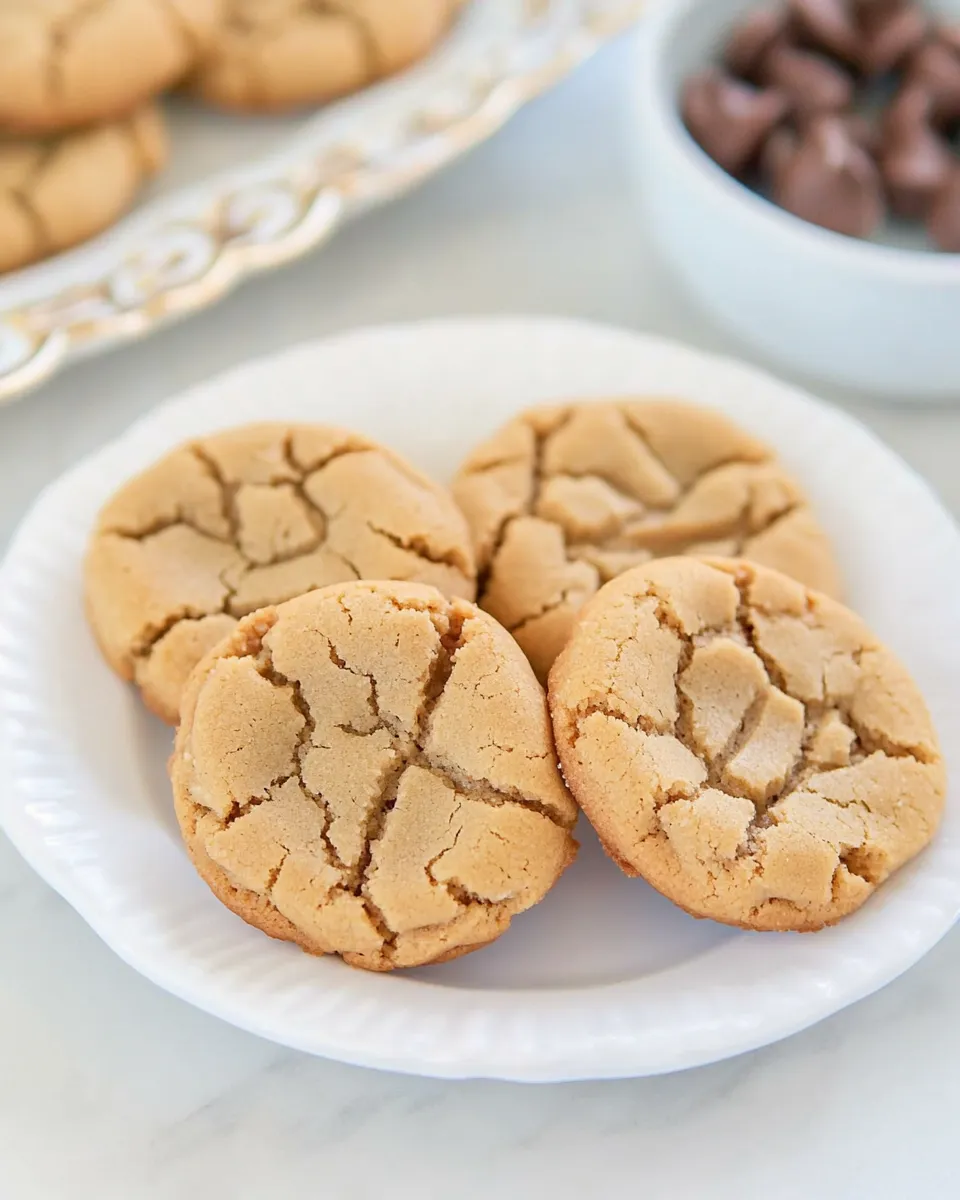
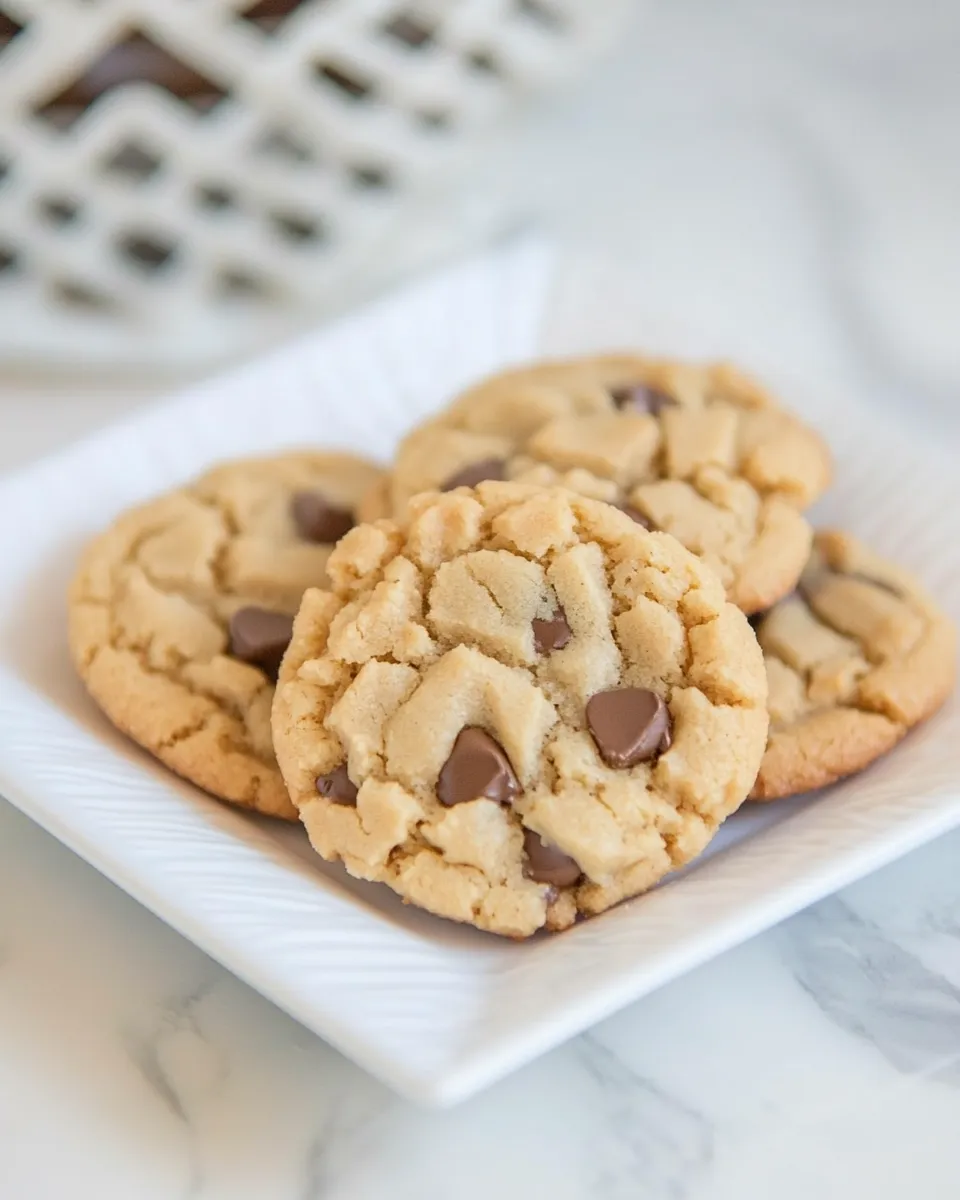
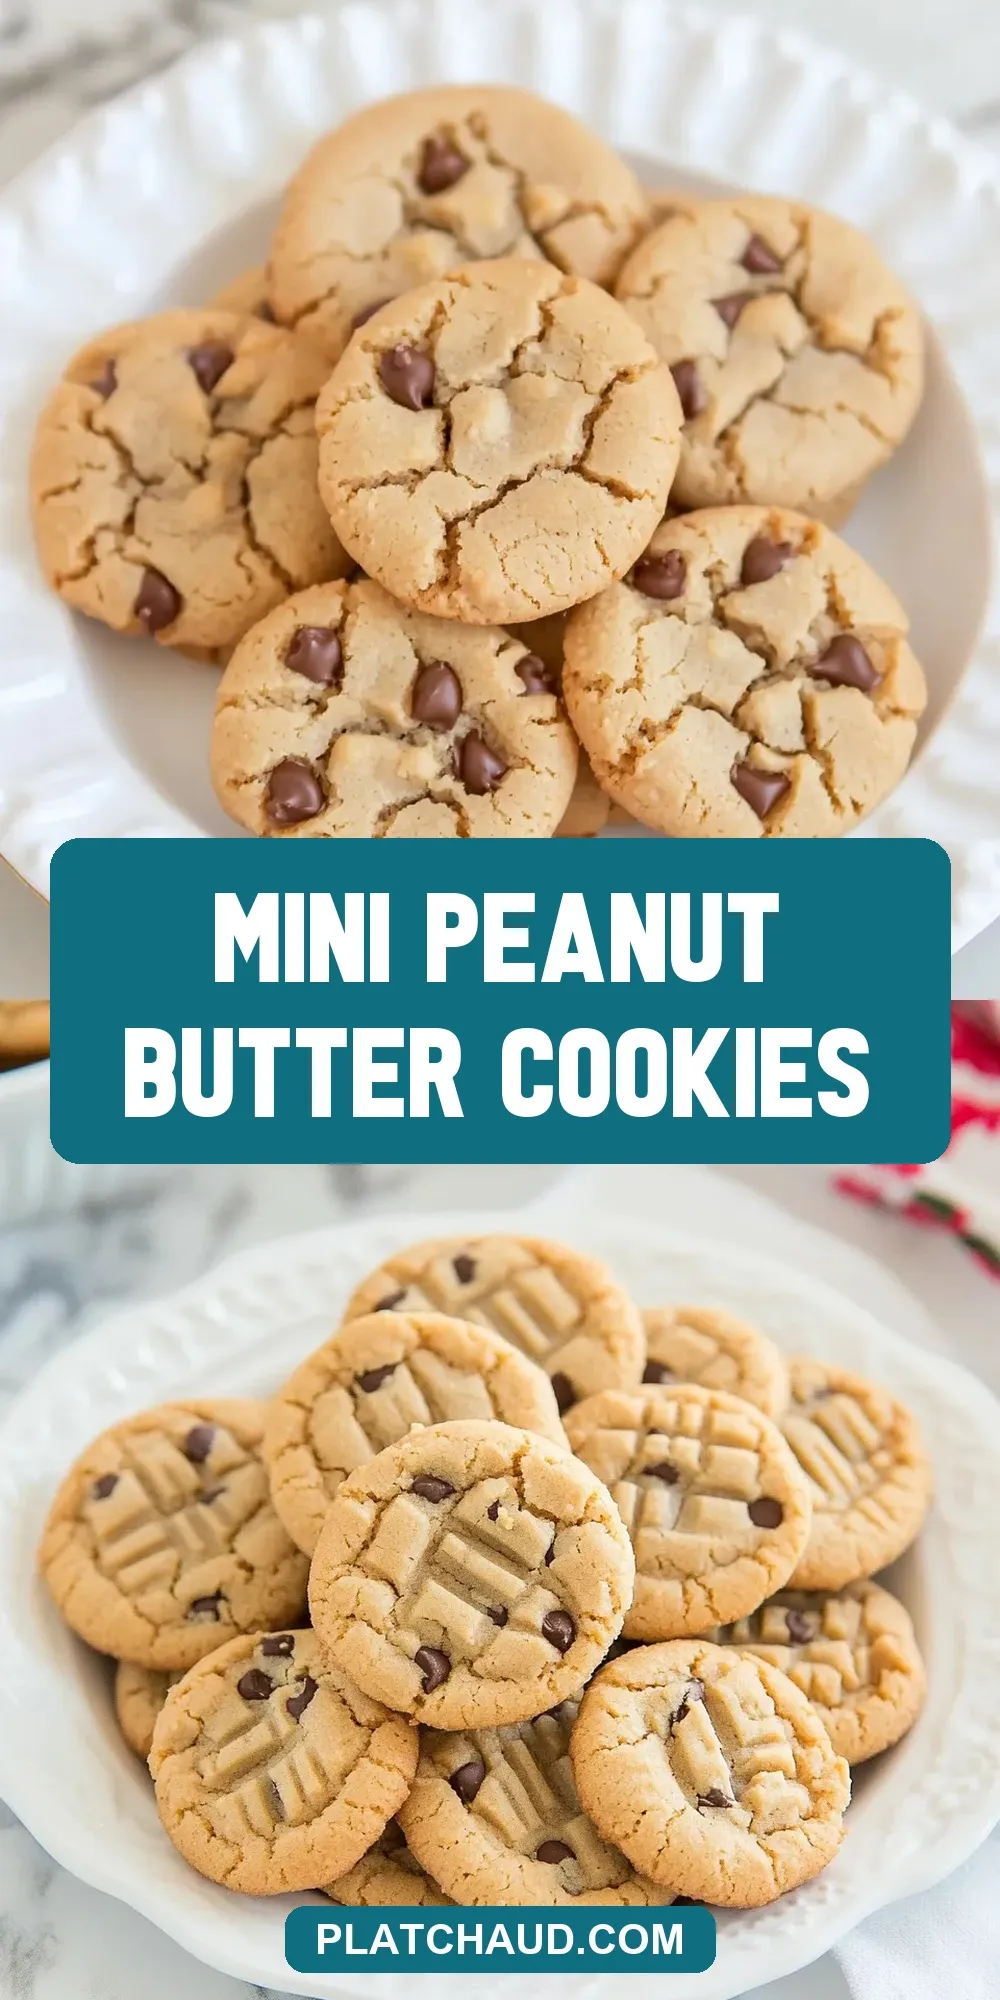
Mini Peanut Butter Cookies
There’s something incredibly comforting about the aroma of freshly baked cookies wafting through your home. Mini Peanut Butter Cookies are a delightful twist on the classic treat, perfectly sized for sharing or indulging just a little bit more. With their rich, nutty flavor and a touch of sweetness from the mini chocolate chips, these cookies are sure to please everyone in your household. Whether you’re baking for a special occasion or simply craving a homemade sweet, these mini peanut butter cookies are the answer.
Why It Deserves a Spot
Mini Peanut Butter Cookies deserve a spot in your recipe arsenal for several reasons. First and foremost, they combine the irresistible flavor of creamy peanut butter with the delightful crunch of mini chocolate chips. Their small size makes them perfect for snacking, sharing, or even satisfying that late-night sweet tooth without overindulging. Additionally, the combination of butter and shortening creates a perfectly soft and chewy texture that melts in your mouth. These cookies are not only delicious but also incredibly easy to make, making them a go-to option for both novice and experienced bakers alike.
What’s in the Bowl
To make these delightful Mini Peanut Butter Cookies, you’ll need the following ingredients:
- 1/2 cup butter, softened – For a rich and creamy base.
- 1/2 cup shortening – Adds tenderness to the cookies.
- 1 cup creamy peanut butter – The star ingredient that gives these cookies their signature flavor.
- 1 cup sugar – For sweetness.
- 1 cup brown sugar – Adds depth and moisture to the cookies.
- 2 eggs – Binds the ingredients together.
- 1 tsp vanilla extract – Enhances the overall flavor.
- 2 1/2 cups all-purpose flour – The foundation of the cookie dough.
- 1 tsp salt – Balances the sweetness.
- 1 1/2 tsp baking soda – Provides lift and helps the cookies spread.
- 1 tsp baking powder – Ensures a light and fluffy texture.
- 3/4 cup mini chocolate chips – For those little bursts of chocolate in every bite.
Tools & Equipment Needed
Before you dive into baking, gather the following tools:
- Mixing bowls – For combining your ingredients.
- Electric mixer – Makes creaming the butter and sugars a breeze.
- Measuring cups and spoons – To ensure accurate measurements for your ingredients.
- Baking sheets – Where your cookies will bake to perfection.
- Parchment paper – Helps prevent sticking and makes for easy cleanup.
- Cookie scoop – For uniform cookie sizes.
- Cooling rack – Allows your cookies to cool evenly after baking.
Cooking Mini Peanut Butter Cookies: The Process
With your ingredients and tools ready, it’s time to get baking! Follow these steps for perfect Mini Peanut Butter Cookies:
Step 1: Preheat the Oven
Begin by preheating your oven to 350°F (175°C). This ensures that your cookies bake evenly from the start.
Step 2: Cream the Butter and Shortening
In a large mixing bowl, combine the softened butter and shortening. Using an electric mixer, beat them together until the mixture is light and fluffy, about 2-3 minutes.
Step 3: Add Peanut Butter and Sugars
Next, add the creamy peanut butter, granulated sugar, and brown sugar to the bowl. Beat until well blended and smooth.
Step 4: Incorporate the Eggs and Vanilla
Add the eggs one at a time, mixing well after each addition. Then, pour in the vanilla extract and continue to mix until fully combined.
Step 5: Combine Dry Ingredients
In a separate bowl, whisk together the all-purpose flour, salt, baking soda, and baking powder. Gradually add this dry mixture to the wet ingredients, mixing on low speed until just combined.
Step 6: Fold in Chocolate Chips
Gently fold in the mini chocolate chips using a spatula, ensuring they are evenly distributed throughout the dough.
Step 7: Scoop and Shape the Cookies
Using a cookie scoop, drop rounded tablespoons of dough onto a lined baking sheet, leaving about 2 inches of space between each cookie to allow for spreading.
Step 8: Bake the Cookies
Place the baking sheet in the preheated oven and bake for 10-12 minutes, or until the edges are lightly golden. The centers may look soft, but they will firm up as they cool.
Step 9: Cool and Enjoy!
Remove the baking sheet from the oven and let the cookies cool on it for about 5 minutes before transferring them to a cooling rack to cool completely. Enjoy your delicious Mini Peanut Butter Cookies with a glass of milk or your favorite beverage!
In-Season Flavor Ideas
While Mini Peanut Butter Cookies are delightful on their own, you can easily enhance their flavor with some seasonal twists. Consider these ideas:
- Add pumpkin spice during fall for a warm, cozy flavor.
- Incorporate coconut flakes for a tropical touch.
- Mix in chopped nuts like walnuts or pecans for added crunch.
- Use dark chocolate chips instead of mini chips for a richer chocolate flavor.
What Not to Do
When baking these Mini Peanut Butter Cookies, avoid the following common mistakes:
- Do not skip the chilling step if your dough feels too soft; refrigerate it for 30 minutes to maintain shape while baking.
- Avoid overmixing the dough after adding flour, as this can lead to tough cookies.
- Don’t crowd the baking sheet; give each cookie space to spread and bake evenly.
- Resist the urge to open the oven door too early, as this can affect the cookies’ rise and texture.
Make-Ahead & Storage
If you want to prepare ahead of time, you can make the dough and refrigerate it for up to 3 days before baking. Alternatively, roll the dough into balls and freeze them for up to 3 months. When you’re ready to bake, just place the frozen dough balls on a baking sheet and add a couple of extra minutes to the baking time.
To store your Mini Peanut Butter Cookies, let them cool completely and then place them in an airtight container. They will stay fresh for up to one week at room temperature. For longer storage, consider freezing them in a single layer and then transferring to a freezer-safe bag.
Frequently Asked Questions
Can I use crunchy peanut butter instead of creamy?
Yes! Crunchy peanut butter can be used for added texture; just keep in mind that the cookies may have a different consistency.
What can I substitute for shortening?
If you prefer not to use shortening, you can replace it with an equal amount of butter or coconut oil for a different flavor profile.
How do I know when my cookies are done baking?
The edges should be lightly golden while the centers may look slightly underbaked. They will continue to set as they cool.
Can I add more chocolate chips?
Absolutely! Feel free to increase the amount of mini chocolate chips if you want a more chocolatey cookie experience.
Next Up in Your Queue
- Classic Chocolate Chip Cookies
- Healthy Banana Bread
- Vegan Chocolate Chip Cookies
- Sugar Cookies with Royal Icing
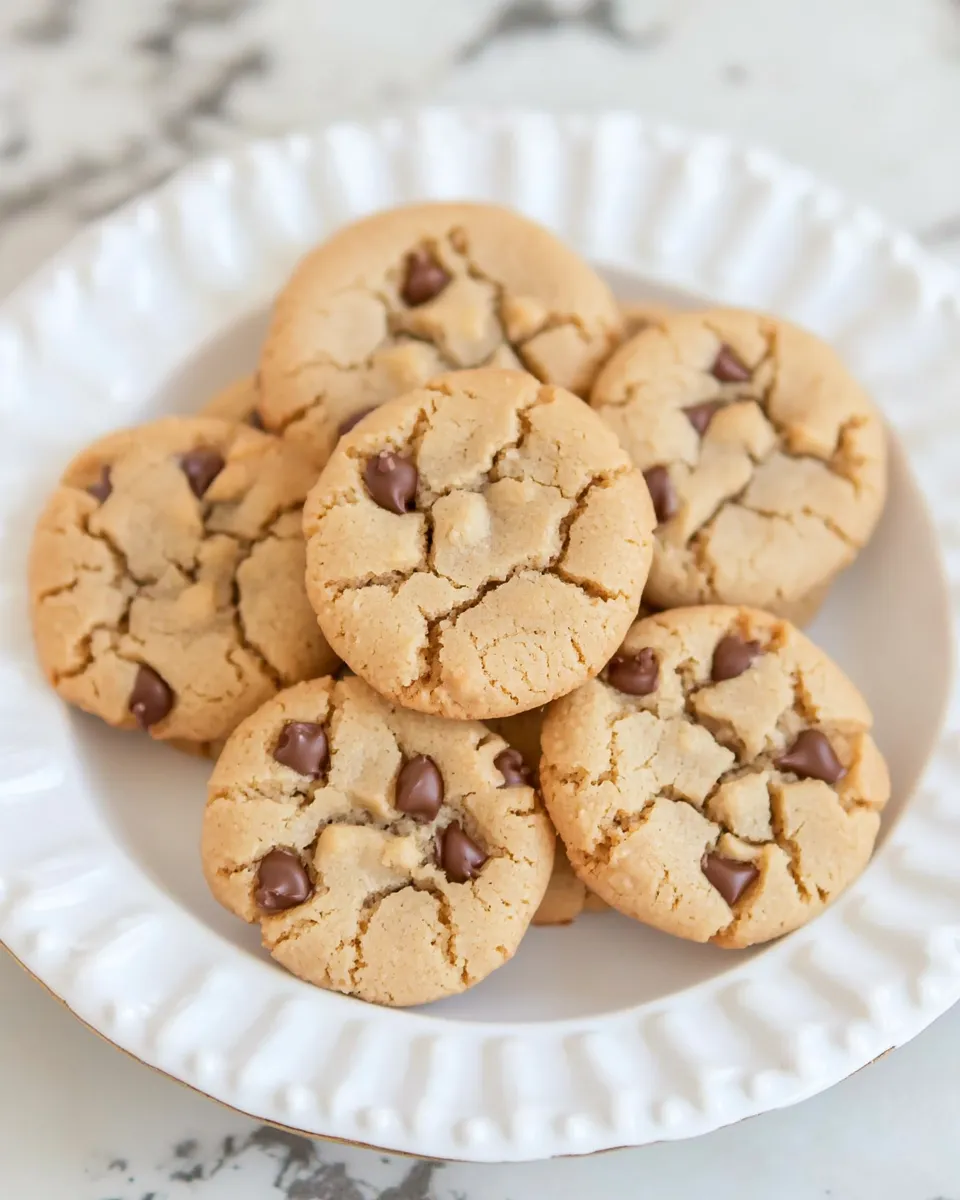
The Takeaway
Mini Peanut Butter Cookies are a delightful treat that combines the creamy richness of peanut butter with the sweetness of chocolate chips. They are easy to make and perfect for sharing, snacking, or simply enjoying with a glass of milk. With a few simple ingredients and steps, you can whip up a batch of these cookies that are sure to bring smiles to everyone around you. Whether you’re baking for a special occasion or just because, these cookies are a must-try. Don’t forget to experiment with different flavor ideas and enjoy the process of creating something delicious in your own kitchen!
Share on Pinterest
Mini Peanut Butter Cookies
Ingredients
Equipment
Method
- Preheat your oven to 350°F (175°C).
- In a large mixing bowl, combine the softened butter and shortening. Beat until light and fluffy, about 2-3 minutes.
- Add the creamy peanut butter, granulated sugar, and brown sugar. Beat until well blended and smooth.
- Add the eggs one at a time, mixing well after each. Pour in the vanilla extract and mix until combined.
- In a separate bowl, whisk together the flour, salt, baking soda, and baking powder. Gradually add to the wet ingredients, mixing on low speed until just combined.
- Fold in the mini chocolate chips using a spatula.
- Using a cookie scoop, drop rounded tablespoons of dough onto a lined baking sheet, leaving about 2 inches of space between each cookie.
- Bake for 10-12 minutes, or until the edges are lightly golden. The centers may look soft.
- Let the cookies cool on the baking sheet for about 5 minutes before transferring them to a cooling rack.
Notes
- Chill the dough for 30 minutes if it's too soft.
- Avoid overmixing after adding flour to keep cookies tender.
- Store cookies in an airtight container for up to one week.