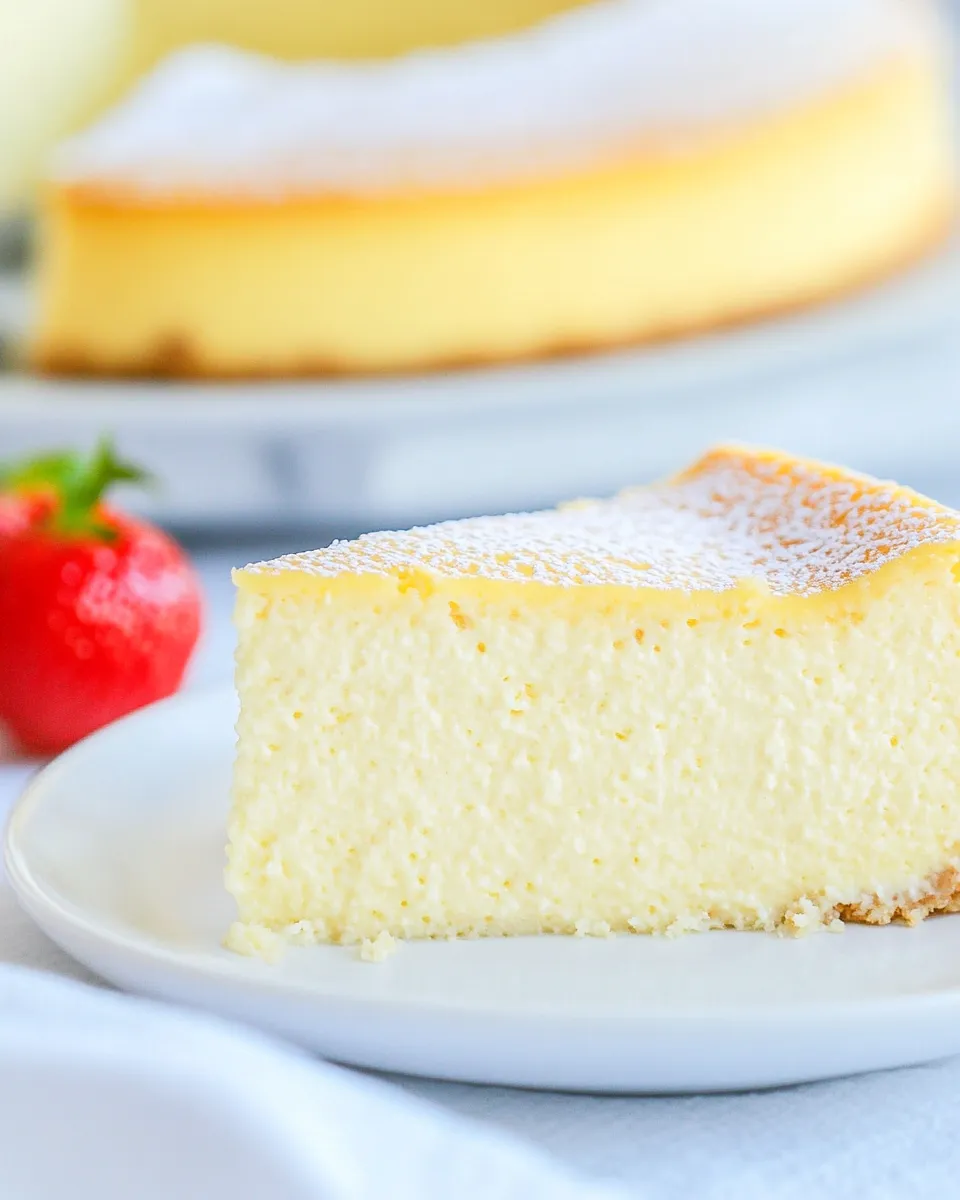
Instant Pot Japanese Cheesecake
If you’ve ever tasted a Japanese cheesecake, you know it’s a unique delight. This fluffy and airy dessert is a delightful twist on traditional cheesecake. Imagine sinking your fork into a cloud-like texture that melts in your mouth. The best part? You can make this dreamy Instant Pot Japanese Cheesecake right in your kitchen with just a few ingredients. In this guide, we’ll walk you through everything you need to create this delectable treat, from shopping to serving.
Why It’s Crowd-Pleasing
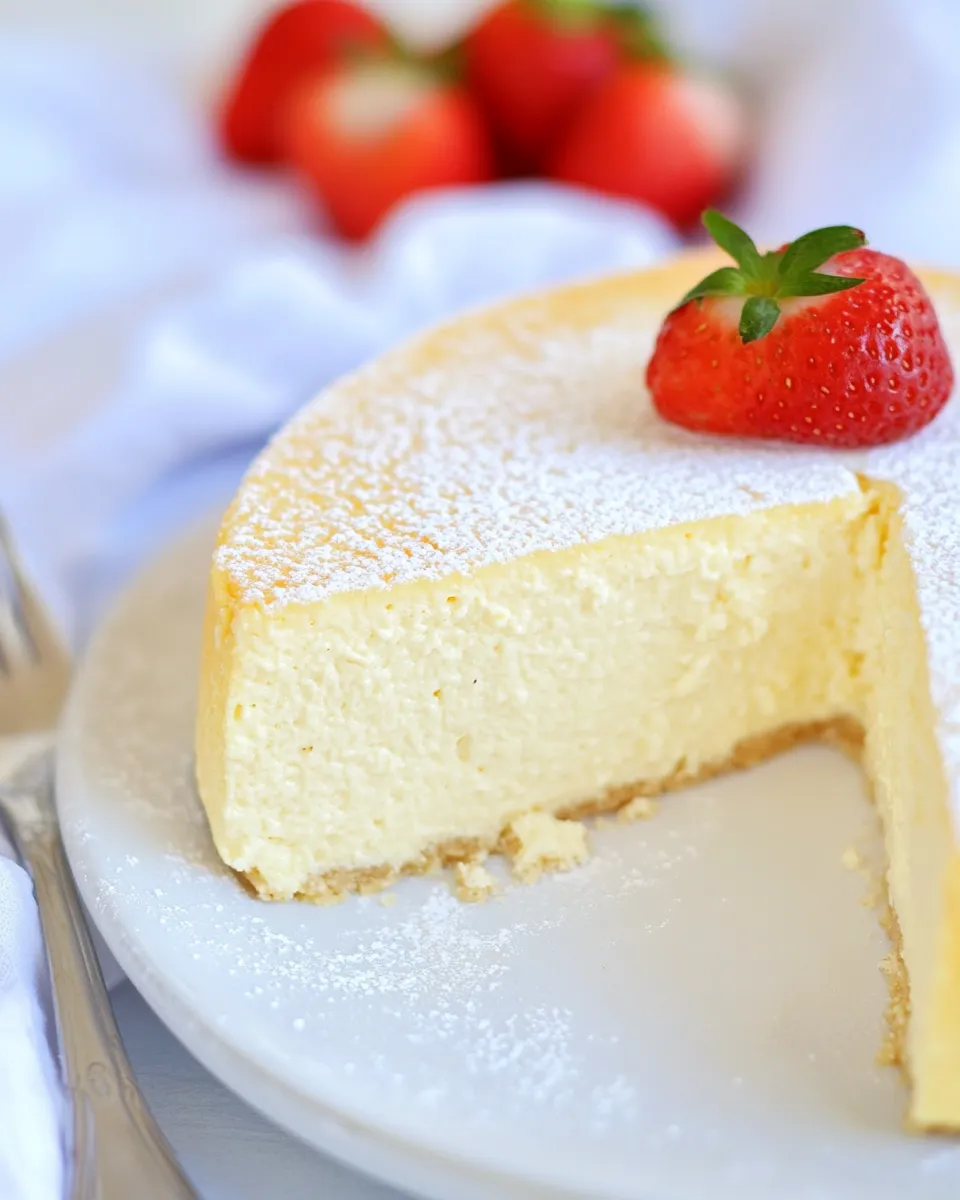
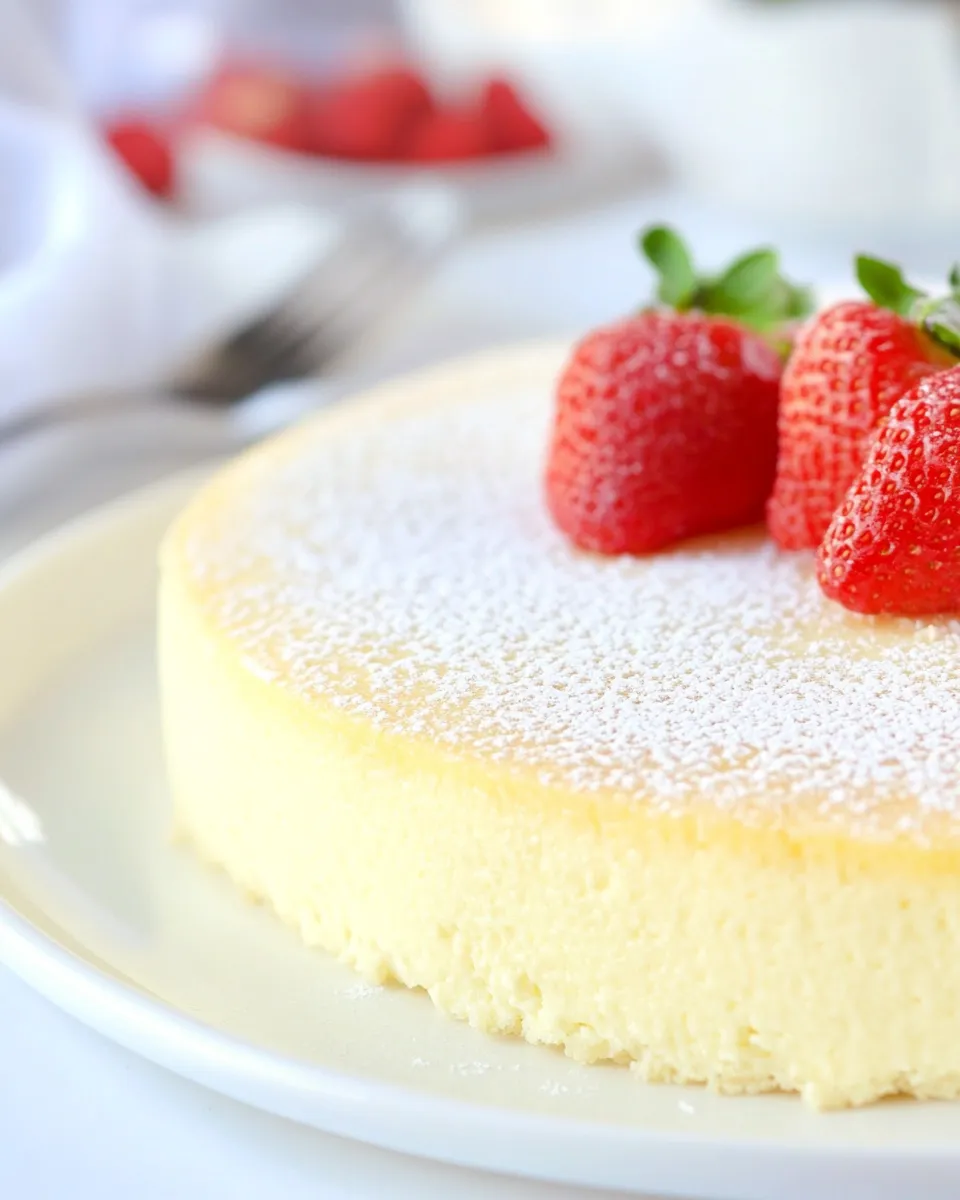
Instant Pot Japanese Cheesecake is not just a dessert; it’s an experience. Its light and airy texture, complemented by the sweetness of white chocolate and the subtle zing of lemon zest, makes it a favorite among dessert lovers. This cheesecake is perfect for gatherings, as it appeals to a wide range of palates. Plus, the Instant Pot ensures that it’s cooked evenly and stays moist, making it a reliable choice for both novice and experienced bakers. Serve it with fresh strawberries, and you’ve got a showstopper that will leave your guests asking for seconds.
Your Shopping Guide
Before you start baking, let’s gather our ingredients. Here’s what you’ll need to whip up this Instant Pot Japanese Cheesecake:
- 3 large eggs
- 4 oz white chocolate chips
- 4 oz full-fat cream cheese, softened to room temperature
- 1 teaspoon lemon zest
- 1 teaspoon vanilla extract
- Fresh strawberries, for serving
Make sure to choose high-quality white chocolate chips and cream cheese for the best flavor and texture.
Tools & Equipment Needed
To create your Instant Pot Japanese Cheesecake, you’ll need a few essential tools:
- Instant Pot: The star of the show that will help you achieve that perfect, fluffy texture.
- Mixing Bowls: For combining your ingredients seamlessly.
- Electric Mixer: To beat the eggs and cream cheese until light and fluffy.
- Springform Pan: A 6-inch pan works best for this recipe.
- Trivet or Steaming Rack: To elevate the cheesecake while it cooks in the Instant Pot.
Instant Pot Japanese Cheesecake Cooking Guide
Ready to dive into the cooking process? Follow these simple steps to create your Instant Pot Japanese Cheesecake.
Step 1: Prepare the Ingredients
Start by gathering all your ingredients. Ensure the cream cheese is at room temperature for easy mixing.
Step 2: Melt the White Chocolate
In a microwave-safe bowl, melt the white chocolate chips in 20-30 second intervals, stirring in between until smooth. Allow it to cool slightly before using.
Step 3: Beat the Cream Cheese
In a mixing bowl, beat the softened cream cheese until smooth. This will help prevent lumps in your cheesecake.
Step 4: Combine Ingredients
Add the melted white chocolate, lemon zest, and vanilla extract to the cream cheese. Mix well to combine.
Step 5: Add the Eggs
Add the eggs one at a time, mixing well after each addition until the batter is smooth and creamy.
Step 6: Prepare the Springform Pan
Lightly grease the springform pan with cooking spray. Pour the cheesecake batter into the pan and smooth the top with a spatula.
Step 7: Prepare the Instant Pot
Pour 1 cup of water into the Instant Pot. Place the trivet or steaming rack inside.
Step 8: Cook the Cheesecake
Cover the springform pan with aluminum foil to prevent condensation from dripping into the cheesecake. Carefully place it on the trivet. Close the lid and set the Instant Pot to “Manual” for 30 minutes. Allow it to naturally release for 10 minutes before performing a quick release.
Step 9: Cool and Chill
Once cooked, remove the cheesecake from the Instant Pot and let it cool to room temperature. Then refrigerate for at least 4 hours, or overnight for the best texture.
Step 10: Serve
When you’re ready to serve, carefully remove the cheesecake from the springform pan. Slice it and serve with fresh strawberries on the side for a refreshing touch.
Texture-Safe Substitutions
If you’re looking to make some adjustments or need substitutions, consider the following:
- For a lighter option, use Greek yogurt instead of cream cheese.
- Replace white chocolate chips with dark chocolate for a richer flavor.
- Use almond extract instead of vanilla for a unique twist.
Easy-to-Miss Gotchas
To ensure your cheesecake comes out perfectly, watch out for these common pitfalls:
- Always ensure the cream cheese is softened to room temperature; this prevents lumps.
- Don’t skip the aluminum foil covering; it’s essential to avoid moisture getting into the cheesecake.
- Allowing the cheesecake to chill for enough time is crucial for achieving the right texture.
Keep-It-Fresh Plan
To keep your Instant Pot Japanese Cheesecake fresh and delicious, follow these tips:
- Store leftovers in an airtight container in the refrigerator for up to 4 days.
- For longer storage, freeze slices wrapped in plastic wrap and aluminum foil for up to 3 months.
- Thaw frozen slices in the refrigerator overnight before serving.
Helpful Q&A
Can I make this cheesecake without an Instant Pot?
Absolutely! You can bake this cheesecake in a traditional oven at 325°F for about 45-50 minutes. Just make sure to use a water bath to keep it moist.
Can I use low-fat cream cheese?
While you can use low-fat cream cheese, it may not yield the same creamy texture as full-fat. The cheesecake might be a bit denser.
What can I serve with this cheesecake besides strawberries?
In addition to strawberries, you can serve the cheesecake with raspberries, blueberries, or a drizzle of chocolate sauce for added flavor.
How do I know when the cheesecake is done cooking?
The cheesecake should be set on the edges but slightly jiggly in the center when you remove it from the Instant Pot. It will firm up as it cools.
Quick Weeknight Wins
If you love quick and easy desserts, check out these recipes for more delightful treats:
- Instant Pot Ricotta Recipe – A creamy delight perfect for pasta dishes or desserts.
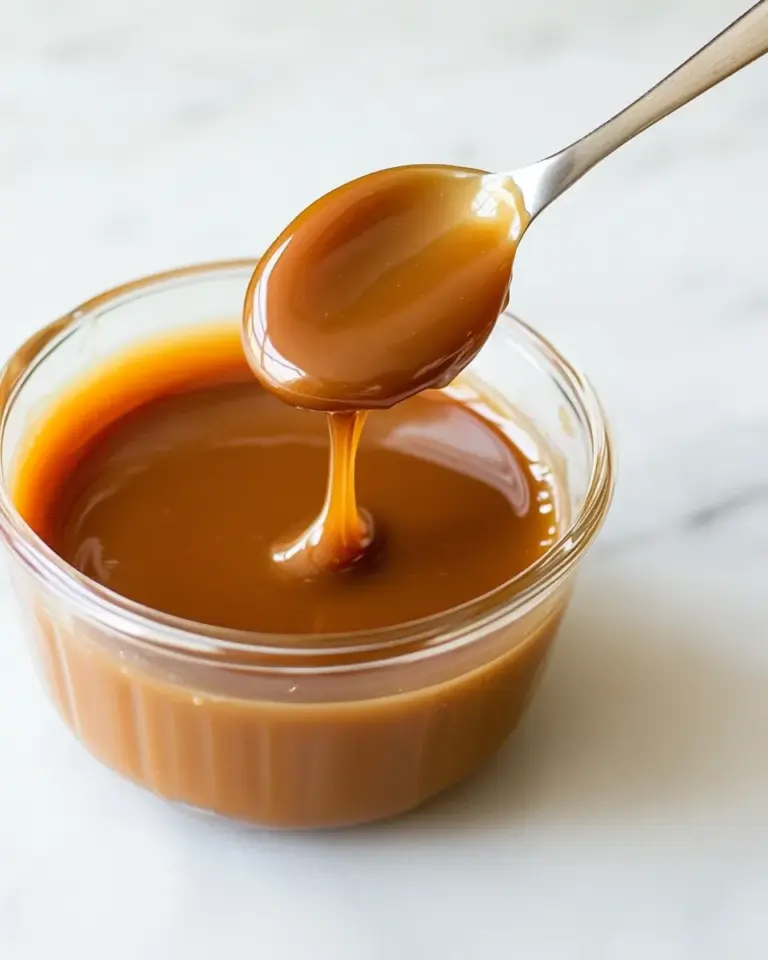
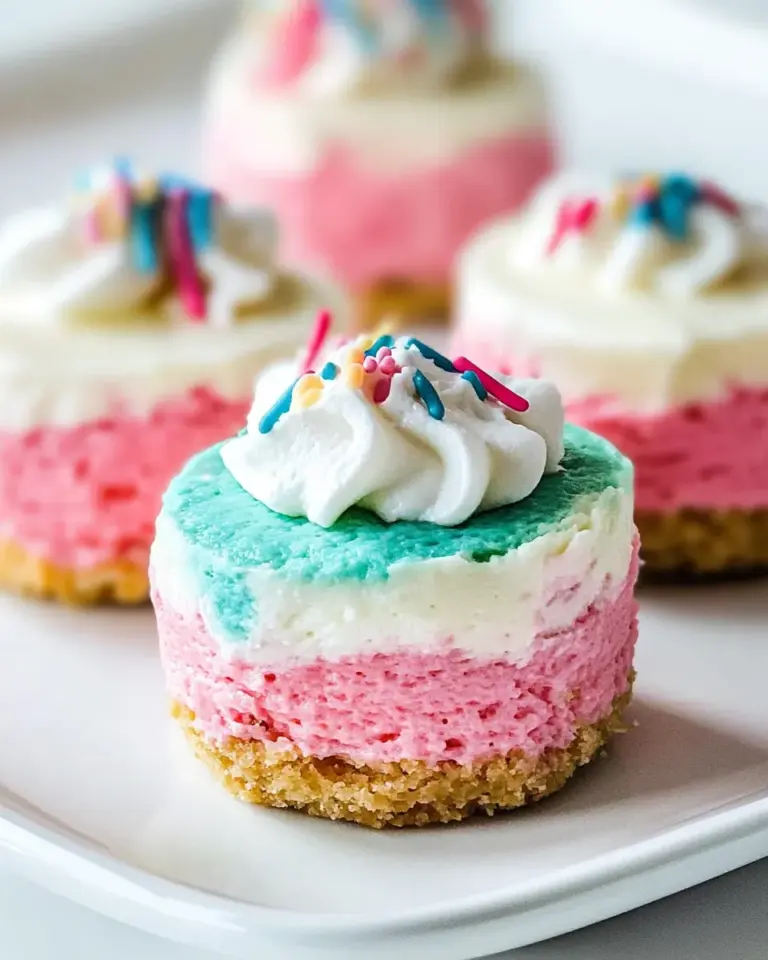
- Caramel Cheesecake Bites – Mini bites of heaven that are easy to make and hard to resist.
The Last Word
Creating an Instant Pot Japanese Cheesecake is a rewarding experience. The combination of fluffy texture and rich flavors makes it a memorable dessert for any occasion. Whether enjoyed at a gathering or as a special treat for yourself, this cheesecake is sure to impress.
There’s something magical about the way the Instant Pot transforms simple ingredients into a show-stopping dessert. With just a bit of preparation and patience, you can serve a cheesecake that looks and tastes like it came from a high-end bakery. So, gather your ingredients, follow the steps, and get ready to indulge in the delightful world of Instant Pot Japanese Cheesecake!
Instant Pot Japanese Cheesecake
Ingredients
Equipment
Method
- Gather all your ingredients. Ensure the cream cheese is at room temperature for easy mixing.
- In a microwave-safe bowl, melt the white chocolate chips in 20-30 second intervals, stirring in between until smooth. Allow it to cool slightly before using.
- In a mixing bowl, beat the softened cream cheese until smooth to prevent lumps in your cheesecake.
- Add the melted white chocolate, lemon zest, and vanilla extract to the cream cheese. Mix well to combine.
- Add the eggs one at a time, mixing well after each addition until the batter is smooth and creamy.
- Lightly grease the springform pan with cooking spray. Pour the cheesecake batter into the pan and smooth the top with a spatula.
- Pour 1 cup of water into the Instant Pot. Place the trivet or steaming rack inside.
- Cover the springform pan with aluminum foil to prevent condensation from dripping into the cheesecake. Carefully place it on the trivet. Close the lid and set the Instant Pot to “Manual” for 30 minutes. Allow it to naturally release for 10 minutes before performing a quick release.
- Once cooked, remove the cheesecake from the Instant Pot and let it cool to room temperature. Then refrigerate for at least 4 hours, or overnight for the best texture.
- When you’re ready to serve, carefully remove the cheesecake from the springform pan. Slice it and serve with fresh strawberries on the side.
Notes
- Use high-quality white chocolate chips for the best flavor.
- Ensure the cream cheese is completely softened to avoid lumps.
- Chill the cheesecake for at least 4 hours for the best texture.