Frosted Lofthouse Cookies
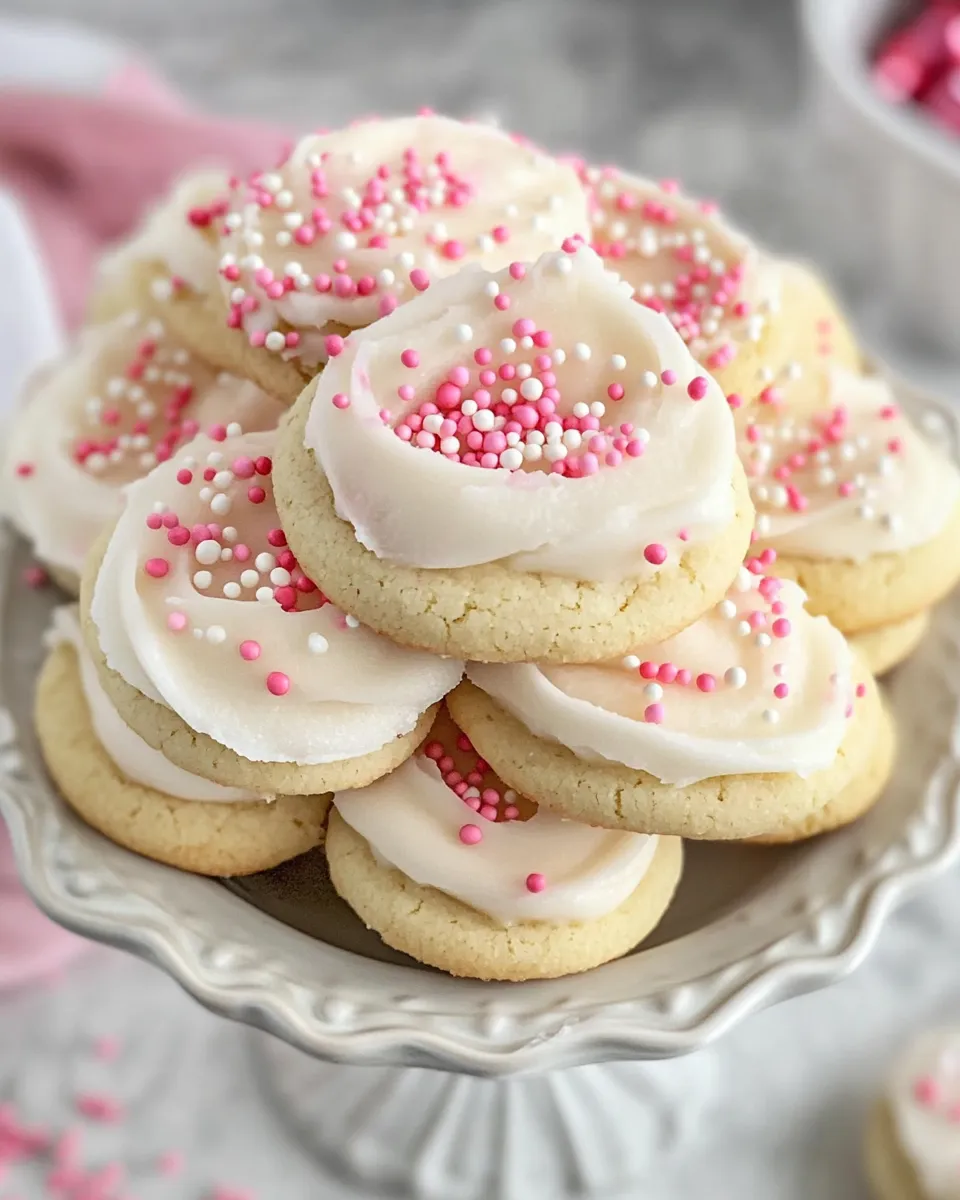
If you’ve ever wandered through a bakery or the bakery aisle of a grocery store, you’ve likely encountered those delightful, soft, and frosted cookies known as Lofthouse cookies. These cookies are a nostalgic treat, often adorned with a colorful layer of frosting and sprinkles. Today, we’re going to dive into creating your very own Frosted Lofthouse Cookies right in your kitchen. These cookies are perfect for any occasion, from birthday parties to cozy family gatherings. With their irresistible softness and sweet flavor, they’re bound to become a favorite!
Why This Frosted Lofthouse Cookies Stands Out

What makes these Frosted Lofthouse Cookies so special? It’s all about the texture and flavor. Unlike traditional cookies that can be crisp, these cookies are pillowy soft, almost cake-like in their consistency. The secret lies in the addition of sour cream, which contributes to their moistness while enhancing the flavor profile. The combination of vanilla and a hint of almond extract adds a delightful complexity that sets these cookies apart from the rest. Topped with a vibrant frosting and colorful sprinkles, they are as pleasing to the eye as they are to the palate.
Your Shopping Guide
Before you embark on your baking adventure, here’s what you’ll need to gather:
- Butter: 1 cup, at room temperature for easy mixing.
- Sugar: 1 cup, granulated for sweetness.
- Vanilla Extract: 1 teaspoon for a classic flavor.
- Almond Flavoring: ½ teaspoon to enhance the aroma.
- Baking Soda: 1 teaspoon to help with leavening.
- Baking Powder: 1 teaspoon for a fluffy texture.
- Salt: ½ teaspoon to balance the sweetness.
- Sour Cream: 1 cup to keep the cookies moist.
- Eggs: 2 large, for binding the ingredients.
- Flour: 3 cups, all-purpose for structure.
- Frosting: Your choice of colors and flavors, along with sprinkles for decoration.
Equipment at a Glance
To make your baking process smooth, ensure you have the following equipment:
- Mixing Bowls: For combining ingredients.
- Electric Mixer: To beat the butter and sugar together easily.
- Measuring Cups and Spoons: For precise measurements.
- Baking Sheet: To bake the cookies on.
- Parchment Paper: For easy cookie removal and cleanup.
- Cooling Rack: To allow cookies to cool completely.
Mastering Frosted Lofthouse Cookies: How-To

Now that you have your ingredients and equipment ready, let’s get to the fun part—baking! Follow these simple steps to create your own batch of Frosted Lofthouse Cookies.
Step 1: Preheat the Oven
Preheat your oven to 350°F (175°C). This ensures that your cookies bake evenly.
Step 2: Cream the Butter and Sugar
In a large mixing bowl, beat the softened butter and sugar together using an electric mixer until the mixture is light and fluffy, about 3-4 minutes.
Step 3: Add Eggs and Extracts
Add the eggs, vanilla extract, and almond flavoring to the butter mixture. Continue to beat until fully combined.
Step 4: Mix Dry Ingredients
In a separate bowl, whisk together the flour, baking soda, baking powder, and salt. This helps to evenly distribute the leavening agents.
Step 5: Combine Wet and Dry Mixtures
Gradually add the dry mixture to the wet mixture, alternating with the sour cream. Begin and end with the dry mixture, mixing just until combined. Be careful not to overmix!
Step 6: Shape the Cookies
Using a cookie scoop or tablespoon, drop the dough onto a lined baking sheet, spacing them about 2 inches apart. Gently flatten each cookie with the palm of your hand.
Step 7: Bake
Bake in the preheated oven for 10-12 minutes, or until the edges are lightly golden. The centers may look slightly underbaked, but they will firm up as they cool.
Step 8: Cool and Frost
Allow the cookies to cool on the baking sheet for about 5 minutes before transferring them to a cooling rack. Once completely cool, frost with your favorite icing and add sprinkles.
Better Choices & Swaps
If you’re looking to make some adjustments to the recipe, consider the following swaps:
- Butter: For a dairy-free option, use vegan butter.
- Sugar: Substitute with coconut sugar for a less refined option.
- Flour: Use gluten-free all-purpose flour to make these cookies gluten-free.
- Sour Cream: Greek yogurt can be used as a healthy alternative.
Avoid These Traps
When baking your Frosted Lofthouse Cookies, keep these common pitfalls in mind:
- Overmixing the dough can lead to tough cookies. Mix until just combined.
- Not letting the cookies cool completely before frosting can cause the icing to melt and run.
- Using cold butter will not yield the desired fluffy texture; always use room temperature.
- Not measuring flour correctly can lead to overly dry cookies. Use the spoon-and-level method for accuracy.
Make Ahead Like a Pro
If you want to prep these cookies in advance, here are some tips:
You can prepare the dough and refrigerate it for up to 3 days before baking. Just make sure to cover it tightly. Alternatively, you can freeze the unbaked cookie dough for up to 3 months. When you’re ready to bake, simply let the dough thaw in the refrigerator overnight before baking.
If you prefer to frost them later, bake the cookies and store them in an airtight container for up to a week. Frost them just before serving for the best texture and taste.
Top Questions & Answers
Can I use a different type of frosting?
Absolutely! Feel free to get creative with your frosting. You can use cream cheese frosting, chocolate ganache, or even a simple glaze. Just ensure it complements the flavor of your cookies.
Why are my cookies spread too much during baking?
This could be due to a few reasons, such as using melted butter instead of softened butter or not chilling the dough before baking. Make sure to follow the instructions closely for the best results.
Can I add mix-ins to the cookie dough?
Of course! Add-ins like chocolate chips, nuts, or dried fruit can enhance your cookies. Just keep in mind that they may alter the final texture slightly.
How long will these cookies stay fresh?
When stored in an airtight container at room temperature, your Frosted Lofthouse Cookies will stay fresh for about one week. If you want to keep them longer, consider freezing them!
Weekend Projects
If you’re inspired to keep baking, consider trying out these delightful recipes:
- Dark Chocolate Orange Cookies – A sophisticated treat with a zing!
- Funfetti Cookies Recipe – Perfect for celebrations with a colorful twist!
Final Thoughts
Baking your own Frosted Lofthouse Cookies is not only rewarding but also a wonderful way to create lasting memories with family and friends. These soft and sweet cookies are perfect for any occasion and can be customized to suit your taste preferences. Whether you enjoy them plain or dressed up with frosting and sprinkles, they’re sure to be a hit. So gather your ingredients, unleash your inner baker, and enjoy every sweet bite!

Frosted Lofthouse Cookies
Ingredients
Equipment
Method
- Step 1: Preheat the Oven - Preheat your oven to 350°F (175°C). This ensures that your cookies bake evenly.
- Step 2: Cream the Butter and Sugar - In a large mixing bowl, beat the softened butter and sugar together using an electric mixer until light and fluffy, about 3-4 minutes.
- Step 3: Add Eggs and Extracts - Add the eggs, vanilla extract, and almond flavoring to the butter mixture. Continue to beat until fully combined.
- Step 4: Mix Dry Ingredients - In a separate bowl, whisk together the flour, baking soda, baking powder, and salt.
- Step 5: Combine Wet and Dry Mixtures - Gradually add the dry mixture to the wet mixture, alternating with the sour cream. Begin and end with the dry mixture, mixing just until combined.
- Step 6: Shape the Cookies - Using a cookie scoop or tablespoon, drop the dough onto a lined baking sheet, spacing them about 2 inches apart. Gently flatten each cookie.
- Step 7: Bake - Bake in the preheated oven for 10-12 minutes, or until the edges are lightly golden.
- Step 8: Cool and Frost - Allow the cookies to cool on the baking sheet for about 5 minutes before transferring them to a cooling rack. Once cool, frost with icing and add sprinkles.
Notes
- For a dairy-free option, use vegan butter instead of regular butter.
- Consider using gluten-free all-purpose flour for a gluten-free version.
- Store baked cookies in an airtight container for up to a week for freshness.