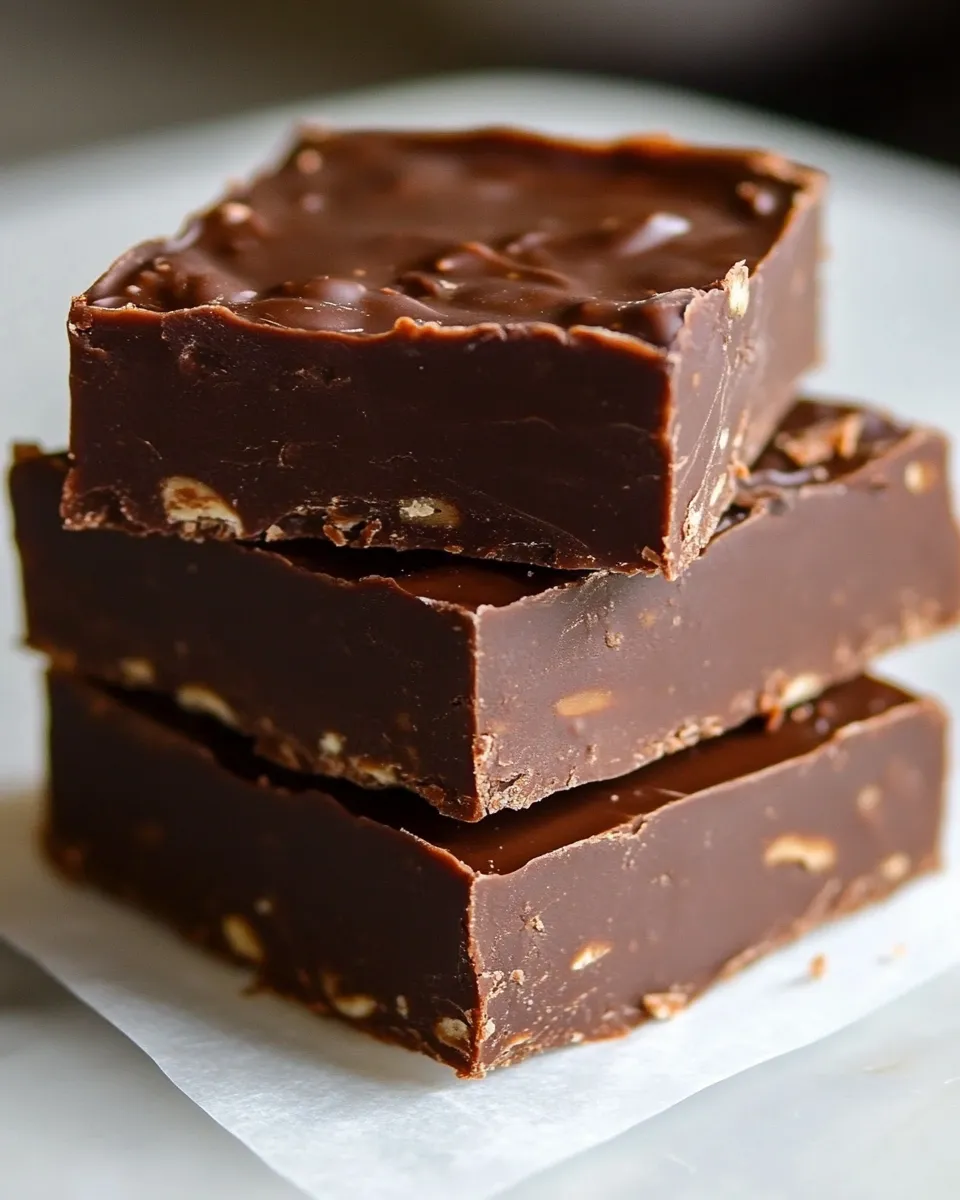
Easy No-Bake Chocolate Fudge Bars
There’s something irresistibly satisfying about a fudgy, chocolatey treat that requires no baking. These Easy No-Bake Chocolate Fudge Bars are not only simple to whip up, but they also deliver a rich, indulgent flavor that will have you coming back for seconds. Whether you’re looking for a quick dessert to impress guests or a sweet treat to satisfy your cravings, these bars check all the boxes. Plus, they can be customized with your favorite mix-ins, making them perfect for any occasion. Let’s dive into how you can create this delightful dessert!
Why This Recipe Works

The beauty of this Easy No-Bake Chocolate Fudge Bars recipe lies in its simplicity. By using just a handful of ingredients, you can create a dessert that is both satisfying and versatile. The combination of chocolate chips and peanut butter creates a creamy, luscious texture that is hard to resist. Additionally, the absence of baking means you can enjoy these bars in no time, making them a go-to for spontaneous gatherings or late-night cravings.
Ingredient Notes
- 8 oz chocolate chips: You can use regular or sugar-free chocolate chips depending on your preference. Opt for a high-quality brand for the best flavor.
- 1/2 cup peanut butter: Creamy peanut butter works best, but you can substitute with allergy-friendly options like sunbutter or coconut butter for a nut-free version.
- Optional mix-ins: Feel free to get creative! Chopped walnuts, shredded coconut, or chia seeds add extra flavor and texture.
Prep & Cook Tools
- Mixing bowl: A medium-sized bowl for combining ingredients.
- Spatula: For mixing and spreading the fudge mixture into the pan.
- 9×9 inch baking pan: This will hold your fudge bars as they set. Line it with parchment paper for easy removal.
- Microwave or stovetop: To melt the chocolate and peanut butter together.
Cooking Easy No-Bake Chocolate Fudge Bars: The Process
Step 1: Prepare Your Baking Pan
Line a 9×9 inch baking pan with parchment paper, allowing some overhang on the sides for easy removal later. This will prevent the fudge from sticking.
Step 2: Melt the Chocolate and Peanut Butter
In a microwave-safe bowl, combine the chocolate chips and peanut butter. Microwave in 30-second intervals, stirring between each, until completely melted and smooth. If you prefer, you can melt them together on the stovetop over low heat.
Step 3: Mix in Optional Ingredients
Once the chocolate and peanut butter mixture is smooth, you can fold in any optional mix-ins like chopped walnuts, shredded coconut, or chia seeds. This step is where you can customize your fudge bars to your liking!
Step 4: Pour into the Pan
Pour the fudge mixture into the prepared baking pan. Use a spatula to spread it evenly, ensuring that the top is smooth.
Step 5: Chill Until Set
Place the pan in the refrigerator for at least 2 hours, or until the fudge is firm enough to slice into bars.
Step 6: Slice and Serve
Once set, lift the fudge out of the pan using the parchment overhang. Slice into bars or squares and enjoy! Store any leftovers in an airtight container in the refrigerator.
In-Season Swaps
- For Spring: Add fresh berries like raspberries or strawberries for a fresh twist.
- For Summer: Incorporate crushed pretzels for a sweet and salty combination.
- For Fall: Mix in pumpkin spice or chopped apples for a seasonal flavor.
- For Winter: Add a sprinkle of peppermint extract or crushed candy canes to evoke holiday cheer.
If You’re Curious
Wondering how you can make these Easy No-Bake Chocolate Fudge Bars even more decadent? Consider drizzling melted chocolate over the top before chilling, or sprinkle flaky sea salt for an added flavor contrast. The possibilities are endless!
Keep-It-Fresh Plan
To maintain the freshness of your Easy No-Bake Chocolate Fudge Bars, store them in an airtight container in the refrigerator. They can last up to a week, although they rarely stick around that long! You can also freeze them for up to three months. Just make sure to separate layers with parchment paper to prevent them from sticking together.
Ask the Chef
Can I use almond butter instead of peanut butter?
Absolutely! Almond butter is a fantastic substitute and will give the fudge a slightly different flavor. Just ensure that it’s creamy for the best texture.
What if I don’t have a microwave?
No worries! You can easily melt the chocolate and peanut butter together on the stovetop using a double boiler or a heatproof bowl set over a pot of simmering water.
Can I make these bars vegan?
Yes! Simply use dairy-free chocolate chips and a plant-based nut or seed butter to keep this recipe vegan-friendly.
How do I know when the fudge is set properly?
The fudge is ready when it feels firm to the touch and holds its shape when cut. If it’s still soft, allow it to chill longer in the refrigerator.
More Recipes You’ll Love
- Buckeye Fudge: A delicious twist on classic fudge with a peanut butter filling.
- Mint Brownies: Rich brownies with a refreshing mint flavor, perfect for chocolate lovers.
Final Bite
These Easy No-Bake Chocolate Fudge Bars are a delightful treat for any chocolate lover. With minimal ingredients and easy steps, you can create a dessert that satisfies your sweet tooth without the hassle of baking. Whether you keep them simple or add your favorite mix-ins, these bars are sure to impress. Enjoy them as a quick snack, a post-dinner dessert, or even as a special gift for friends and family. Happy indulging!
Easy No-Bake Chocolate Fudge Bars
Ingredients
Equipment
Method
- Line a 9x9 inch baking pan with parchment paper, allowing some overhang on the sides for easy removal later.
- In a microwave-safe bowl, combine the chocolate chips and peanut butter. Microwave in 30-second intervals, stirring between each, until completely melted and smooth.
- Once melted, fold in any optional mix-ins like chopped walnuts, shredded coconut, or chia seeds.
- Pour the fudge mixture into the prepared baking pan and spread it evenly with a spatula.
- Place the pan in the refrigerator for at least 2 hours, or until the fudge is firm enough to slice into bars.
- Lift the fudge out of the pan using the parchment overhang, slice into bars or squares, and enjoy!
Notes
- Store leftovers in an airtight container in the refrigerator for up to a week.
- For longer storage, freeze for up to three months, separating layers with parchment paper.
- Customize with your favorite mix-ins for a unique flavor!