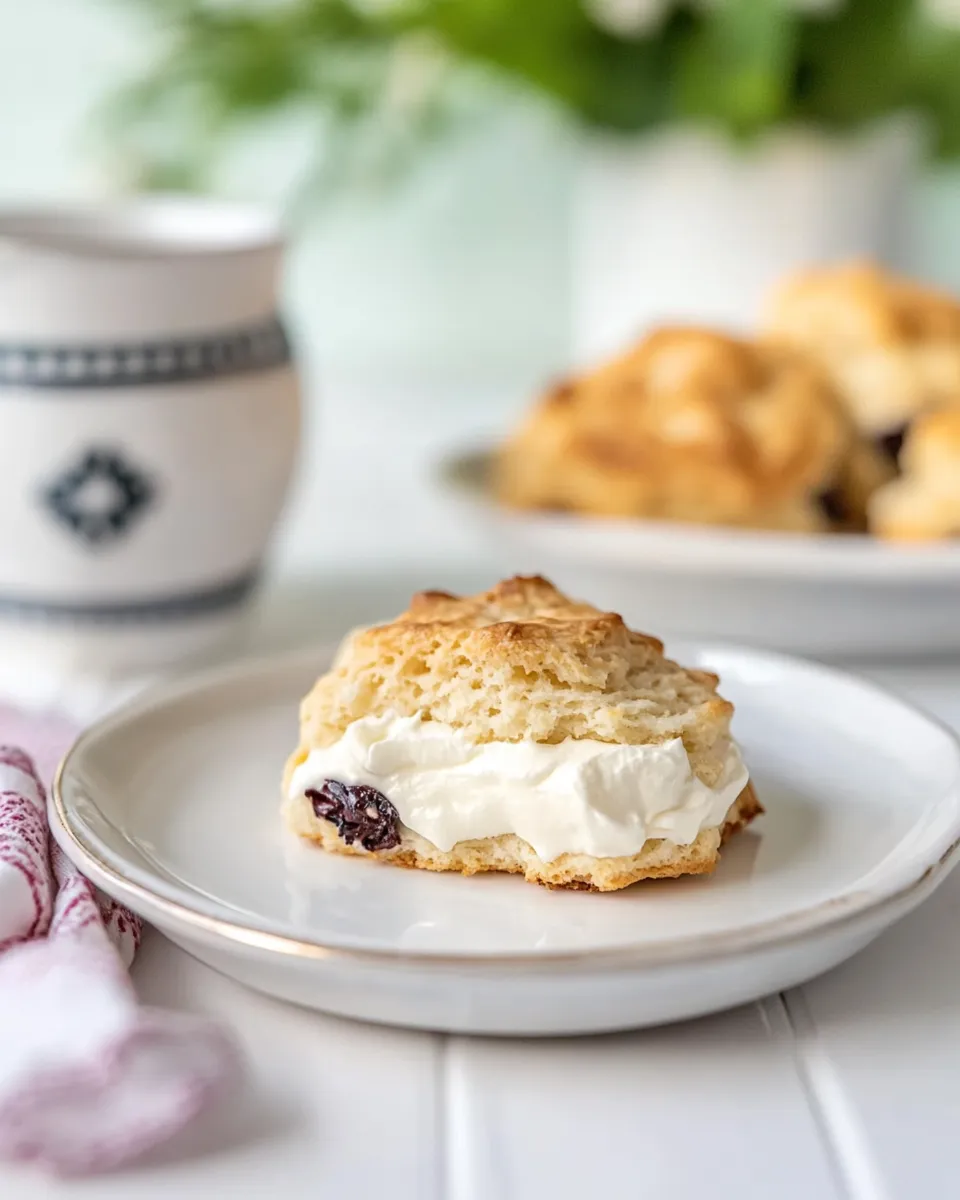
Cream Scones
There’s something undeniably delightful about a warm cream scone fresh out of the oven. Fluffy, tender, and just a hint sweet, these little treats are perfect for breakfast, brunch, or a cozy afternoon tea. Whether you enjoy them plain or studded with dried fruits, the simplicity of this recipe makes it a must-try for any baking enthusiast. Let’s dive into the world of cream scones and discover why they should be your next baking project.
Reasons to Love Cream Scones
Cream scones are a dream come true for any baker. Here are just a few reasons to fall in love with them:
– **Quick and Easy**: With just a handful of ingredients, you can whip up a batch in no time.
– **Versatile**: You can customize them with your favorite add-ins, such as dried fruits, nuts, or chocolate chips.
– **Perfect for Any Occasion**: Whether it’s a casual breakfast or a fancy tea party, these scones fit right in.
– **Decadently Rich**: The heavy whipping cream gives them a luxurious texture and flavor that’s hard to resist.
Ingredients at a Glance
To make these delightful cream scones, you will need the following ingredients:
- 1 large egg
- 1 cup heavy whipping cream
- 2 cups all-purpose flour
- 2 tablespoons granulated white sugar
- 1 tablespoon baking powder
- 1 teaspoon salt
- 5 tablespoons unsalted butter, chilled and cut into small pieces
- ¾ cup dried currants
Hardware & Gadgets
Before you get started, gather the following kitchen tools:
- Mixing Bowl: For combining your dry and wet ingredients.
- Whisk: To beat the egg and mix the cream.
- Pastry Cutter or Fork: For cutting butter into the flour mixture.
- Baking Sheet: To bake your scones on.
- Parchment Paper: To line the baking sheet for easy cleanup.
- Cookie Cutter or Knife: For cutting the scones into your desired shape.
Cream Scones in Steps

Making cream scones is straightforward, making them an excellent choice for novice bakers and seasoned pros alike. Follow these easy steps:
Step 1: Preheat the Oven
Preheat your oven to 400°F (200°C). Line a baking sheet with parchment paper to prevent sticking.
Step 2: Mix Dry Ingredients
In a large mixing bowl, whisk together the flour, sugar, baking powder, and salt until well combined.
Step 3: Cut in the Butter
Add the cold, chopped butter into the flour mixture. Using a pastry cutter or fork, mix until the mixture resembles coarse crumbs.
Step 4: Add Currants
Stir in the dried currants evenly throughout the mixture.
Step 5: Combine Wet Ingredients
In a separate bowl, whisk together the egg and heavy whipping cream until fully combined.
Step 6: Mix Wet and Dry Ingredients
Pour the wet ingredients into the dry ingredients. Mix gently with a spatula until just combined. Do not overmix; it’s okay if there are some lumps.
Step 7: Shape the Scones
Turn the dough out onto a lightly floured surface. Gently pat it into a circle about 1 inch thick. Use a cookie cutter or knife to cut into triangles or rounds.
Step 8: Bake
Place the scones on the prepared baking sheet, leaving some space between each one. Bake for 15-20 minutes, or until golden brown on top.
Step 9: Cool and Serve
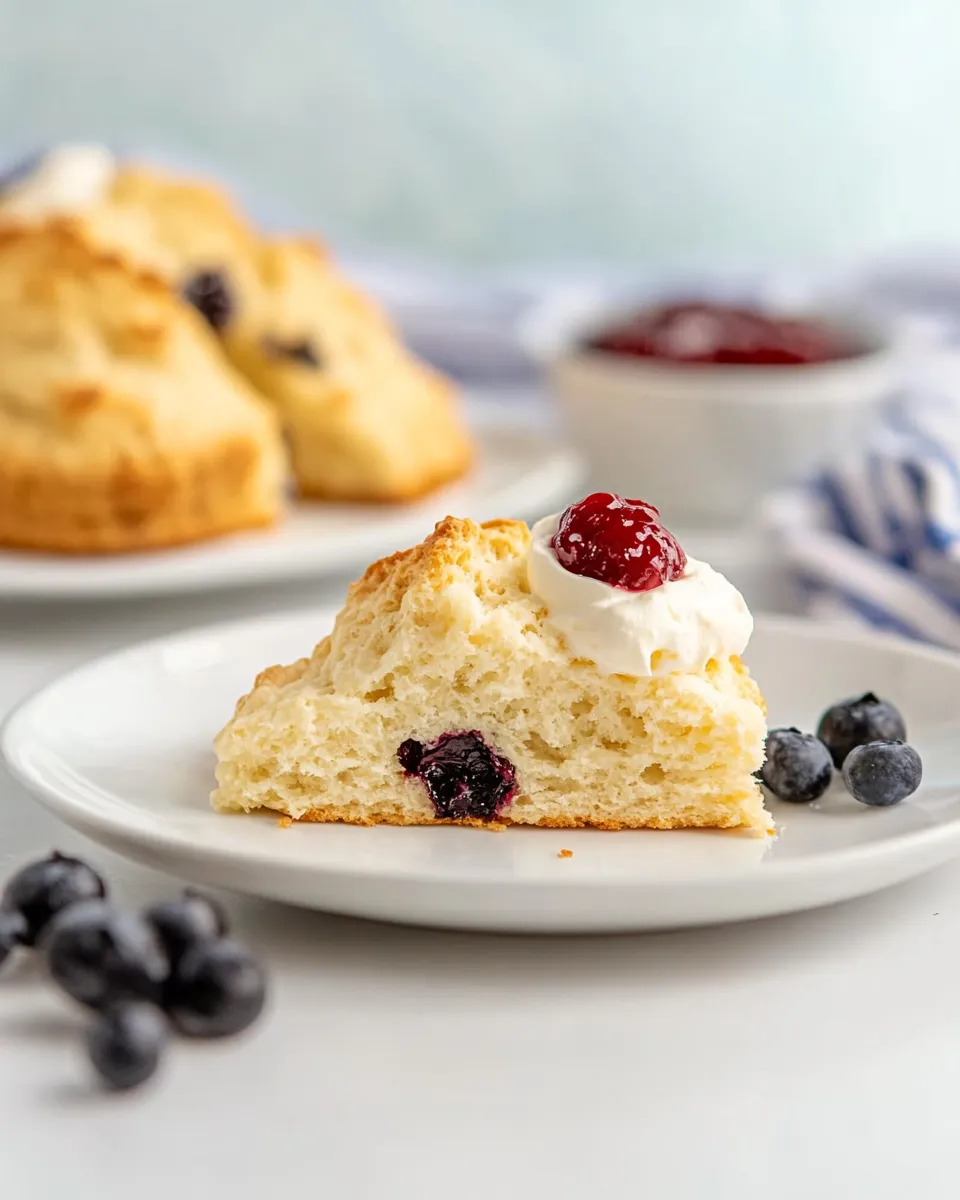
Allow the scones to cool on a wire rack for a few minutes. Serve warm with butter, clotted cream, or your favorite jam.
Spring–Summer–Fall–Winter Ideas
Cream scones are perfect year-round, but here are some seasonal ideas to keep your baking fresh:
- Spring: Add fresh strawberries or blueberries to your scone dough for a burst of flavor.
- Summer: Try incorporating lemon zest for a refreshing citrus twist.
- Fall: Mix in some pumpkin spice and chopped pecans for a cozy autumn treat.
- Winter: Add dried cranberries and orange zest for a festive holiday flavor.
What Could Go Wrong
While cream scones are generally forgiving, a few common pitfalls can occur:
- Overmixing: This can lead to tough scones instead of the desired tender texture.
- Butter Temperature: If the butter isn’t cold enough, the scone’s texture will be compromised.
- Incorrect Oven Temperature: Make sure your oven is calibrated correctly to avoid uneven baking.
- Too Much Liquid: Adding too much cream can make the dough overly wet, resulting in flat scones.
How to Store & Reheat
To keep your cream scones fresh:
You can store them at room temperature in an airtight container for up to 2-3 days. If you want to keep them longer, freeze them in a single layer on a baking sheet. Once frozen, transfer them to a freezer-safe bag or container. They will last for up to 3 months. When you’re ready to enjoy them, simply reheat in a 350°F (175°C) oven for about 10 minutes until warmed through.
Cream Scones Q&A
Can I substitute the heavy cream?
Yes! You can use half-and-half or whole milk, but the scones may not be as rich and tender as those made with heavy cream.
Can I add fresh fruit instead of dried currants?
Absolutely! Just be cautious with the moisture content of fresh fruit, as it may affect the scone’s texture. You might want to reduce the amount of cream slightly.
How can I make these scones dairy-free?
You can substitute the heavy cream with a non-dairy alternative, such as coconut cream or a plant-based heavy cream. Use a dairy-free butter for the recipe as well.
Can I make the dough ahead of time?
Yes, you can prepare the dough and refrigerate it for up to 24 hours before baking. Just be sure to let it sit at room temperature for a few minutes before shaping and baking.
What to Make After This
Once you’ve mastered cream scones, why not try your hand at some other delicious baked goods?
See You at the Table
These cream scones are sure to impress friends and family alike. With their rich flavor and tender crumb, they are a delightful addition to any meal. Whether you enjoy them for breakfast, as a snack, or as part of an afternoon tea spread, these scones are bound to become a favorite in your baking repertoire. So gather your ingredients, turn on your oven, and get ready to bake the most delicious cream scones you’ve ever tasted!

Cream Scones
Ingredients
Equipment
Method
- Step 1: Preheat your oven to 400°F (200°C). Line a baking sheet with parchment paper to prevent sticking.
- Step 2: In a large mixing bowl, whisk together the flour, sugar, baking powder, and salt until well combined.
- Step 3: Add the cold, chopped butter into the flour mixture. Using a pastry cutter or fork, mix until the mixture resembles coarse crumbs.
- Step 4: Stir in the dried currants evenly throughout the mixture.
- Step 5: In a separate bowl, whisk together the egg and heavy whipping cream until fully combined.
- Step 6: Pour the wet ingredients into the dry ingredients. Mix gently with a spatula until just combined. Do not overmix; it’s okay if there are some lumps.
- Step 7: Turn the dough out onto a lightly floured surface. Gently pat it into a circle about 1 inch thick. Use a cookie cutter or knife to cut into triangles or rounds.
- Step 8: Place the scones on the prepared baking sheet, leaving some space between each one. Bake for 15-20 minutes, or until golden brown on top.
- Step 9: Allow the scones to cool on a wire rack for a few minutes. Serve warm with butter, clotted cream, or your favorite jam.
Notes
- Store leftover scones in an airtight container at room temperature for up to 2-3 days.
- For longer storage, freeze scones in a single layer, then transfer to a freezer-safe bag for up to 3 months.
- To reheat, place in a 350°F (175°C) oven for 10 minutes.