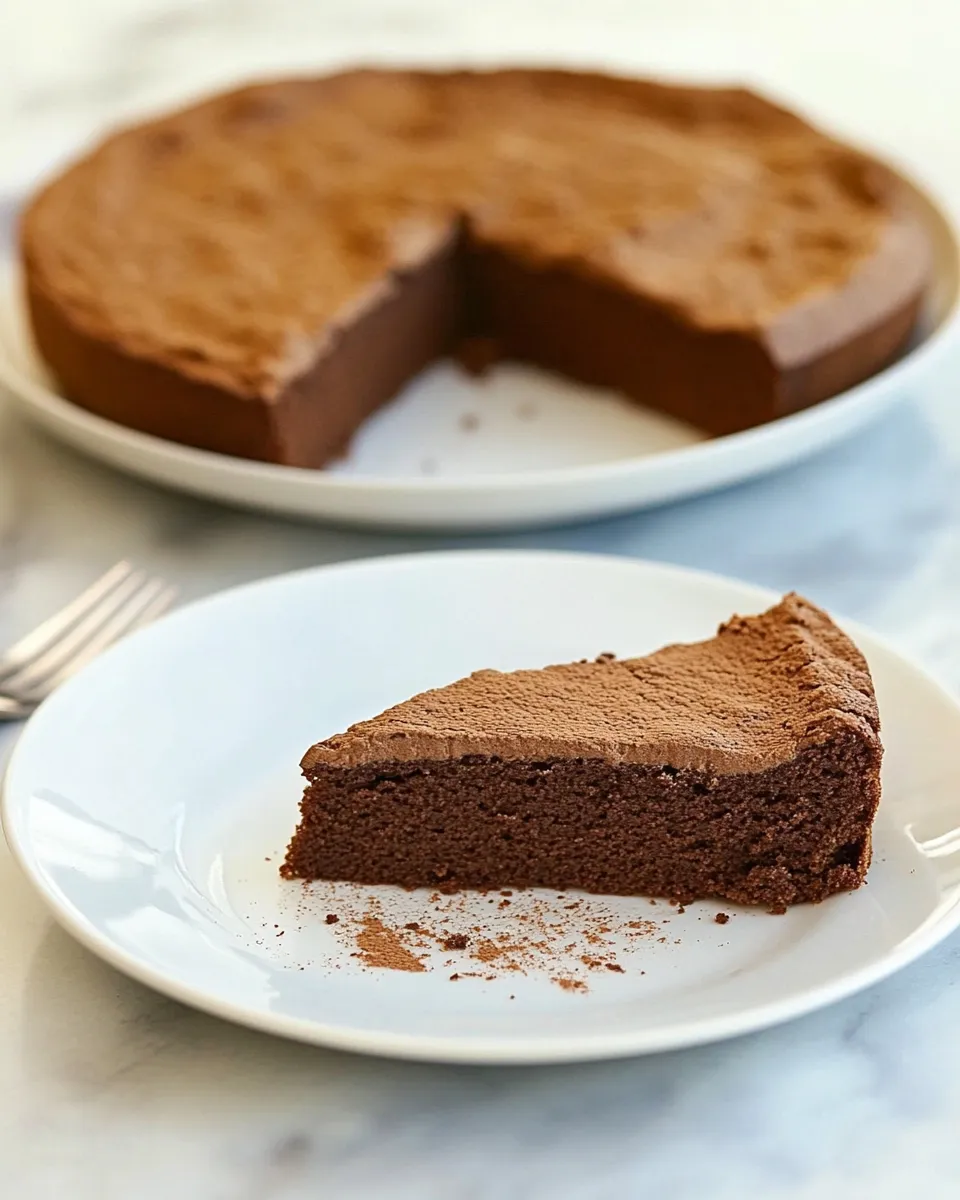
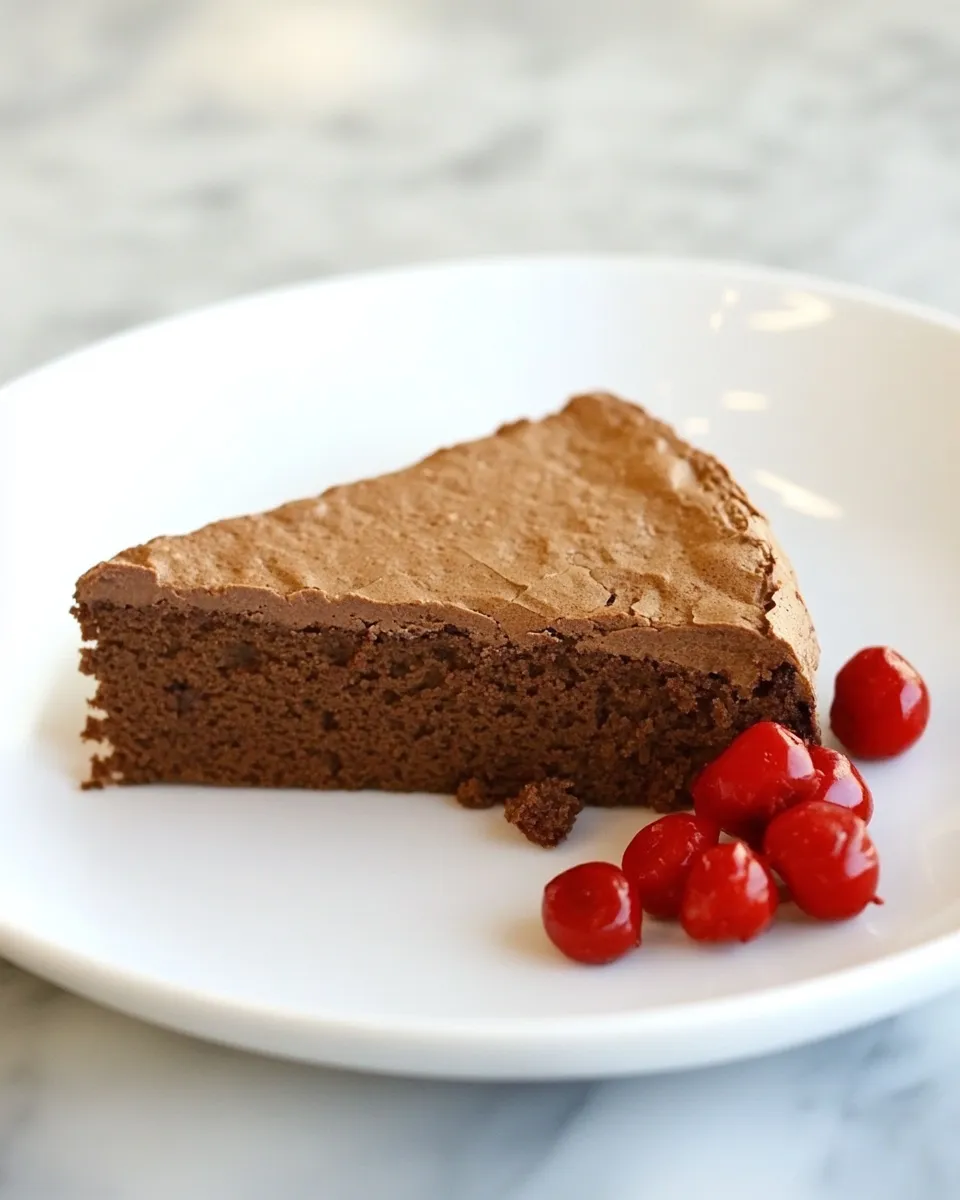
Chocolate Buckwheat Cake
There’s something truly magical about the combination of chocolate and cake. It’s a classic pairing that brings comfort and joy to any occasion. Today, I’m excited to share an indulgent recipe for Chocolate Buckwheat Cake that is not only delicious but also has a unique twist with the use of buckwheat flour. This cake is rich, moist, and perfectly decadent while being gluten-free, making it a wonderful option for a variety of dietary preferences.
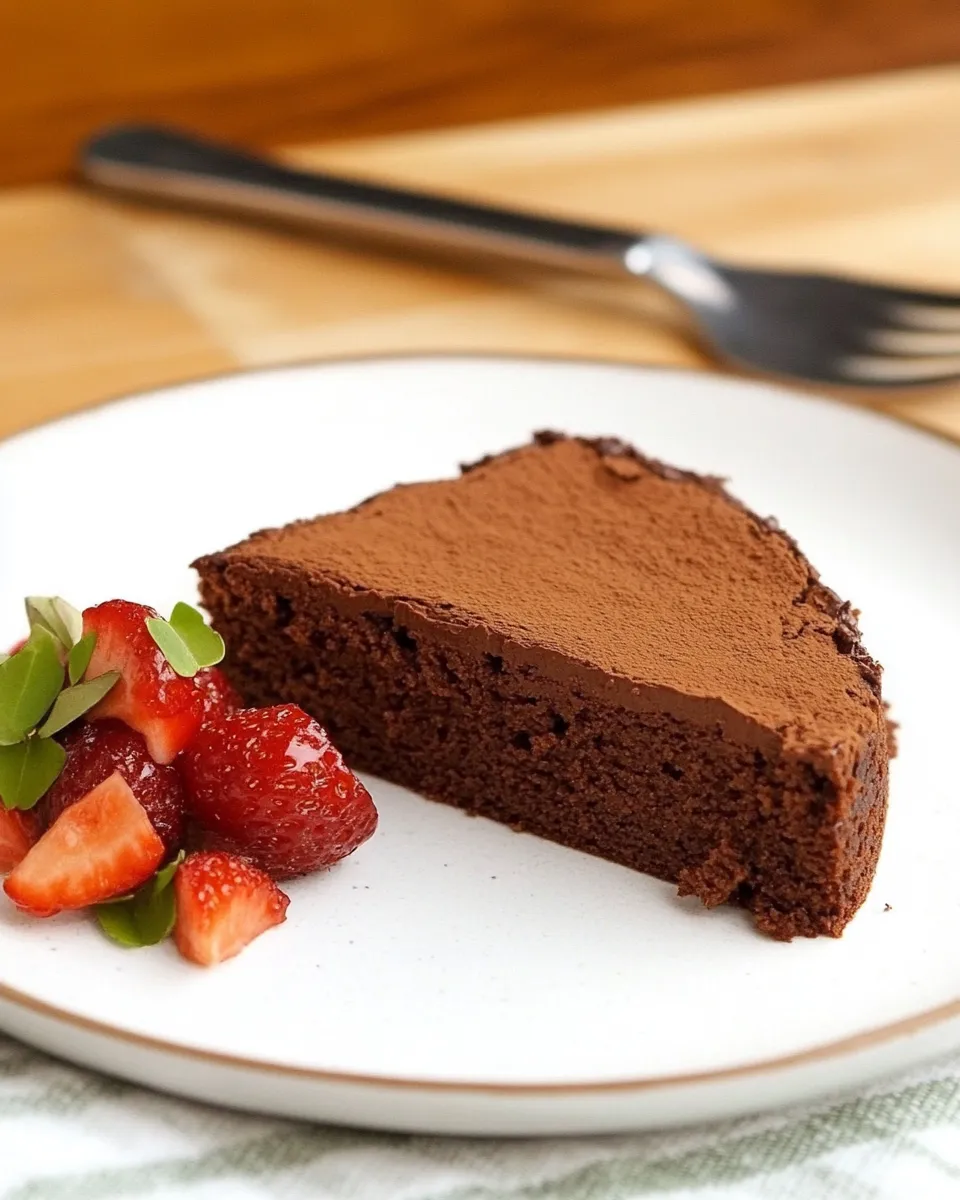
Imagine sinking your fork into a slice of this cake, where the bittersweet chocolate mingles with the nutty flavor of buckwheat and the creaminess of yogurt. Whether it’s for a birthday celebration, a cozy gathering, or just a sweet treat for yourself, this Chocolate Buckwheat Cake is sure to impress!
Why Chocolate Buckwheat Cake is Worth Your Time
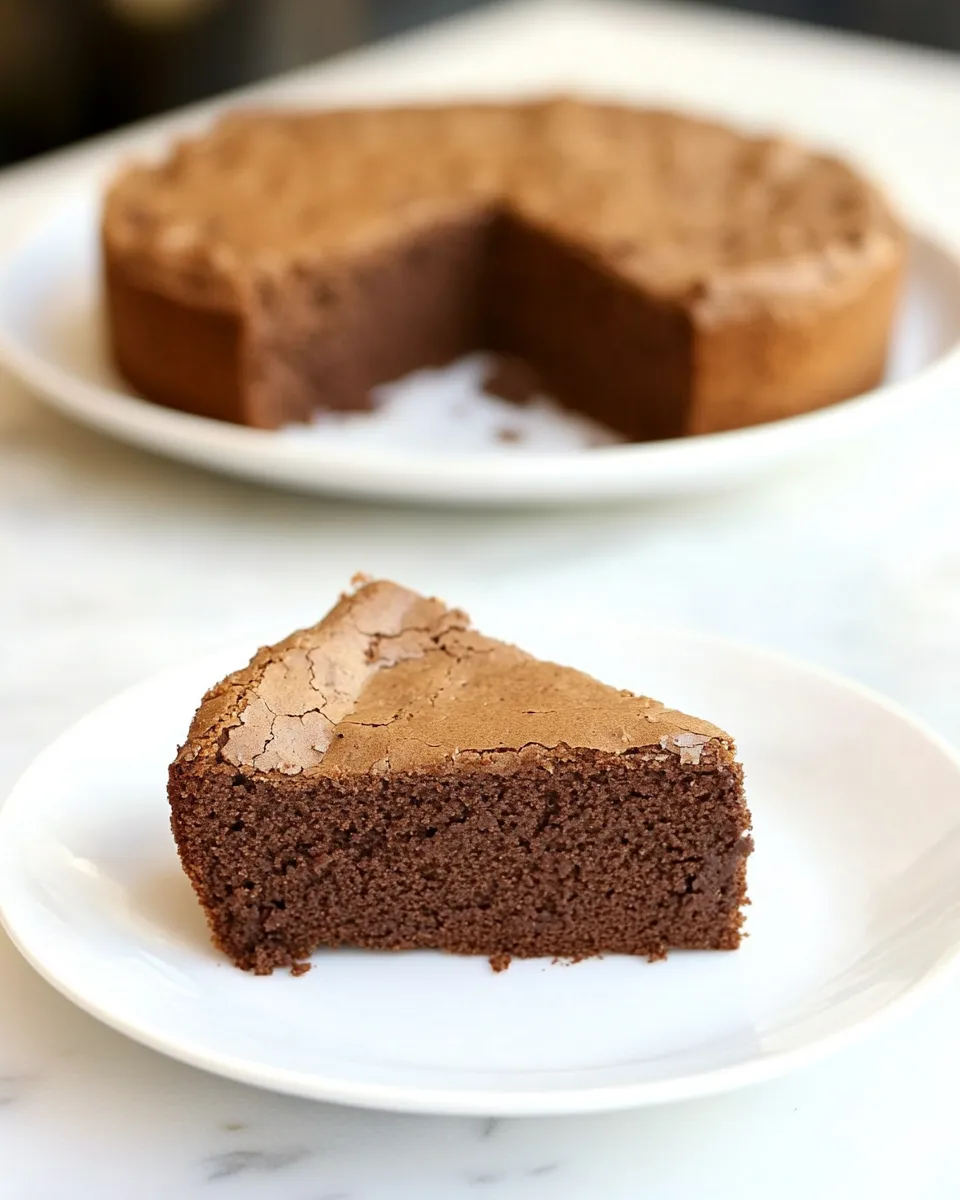
This Chocolate Buckwheat Cake is not just another dessert; it’s a delightful experience. The use of buckwheat flour adds a unique depth of flavor that complements the rich chocolate beautifully. Additionally, the cake is made with wholesome ingredients that elevate it beyond your typical chocolate cake. The combination of almond or hazelnut flour and yogurt results in a moist texture that will have you coming back for seconds. Plus, it’s naturally gluten-free, so everyone can enjoy this delectable dessert without worry.
What to Buy
To create this delightful Chocolate Buckwheat Cake, here’s what you’ll need:
- 6 ounces (170g) bittersweet or semisweet chocolate, chopped
- 1/2 cup (115g) unsalted butter, cubed
- 4 large eggs, separated
- 1/2 cup (100g) unrefined or granulated sugar
- 1/3 cup (80ml) plain whole-milk yogurt
- 1 teaspoon vanilla extract
- 1/2 teaspoon salt
- 3/4 cup (75g) almond or hazelnut flour
- 1/4 cup (35g) buckwheat flour
Make sure to use high-quality chocolate for the best flavor. This will truly elevate your Chocolate Buckwheat Cake.
Setup & Equipment
Before you start baking, gather the following equipment:
- Mixing bowls: A few different sizes will help with separating the egg whites and yolks.
- Double boiler or microwave-safe bowl: For melting the chocolate and butter.
- Electric mixer: To whip the egg whites until fluffy.
- 9-inch round cake pan: For baking the cake.
- Spatula: For folding ingredients together gently.
Having everything ready will ensure a smooth baking process.
Mastering Chocolate Buckwheat Cake: How-To
Ready to dive into the baking process? Follow these simple steps to create your Chocolate Buckwheat Cake.
Step 1: Prepare the oven and pan
Preheat your oven to 350°F (175°C). Grease the 9-inch round cake pan with butter and line the bottom with parchment paper for easy removal.
Step 2: Melt chocolate and butter
In a double boiler or microwave-safe bowl, combine the chopped chocolate and cubed butter. Melt gently, stirring until smooth and completely combined. Set aside to cool slightly.
Step 3: Whisk egg yolks and sugar
In a large mixing bowl, whisk together the egg yolks and sugar until pale and fluffy. This should take about 3-5 minutes. Stir in the yogurt, vanilla extract, and a pinch of salt.
Step 4: Add melted chocolate
Once the chocolate and butter mixture has cooled slightly, add it to the egg yolk mixture. Stir until fully combined.
Step 5: Combine dry ingredients
In a separate bowl, mix together the almond or hazelnut flour and buckwheat flour. Gradually fold this mixture into the wet ingredients until no dry streaks remain.
Step 6: Whip egg whites
In a clean bowl, whip the egg whites until stiff peaks form. This will give your cake a light and airy texture. Gently fold the whipped egg whites into the chocolate batter in three additions, being careful not to deflate the mixture.
Step 7: Bake the cake
Pour the batter into the prepared cake pan and smooth the top. Bake in the preheated oven for 25-30 minutes, or until a toothpick inserted in the center comes out with a few moist crumbs.
Step 8: Cool and serve
Allow the cake to cool in the pan for about 10 minutes before transferring it to a wire rack to cool completely. Dust with powdered sugar or serve with a dollop of whipped cream if desired.
Seasonal Ingredient Swaps
Feel free to experiment with seasonal ingredients to give your Chocolate Buckwheat Cake a unique twist. Here are some ideas:
- In the fall: Add a pinch of cinnamon or nutmeg for a warm spice flavor.
- In the summer: Top with fresh berries for a refreshing contrast to the rich chocolate.
- For a nutty twist: Use pecan flour instead of almond or hazelnut flour.
- For a fruity hint: Incorporate orange zest into the batter.
These swaps can make your Chocolate Buckwheat Cake even more delightful!
If You’re Curious
Curious about buckwheat? Here’s a quick overview:
Buckwheat is a gluten-free grain that is actually a seed. It’s rich in fiber, protein, and essential nutrients, making it a nutritious choice for baking. The unique flavor complements chocolate beautifully and adds a lovely texture to baked goods. Try experimenting with other recipes that use buckwheat, such as Chocolate Banana Bread or pancakes!
Keep-It-Fresh Plan
To keep your Chocolate Buckwheat Cake fresh and delicious:
- Store leftover cake in an airtight container at room temperature for up to 3 days.
- If you want to keep it longer, refrigerate it for up to a week.
- For extended storage, freeze individual slices wrapped tightly in plastic wrap for up to 2 months.
Simply thaw at room temperature before enjoying!
Frequently Asked Questions
Can I use different types of flour?
Yes! You can substitute the almond or hazelnut flour with any nut flour of your choice, or even use a gluten-free all-purpose flour blend if preferred.
What can I use instead of yogurt?
If you don’t have yogurt on hand, sour cream or a dairy-free yogurt alternative will work well in this recipe.
Is this cake suitable for special occasions?
Absolutely! The richness of the Chocolate Buckwheat Cake makes it perfect for birthdays, anniversaries, or any celebration.
Can I make this cake ahead of time?
Yes! You can bake the cake the day before your event. Just store it properly to keep it fresh, and it will be just as delicious the next day.
More from the Kitchen
If you enjoyed this recipe, you might want to check out these delicious treats:
Ready to Cook?
Now that you’re equipped with everything you need to make a delicious Chocolate Buckwheat Cake, it’s time to get baking! Trust me; your taste buds will thank you. Enjoy every slice of this chocolatey goodness, and don’t forget to share with friends and family. Happy baking!
Chocolate Buckwheat Cake
Ingredients
Equipment
Method
- Preheat your oven to 350°F (175°C). Grease the 9-inch round cake pan with butter and line the bottom with parchment paper for easy removal.
- In a double boiler or microwave-safe bowl, combine the chopped chocolate and cubed butter. Melt gently, stirring until smooth and completely combined. Set aside to cool slightly.
- In a large mixing bowl, whisk together the egg yolks and sugar until pale and fluffy. This should take about 3-5 minutes. Stir in the yogurt, vanilla extract, and a pinch of salt.
- Once the chocolate and butter mixture has cooled slightly, add it to the egg yolk mixture. Stir until fully combined.
- In a separate bowl, mix together the almond or hazelnut flour and buckwheat flour. Gradually fold this mixture into the wet ingredients until no dry streaks remain.
- In a clean bowl, whip the egg whites until stiff peaks form. This will give your cake a light and airy texture. Gently fold the whipped egg whites into the chocolate batter in three additions, being careful not to deflate the mixture.
- Pour the batter into the prepared cake pan and smooth the top. Bake in the preheated oven for 25-30 minutes, or until a toothpick inserted in the center comes out with a few moist crumbs.
- Allow the cake to cool in the pan for about 10 minutes before transferring it to a wire rack to cool completely. Dust with powdered sugar or serve with a dollop of whipped cream if desired.
Notes
- Use high-quality chocolate for the best flavor.
- Store leftover cake in an airtight container at room temperature for up to 3 days.
- If you want to keep it longer, refrigerate it for up to a week.