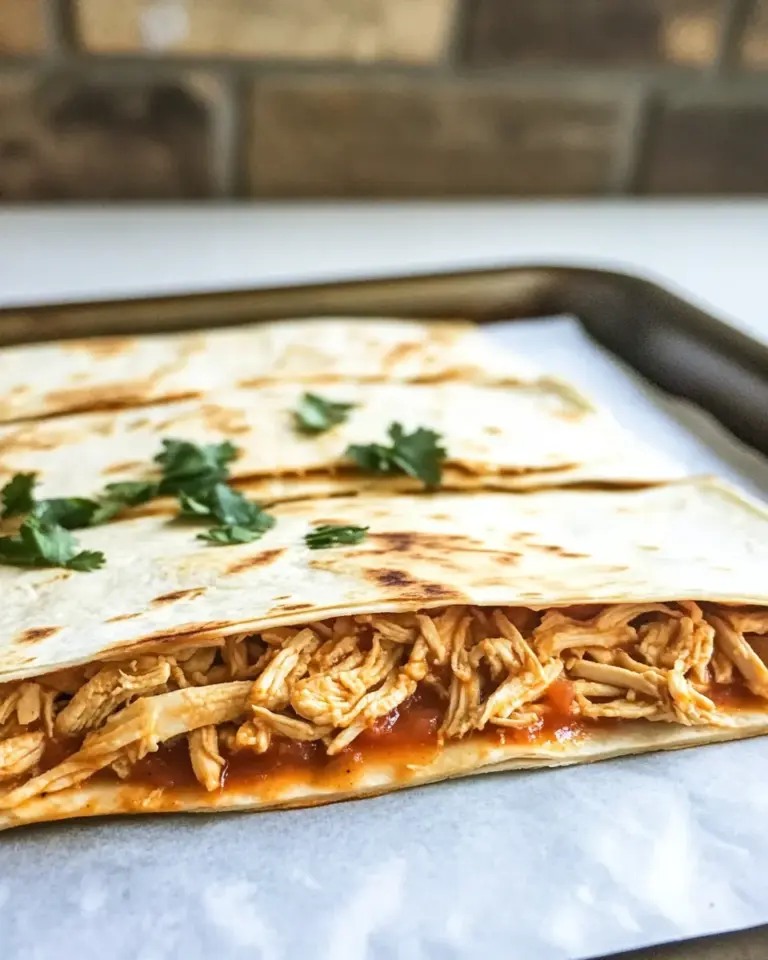
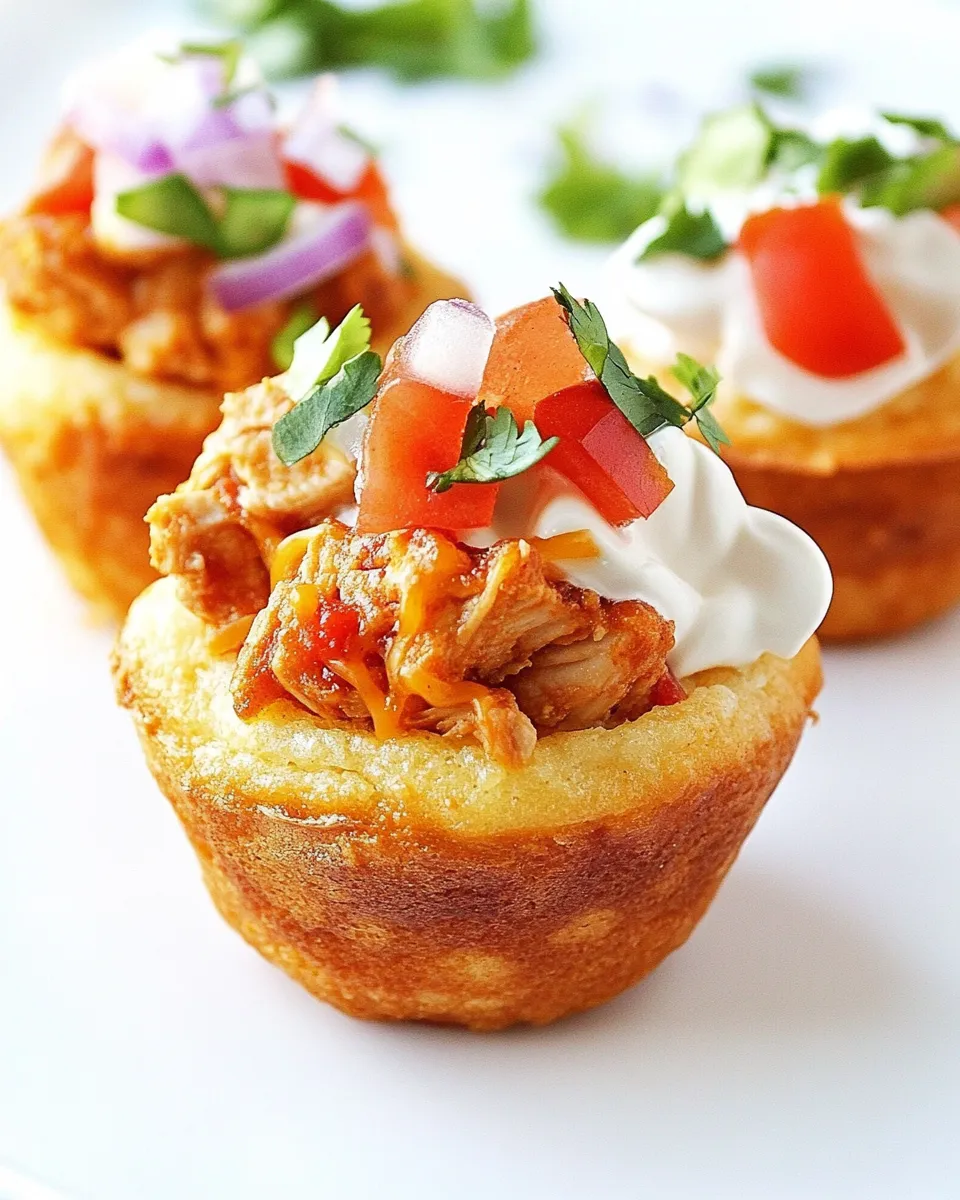
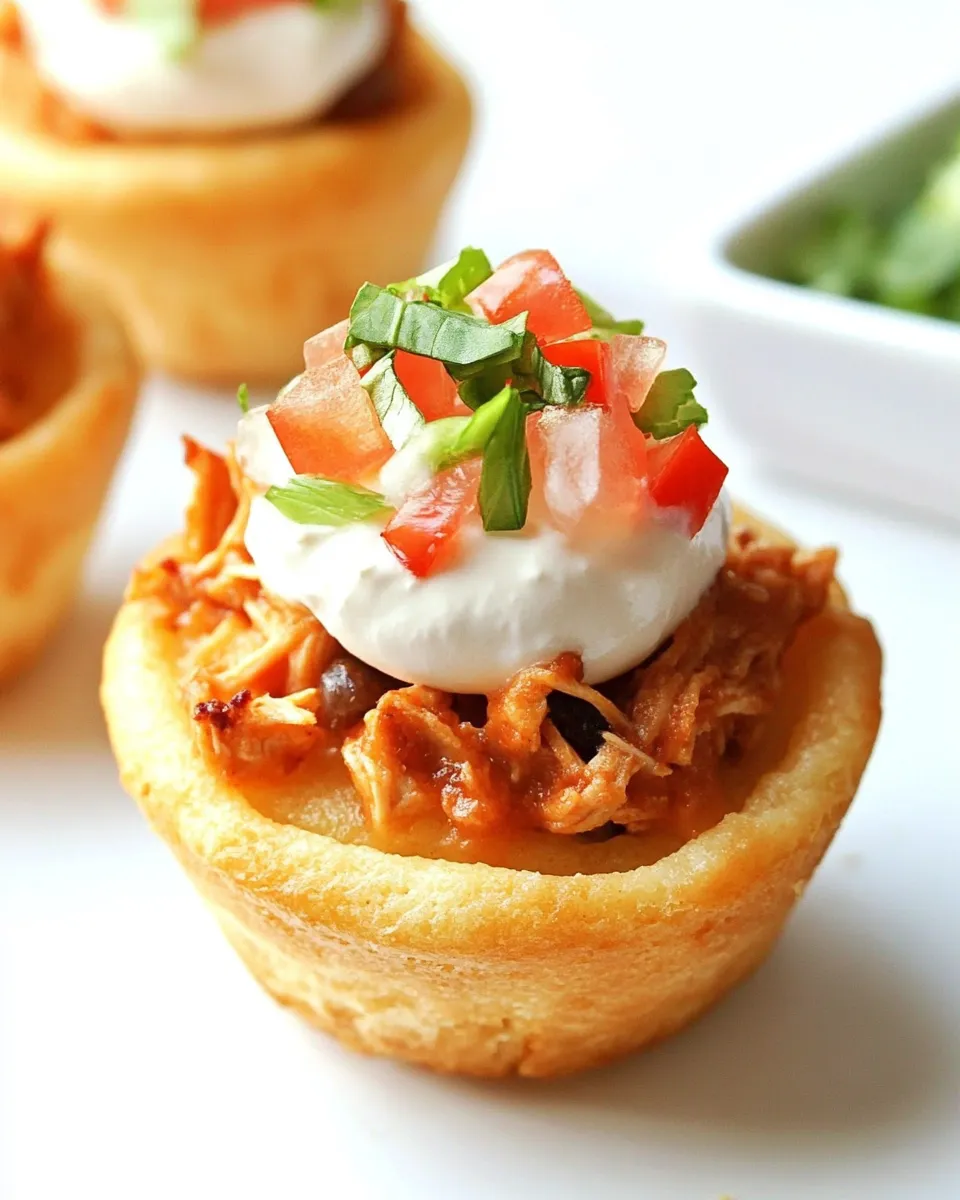
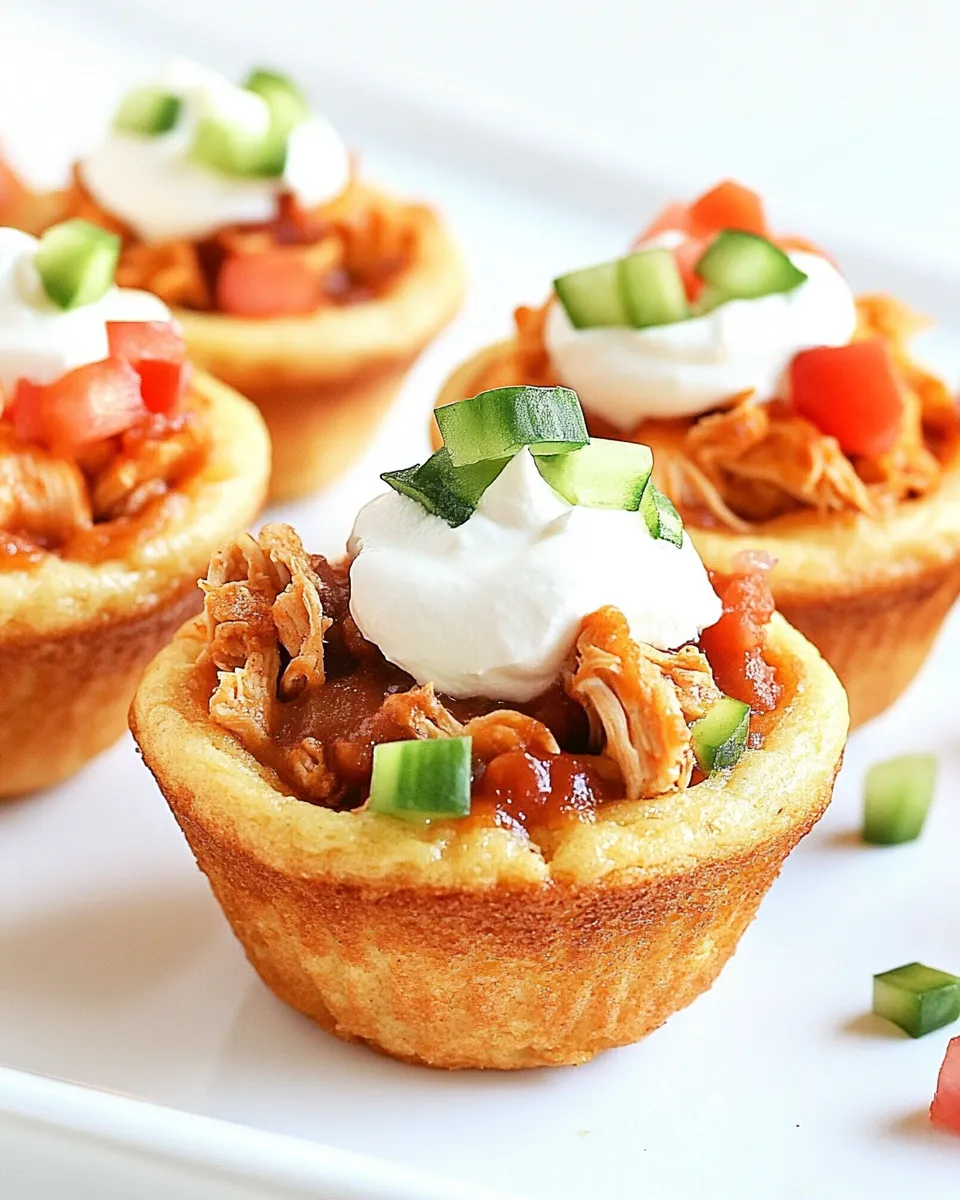
Chicken Taco Cupcakes
Imagine a fun twist on taco night that combines the savory flavors of chicken tacos with the whimsical presentation of cupcakes. These Chicken Taco Cupcakes are not only a feast for the eyes but also a delightful explosion of flavor in every bite. Perfect for parties, family dinners, or even just a cozy night in, these little morsels will leave everyone asking for seconds. Plus, they’re incredibly easy to whip up, making them a go-to recipe for busy weeknights or casual gatherings.
Let’s dive into why these cupcakes have become a staple in my kitchen, explore what you need to make them, and how to perfect the recipe for your next taco adventure.
Why It’s My Go-To
The beauty of Chicken Taco Cupcakes lies in their versatility. You can modify the toppings to suit your taste, making them perfect for picky eaters or those with dietary restrictions. The combination of tender, seasoned chicken nestled in a fluffy biscuit shell topped with your favorite taco toppings is irresistible. Plus, they are a hit with both kids and adults alike! When I’m looking to impress guests or simply want to enjoy a comforting dish that can be put together in under an hour, these cupcakes never disappoint.
Shopping List
- 2 cups cooked and shredded chicken (see Note)
- 2 tablespoons Old El Paso taco seasoning
- 2/3 cup water
- 1 tablespoon lime juice (adjust to taste)
- 1 (7.5 oz) package refrigerated biscuits
- 1 cup shredded Mexican blend cheese
- Toppings: lettuce, tomato, sour cream, guacamole, salsa
Equipment at a Glance
- Oven: For baking the cupcakes.
- Muffin tin: To shape and hold the biscuit cups.
- Mixing bowl: For combining chicken and seasoning.
- Measuring cups and spoons: For accurate ingredient measurements.
- Spatula: For filling the muffin cups with the mixture.
Chicken Taco Cupcakes: Step-by-Step Guide
Step 1: Preheat the Oven
Preheat your oven to 375°F (190°C). This is the perfect temperature to get those biscuits golden and fluffy.
Step 2: Prepare the Chicken Filling
In a mixing bowl, combine 2 cups of cooked and shredded chicken, 2 tablespoons of Old El Paso taco seasoning, 2/3 cup of water, and 1 tablespoon of lime juice. Mix well until all the chicken is coated with the seasoning. Let it sit for a few minutes to absorb the flavors.
Step 3: Prepare the Biscuit Cups
Open the package of refrigerated biscuits. Flatten each biscuit into a round disk about 4 inches in diameter. Press each disc into the muffin tin, ensuring they cover the bottom and sides to create a small cup.
Step 4: Fill the Cups
Spoon the chicken mixture into each biscuit cup, filling them generously but not overflowing.
Step 5: Add the Cheese
Sprinkle a hearty tablespoon of shredded Mexican blend cheese over the top of each filled biscuit cup. The cheese will melt beautifully, creating a gooey topping.
Step 6: Bake
Place the muffin tin in the preheated oven and bake for about 15-20 minutes or until the biscuits are golden brown and the cheese is bubbly.
Step 7: Add Toppings
Once baked, remove the muffin tin from the oven. Let the cupcakes cool slightly before topping with your favorite garnishes: shredded lettuce, diced tomatoes, a dollop of sour cream, guacamole, and salsa.
Texture-Safe Substitutions

- For a gluten-free option, use gluten-free biscuits.
- Swap shredded chicken for ground turkey or beef for a different protein.
- Use low-fat cheese or dairy-free cheese for lighter or lactose-free options.
- For a spicier kick, add diced jalapeños to the chicken mixture.
Pro Tips & Notes
- Cook the chicken in advance to save time. Rotisserie chicken works great!
- Feel free to adjust the amount of taco seasoning based on your spice preference.
- For a festive twist, add black beans or corn to the chicken mixture.
- Let the cupcakes cool for a few minutes before removing from the tin to prevent breaking.
Leftovers & Meal Prep
If you have any Chicken Taco Cupcakes left over, they can be stored in an airtight container in the refrigerator for up to 3 days. Reheat them in the oven at 350°F (175°C) for about 10 minutes, until warmed through. These cupcakes are perfect for meal prep as you can make a batch ahead of time and enjoy them throughout the week for lunch or dinner.
Top Questions & Answers
Can I use frozen chicken for this recipe?
Yes, you can use frozen chicken. Just ensure it is fully cooked and shredded before adding it to the taco mixture. Cooking it ahead of time is the best approach.
What can I substitute for the taco seasoning?
If you don’t have taco seasoning on hand, you can create your own using a mix of chili powder, cumin, garlic powder, onion powder, and paprika. Adjust to taste!
Can I make these ahead of time?
Absolutely! Prepare the chicken filling and biscuit cups ahead of time. Assemble and bake them just before serving for the best texture.
How do I make these vegetarian?
Swap the chicken for a mixture of black beans, corn, and diced bell peppers seasoned with taco seasoning for a delicious vegetarian option.
Similar Recipes
- Chicken Taco Salad – A refreshing twist on traditional tacos.
- Chicken Flautas – Crispy rolled tortillas filled with flavorful chicken.
Before You Go
These Chicken Taco Cupcakes are bound to become a family favorite. Their unique presentation and delicious flavors make them a hit at any gathering, and they are versatile enough to adapt to your preferences. Whether you’re hosting a game night, looking for a quick weeknight meal, or just in the mood for something fun, these cupcakes will surely satisfy. Don’t forget to customize your toppings and share your creations with friends and family. Happy cooking!
Chicken Taco Cupcakes
Ingredients
Equipment
Method
- Preheat your oven to 375°F (190°C). This is the perfect temperature to get those biscuits golden and fluffy.
- In a mixing bowl, combine 2 cups of cooked and shredded chicken, 2 tablespoons of Old El Paso taco seasoning, 2/3 cup of water, and 1 tablespoon of lime juice. Mix well until all the chicken is coated with the seasoning. Let it sit for a few minutes to absorb the flavors.
- Open the package of refrigerated biscuits. Flatten each biscuit into a round disk about 4 inches in diameter. Press each disc into the muffin tin, ensuring they cover the bottom and sides to create a small cup.
- Spoon the chicken mixture into each biscuit cup, filling them generously but not overflowing.
- Sprinkle a hearty tablespoon of shredded Mexican blend cheese over the top of each filled biscuit cup. The cheese will melt beautifully, creating a gooey topping.
- Place the muffin tin in the preheated oven and bake for about 15-20 minutes or until the biscuits are golden brown and the cheese is bubbly.
- Once baked, remove the muffin tin from the oven. Let the cupcakes cool slightly before topping with your favorite garnishes: shredded lettuce, diced tomatoes, a dollop of sour cream, guacamole, and salsa.
Notes
- Cook the chicken in advance to save time. Rotisserie chicken works great!
- Feel free to adjust the amount of taco seasoning based on your spice preference.
- For a festive twist, add black beans or corn to the chicken mixture.
- Let the cupcakes cool for a few minutes before removing from the tin to prevent breaking.