Butterscotch Peanut Butter Oreo Fudge
When you think of fudge, you might picture a classic chocolate treat. However, today we’re diving into a delightful twist that combines the rich flavors of butterscotch, creamy peanut butter, and the iconic crunch of Oreo cookies. This Butterscotch Peanut Butter Oreo Fudge is not just a dessert; it’s an experience. With layers of flavor and texture, this fudge is perfect for sharing with friends or indulging in a quiet moment at home. Let’s get baking!
The Upside of Butterscotch Peanut Butter Oreo Fudge
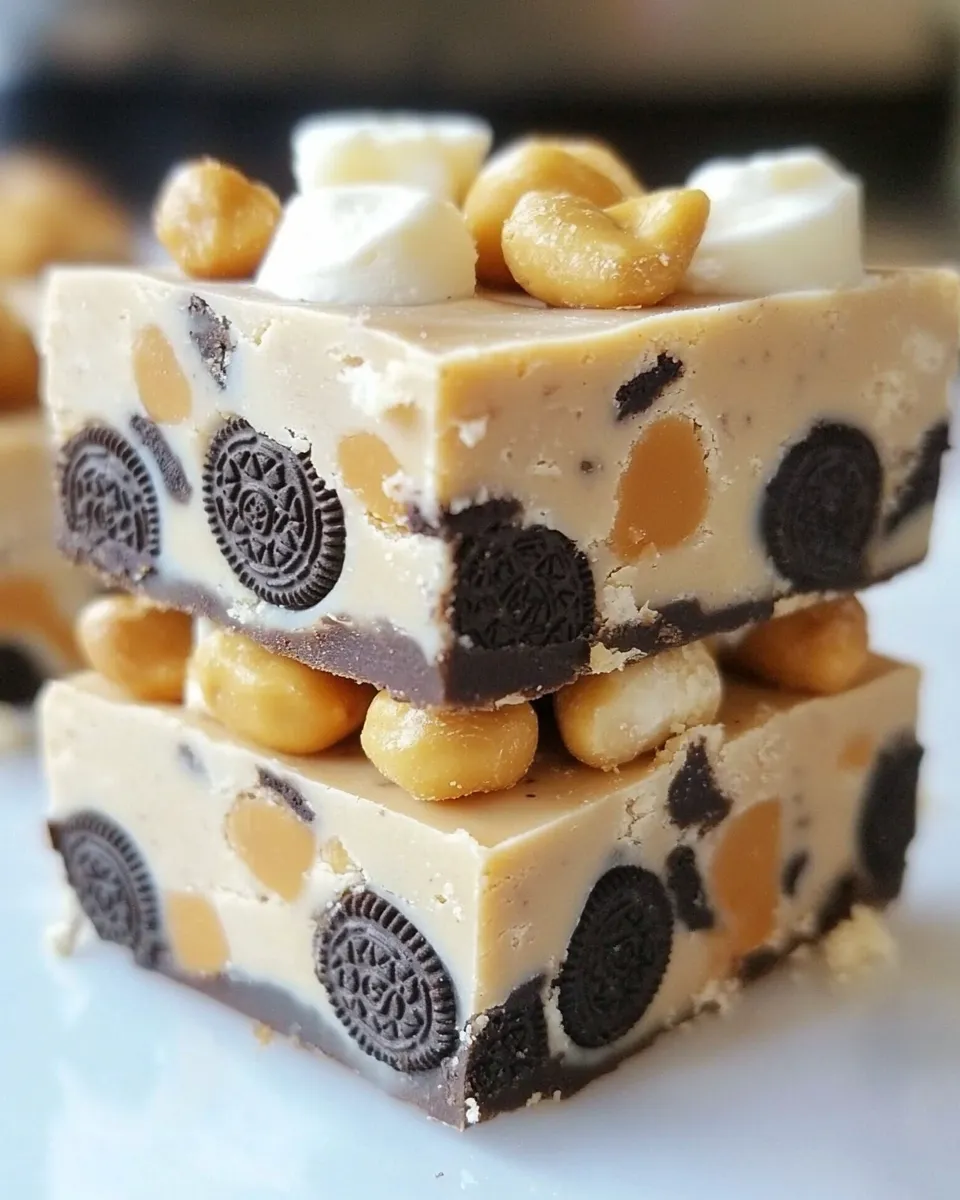
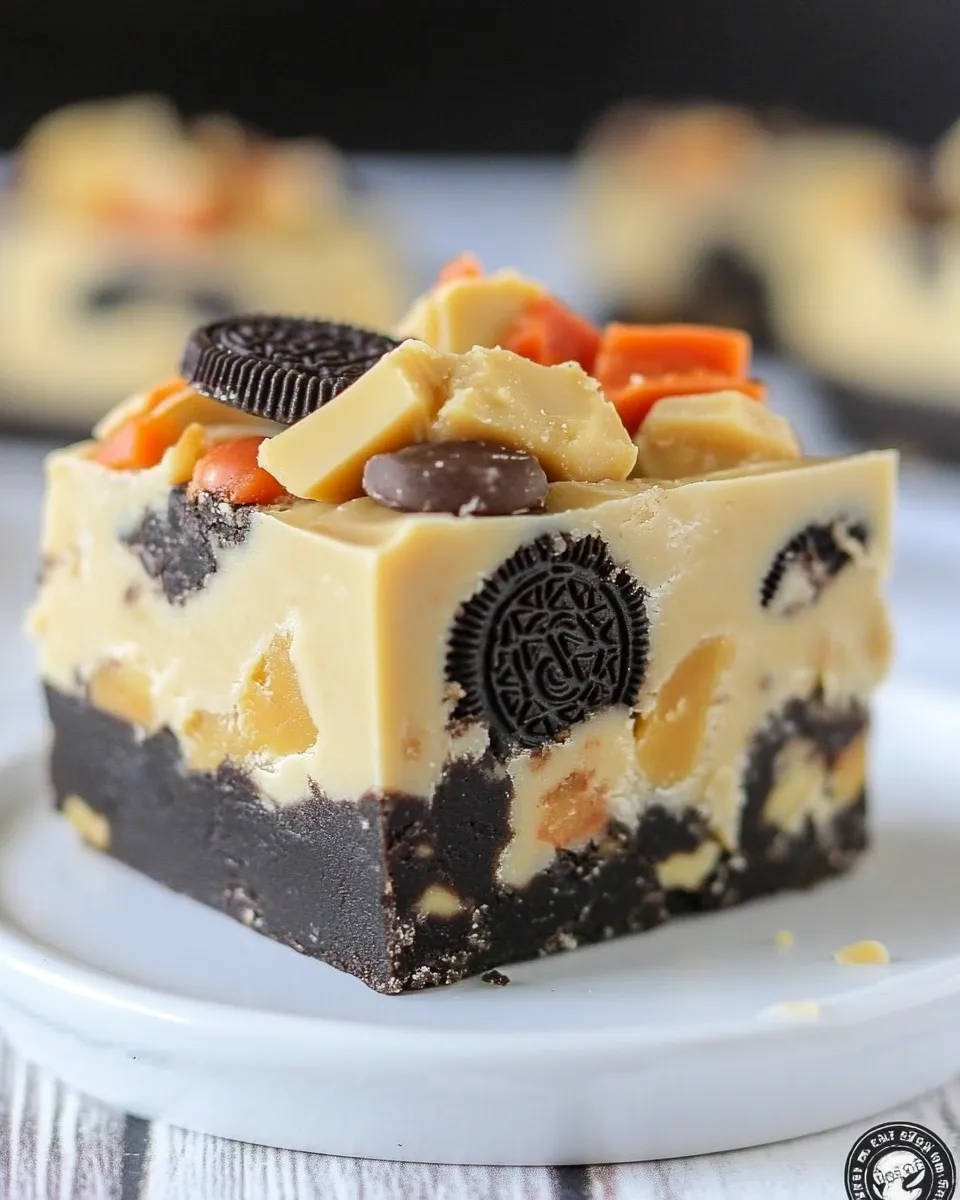
This fudge is a heavenly combination of sweet and salty, creamy and crunchy. The butterscotch chips melt down beautifully, creating a luscious base that pairs perfectly with the coarsely chopped Peanut Butter Oreos. Each bite is like a mini celebration, making it an ideal treat for birthdays, holidays, or just a sweet pick-me-up. The addition of mini Reese’s Pieces provides an extra crunch and a pop of color, making this fudge as fun to look at as it is to eat.
Shopping List
- 14 Peanut Butter Oreos, coarsely chopped
- 1 package (11 oz) butterscotch chips
- 1 cup white chocolate chips
- 1 can (14 oz) sweetened condensed milk (I always use fat-free)
- 1 tsp vanilla extract
- 1/3 cup mini Reese’s Pieces plus more to sprinkle on top
Hardware & Gadgets
- 9×9-inch baking pan: A square pan is perfect for setting your fudge.
- Parchment paper: Use this to line your pan for easy removal.
- Microwave-safe bowl: For melting the chips and mixing the ingredients.
- Rubber spatula: Great for stirring and scraping the sides of the bowl.
Butterscotch Peanut Butter Oreo Fudge: Step-by-Step Guide
Step 1: Prepare the Baking Pan
Start by lining your 9×9-inch baking pan with parchment paper, leaving a little overhang on the edges. This will make it easy to lift the fudge out once it’s set.
Step 2: Melt the Chips
In a microwave-safe bowl, combine the butterscotch chips, white chocolate chips, and sweetened condensed milk. Heat this mixture in the microwave in 30-second intervals, stirring in between until fully melted and smooth. Be careful not to overheat!
Step 3: Add Flavor
Once your mixture is smooth, stir in the vanilla extract. This will enhance the flavors and give your fudge that delightful aroma.
Step 4: Mix in the Goodies
Gently fold in the coarsely chopped Peanut Butter Oreos and the mini Reese’s Pieces into the melted mixture. Make sure everything is evenly distributed for that perfect bite!
Step 5: Pour into the Pan
Pour the fudge mixture into your prepared baking pan, spreading it out evenly. Use your spatula to smooth the top.
Step 6: Add More Toppings
Sprinkle additional mini Reese’s Pieces on top for a burst of color and extra crunch.
Step 7: Chill and Set
Refrigerate the fudge for at least 2 hours or until fully set. Patience is key here!
Step 8: Slice and Enjoy
Once the fudge is set, lift it out of the pan using the parchment overhang. Cut it into squares and serve. Enjoy the sweet, creamy, crunchy goodness of your Butterscotch Peanut Butter Oreo Fudge!
Smart Substitutions
- For a vegan option, use dairy-free chocolate chips and coconut condensed milk.
- Swap out Peanut Butter Oreos for regular Oreos if you prefer a classic flavor.
- Use almond milk or oat milk in place of sweetened condensed milk for a lighter version (though it will change the texture).
- For an extra peanut butter kick, add 1/4 cup of creamy peanut butter to the melting mixture.
Troubles You Can Avoid
- Don’t overheat the chocolate mixture; it can seize up and become grainy.
- Make sure to chop the Oreos coarsely so that they mix in well without becoming too fine.
- Allow enough time for the fudge to set in the refrigerator; cutting it too early can result in a messy slice.
Keep-It-Fresh Plan
Store your Butterscotch Peanut Butter Oreo Fudge in an airtight container in the refrigerator. It should last for about 1-2 weeks, but I doubt it will stick around that long! If you want to keep it even longer, consider freezing it. Just make sure to wrap it tightly in plastic wrap and place it in a freezer-safe container. Thaw in the refrigerator before serving.
Reader Q&A
Can I use different types of chocolate chips?
Absolutely! You can mix and match different types of chips to suit your preference. Dark chocolate chips can add a nice depth of flavor, while milk chocolate will make it sweeter.
How do I know when the fudge is set?
The fudge is ready when it feels firm to the touch and doesn’t leave an imprint when you press it lightly. It should also pull away slightly from the sides of the pan.
What can I do if my fudge is too soft?
If your fudge is too soft, it may not have set long enough in the refrigerator. Try chilling it for a longer period. If it’s still not firm, you can place it in the freezer for a short time to help it firm up.
Can I add nuts to the fudge?
Yes, adding nuts like chopped peanuts or pecans can add a wonderful crunch and flavor. Just make sure to fold them in gently to avoid breaking up the fudge mixture.
You Might Also Like
Before You Go
This Butterscotch Peanut Butter Oreo Fudge is more than just a sweet treat; it encapsulates the joy of baking and sharing with loved ones. With its creamy texture, rich flavors, and delightful crunch, it’s bound to become a favorite in your dessert repertoire. So gather your ingredients, roll up your sleeves, and get ready to indulge in this decadent fudge. Enjoy every single delicious bite!
Butterscotch Peanut Butter Oreo Fudge
Ingredients
Equipment
Method
- Step 1: Prepare the Baking Pan - Line your 9x9-inch baking pan with parchment paper, leaving a little overhang on the edges.
- Step 2: Melt the Chips - In a microwave-safe bowl, combine the butterscotch chips, white chocolate chips, and sweetened condensed milk. Microwave in 30-second intervals, stirring until smooth.
- Step 3: Add Flavor - Stir in the vanilla extract once the mixture is smooth.
- Step 4: Mix in the Goodies - Fold in the chopped Peanut Butter Oreos and mini Reese's Pieces.
- Step 5: Pour into the Pan - Pour the fudge mixture into your prepared baking pan and smooth the top with a spatula.
- Step 6: Add More Toppings - Sprinkle additional mini Reese's Pieces on top.
- Step 7: Chill and Set - Refrigerate for at least 2 hours or until fully set.
- Step 8: Slice and Enjoy - Lift the fudge out using the parchment overhang and cut into squares.
Notes
- For a vegan option, use dairy-free chocolate chips and coconut condensed milk.
- Chop the Oreos coarsely to ensure they mix well.
- Store in an airtight container in the refrigerator for up to 1-2 weeks.