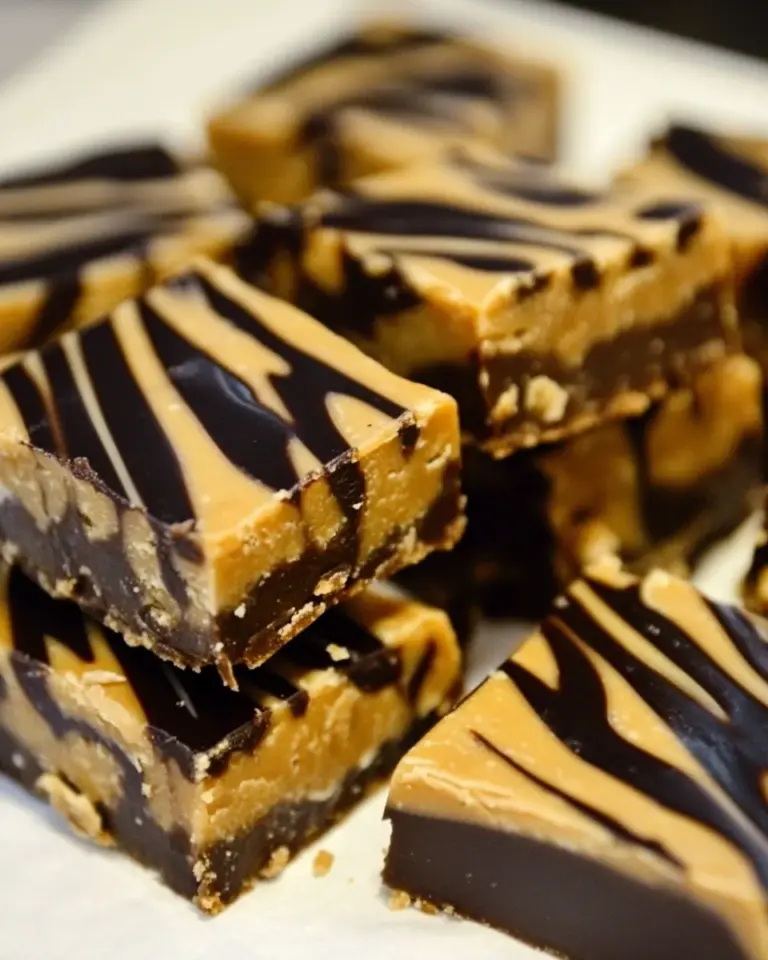
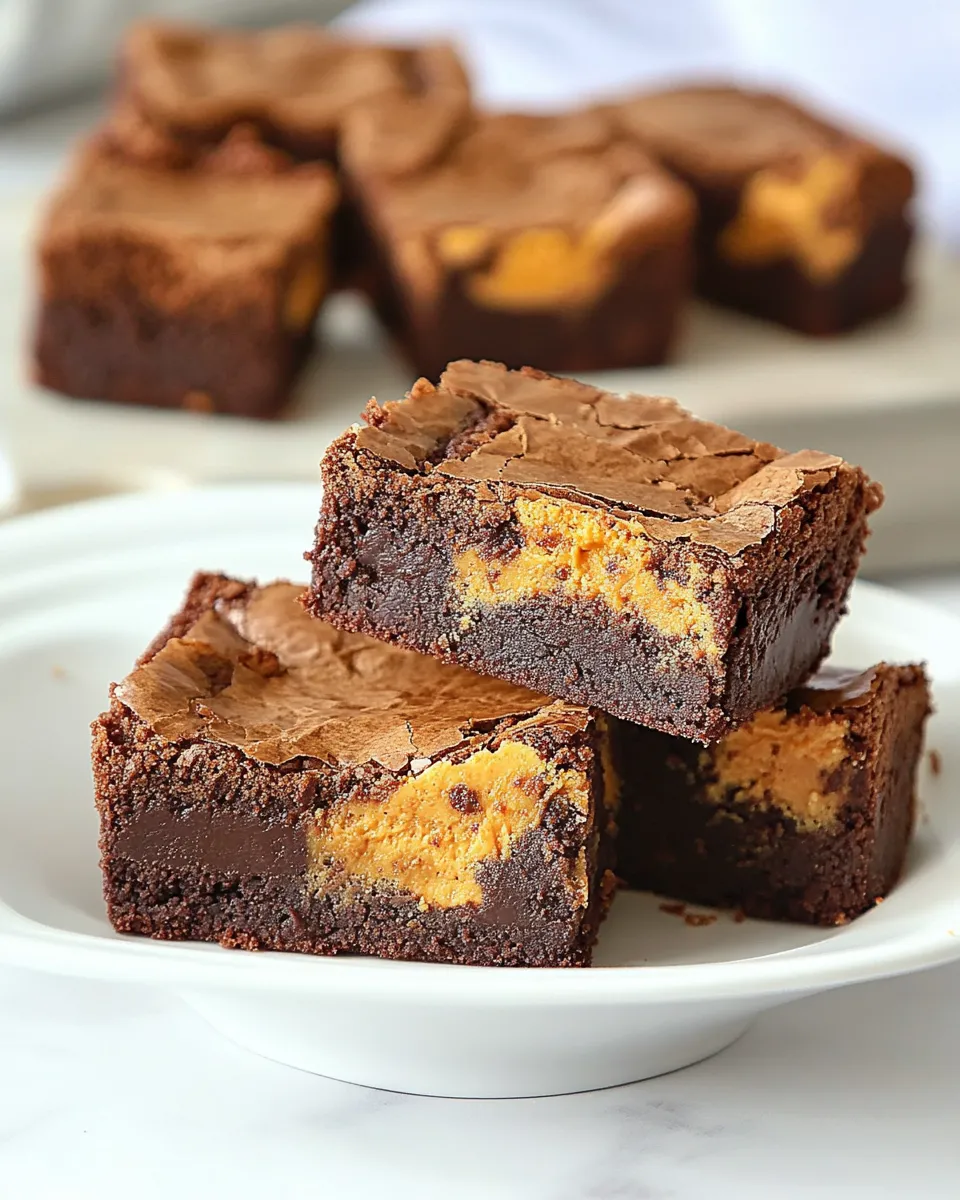
Butterfinger Brownies
If you’re looking for a dessert that marries the rich, fudgy goodness of brownies with the crunchy, peanut buttery delight of Butterfinger candy bars, you’ve come to the right place. These Butterfinger Brownies are the ultimate treat for chocolate lovers and candy enthusiasts alike. They are perfect for any occasion, whether you’re hosting a gathering or simply treating yourself to something sweet. Each bite is a symphony of flavors and textures that will leave you craving more.
Why It’s My Go-To
These Butterfinger Brownies are my go-to recipe for several reasons. First, they are incredibly easy to make, requiring just a handful of ingredients that you likely already have in your pantry. Second, they blend the rich taste of chocolate with the crunchy texture of Butterfinger, creating a delightful contrast that’s hard to resist. Finally, they are always a hit with family and friends, making them a perfect dessert for potlucks, parties, or just a cozy night in.
The Ingredient Lineup
To whip up these decadent Butterfinger Brownies, gather the following ingredients:
- 4 ounces unsweetened chocolate, coarsely chopped
- 3/4 cup butter
- 1 1/4 cups sugar
- 3 eggs
- 1 teaspoon pure vanilla extract
- 1/4 teaspoon salt
- 1 cup all-purpose flour
- 3 (2.1 ounce) Butterfinger candy bars, chopped into bite-size pieces
These simple yet effective ingredients come together to create a fudgy brownie that’s elevated by the sweet crunch of Butterfinger.
Hardware & Gadgets
Before you start baking, make sure you have the following tools on hand:
- 9×13 inch baking dish – perfect for baking these Butterfinger Brownies in a single batch.
- Mixing bowls – for combining all the ingredients.
- Whisk – to ensure all ingredients are mixed well.
- Spatula – ideal for folding in the chopped Butterfinger pieces.
- Parchment paper – for easy removal of the brownies after baking.
Having the right tools will help you create these brownies with ease and efficiency.
Butterfinger Brownies: How It’s Done
Follow these simple steps to make your own batch of Butterfinger Brownies:
Step 1: Preheat the Oven
Preheat your oven to 350°F (175°C). This ensures the brownies bake evenly and thoroughly.
Step 2: Prepare the Baking Dish
Line a 9×13 inch baking dish with parchment paper, leaving some overhang on the sides for easy removal later. This will make cutting and serving much simpler.
Step 3: Melt the Chocolate and Butter
In a medium saucepan over low heat, combine the chopped unsweetened chocolate and butter. Stir occasionally until melted and smooth. Remove from heat and allow to cool slightly.
Step 4: Mix the Ingredients
In a large mixing bowl, combine the sugar, eggs, vanilla extract, and salt. Whisk until the mixture is smooth and well-combined. Gradually add the melted chocolate mixture, mixing until fully incorporated.
Step 5: Add the Flour
Gently fold in the all-purpose flour using a spatula, being careful not to overmix. The batter should be thick and fudgy.
Step 6: Stir in the Butterfinger
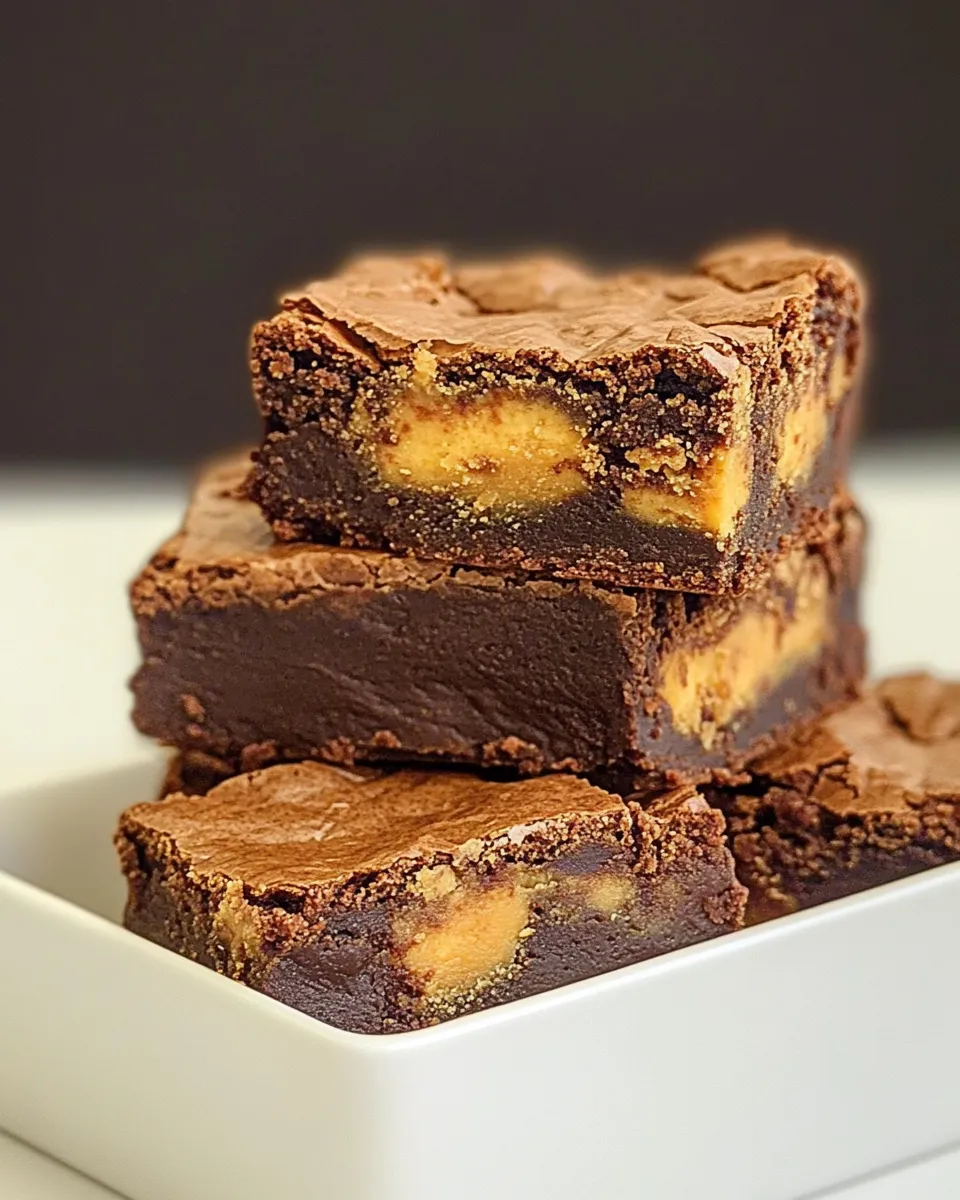
Fold in the chopped Butterfinger candy bars, making sure they are evenly distributed throughout the brownie batter.
Step 7: Bake the Brownies
Pour the brownie batter into the prepared baking dish and spread it evenly. Bake in the preheated oven for 25-30 minutes, or until a toothpick inserted in the center comes out with a few moist crumbs.
Step 8: Cool and Serve
Allow the brownies to cool in the pan for at least 10 minutes before lifting them out using the parchment paper. Let them cool completely on a wire rack before cutting into squares. Enjoy your delicious Butterfinger Brownies!
Season-by-Season Upgrades
These Butterfinger Brownies can be adapted for various seasons and occasions:
- Spring: Add a handful of chopped nuts, like pecans or walnuts, for an extra crunch.
- Summer: Top with a scoop of vanilla ice cream and a drizzle of chocolate syrup for an indulgent dessert.
- Fall: Incorporate pumpkin spice into the batter for a seasonal twist.
- Winter: Use a peppermint-flavored Butterfinger or add crushed candy canes for a festive touch.
Feel free to get creative and make these brownies your own!
Pitfalls & How to Prevent Them
Baking can sometimes go awry, but here are some common pitfalls when making Butterfinger Brownies and how to avoid them:
- Overmixing the batter: This can lead to tough brownies. Mix just until combined.
- Not allowing the brownies to cool: Cutting them too soon can result in messy, crumbly squares. Patience is key!
- Using expired ingredients: Always check the freshness of your chocolate and baking supplies.
- Underbaking: Make sure to check for doneness with a toothpick; it should come out with a few moist crumbs, not wet batter.
By keeping these tips in mind, you can ensure a successful batch every time.
Leftovers & Meal Prep
If you happen to have any leftovers of your Butterfinger Brownies (though I doubt you will!), they can be stored in an airtight container at room temperature for up to three days, or in the refrigerator for up to a week. For longer storage, you can freeze the brownies. Just wrap them tightly in plastic wrap and place them in a freezer-safe container. They will keep well for up to three months. To enjoy, simply thaw at room temperature or warm them slightly in the microwave.
Reader Q&A
Can I use a different type of chocolate?
Absolutely! You can replace the unsweetened chocolate with semi-sweet or dark chocolate for a sweeter flavor. Just adjust the sugar accordingly if you prefer a less sweet brownie.
What can I substitute for Butterfinger bars?
If you’re looking for an alternative, you can use other chocolate-covered peanut butter candies, such as Reese’s or similar brands, for a different flavor profile.
Can I make these brownies gluten-free?
Yes! Simply substitute all-purpose flour with a gluten-free flour blend, and you’ll still achieve that delicious brownie texture.
How do I know when the brownies are done baking?
A toothpick inserted into the center of the brownies should come out with a few moist crumbs. If it comes out clean, you might have overbaked them.
Don’t Miss These
If you love these Butterfinger Brownies, you might also enjoy these delightful recipes:
- Buckeye Fudge – A rich and creamy treat that combines chocolate and peanut butter.
- Mint Brownies – A refreshing twist on classic brownies with a minty layer.
- German Chocolate Rice Krispie Treats – A fun and unique take on Rice Krispie treats with a German chocolate flair.
Final Bite
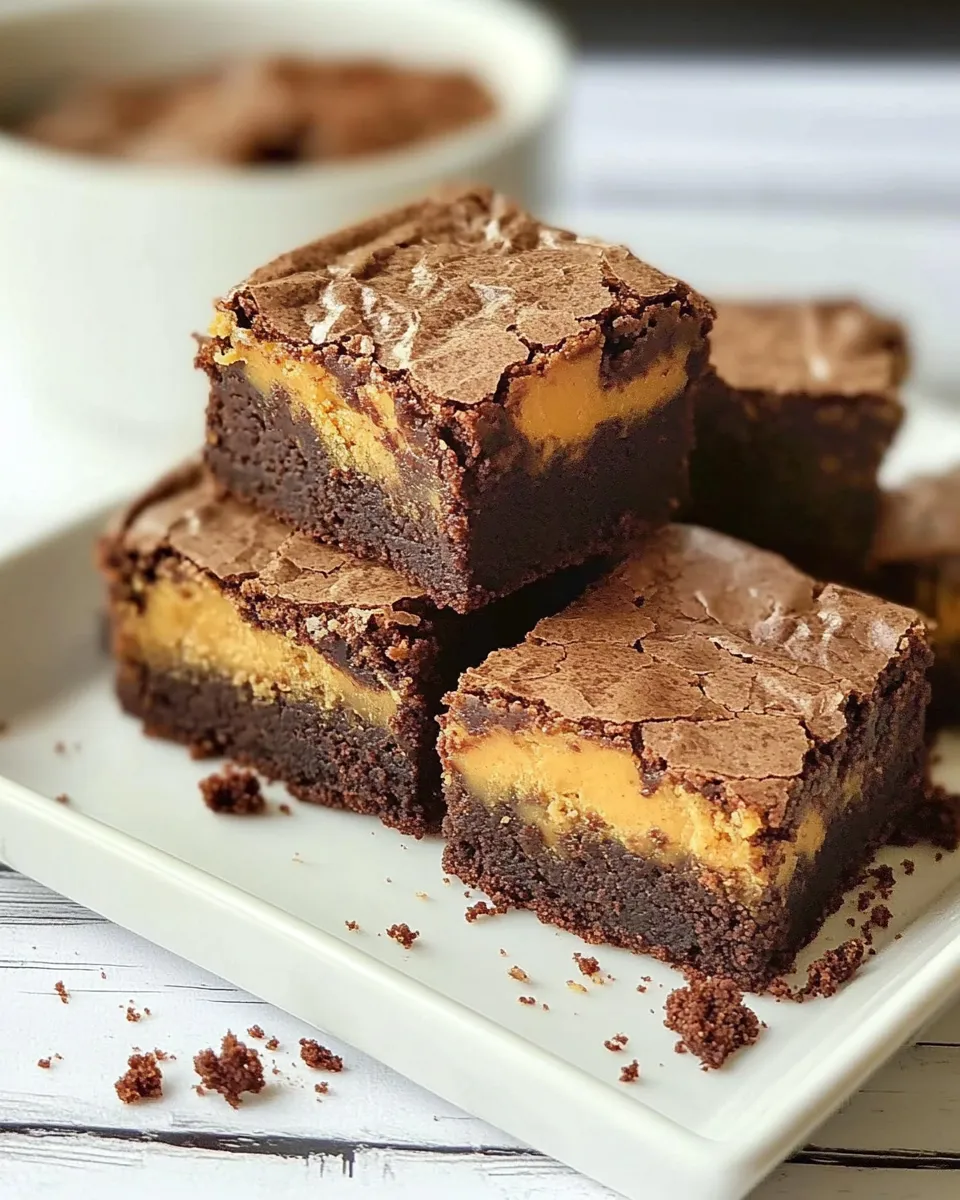
The moment you take a bite of these Butterfinger Brownies, you’ll understand why they are a favorite in my baking repertoire. The combination of rich chocolate, creamy butter, and crunchy Butterfinger pieces creates a deliciously satisfying treat that is perfect for any occasion. So gather your ingredients, grab your mixing bowls, and get ready to indulge in a dessert that is sure to impress!
Butterfinger Brownies
Ingredients
Equipment
Method
- Preheat your oven to 350°F (175°C). This ensures the brownies bake evenly and thoroughly.
- Line a 9x13 inch baking dish with parchment paper, leaving some overhang on the sides for easy removal later.
- In a medium saucepan over low heat, combine the chopped unsweetened chocolate and butter. Stir occasionally until melted and smooth. Remove from heat and allow to cool slightly.
- In a large mixing bowl, combine the sugar, eggs, vanilla extract, and salt. Whisk until the mixture is smooth and well-combined. Gradually add the melted chocolate mixture, mixing until fully incorporated.
- Gently fold in the all-purpose flour using a spatula, being careful not to overmix. The batter should be thick and fudgy.
- Fold in the chopped Butterfinger candy bars, making sure they are evenly distributed throughout the brownie batter.
- Pour the brownie batter into the prepared baking dish and spread it evenly. Bake in the preheated oven for 25-30 minutes, or until a toothpick inserted in the center comes out with a few moist crumbs.
- Allow the brownies to cool in the pan for at least 10 minutes before lifting them out using the parchment paper. Let them cool completely on a wire rack before cutting into squares.
Notes
- For extra crunch, add chopped nuts like pecans or walnuts.
- Top with vanilla ice cream and chocolate syrup for a decadent dessert.
- Store leftovers in an airtight container for up to a week.