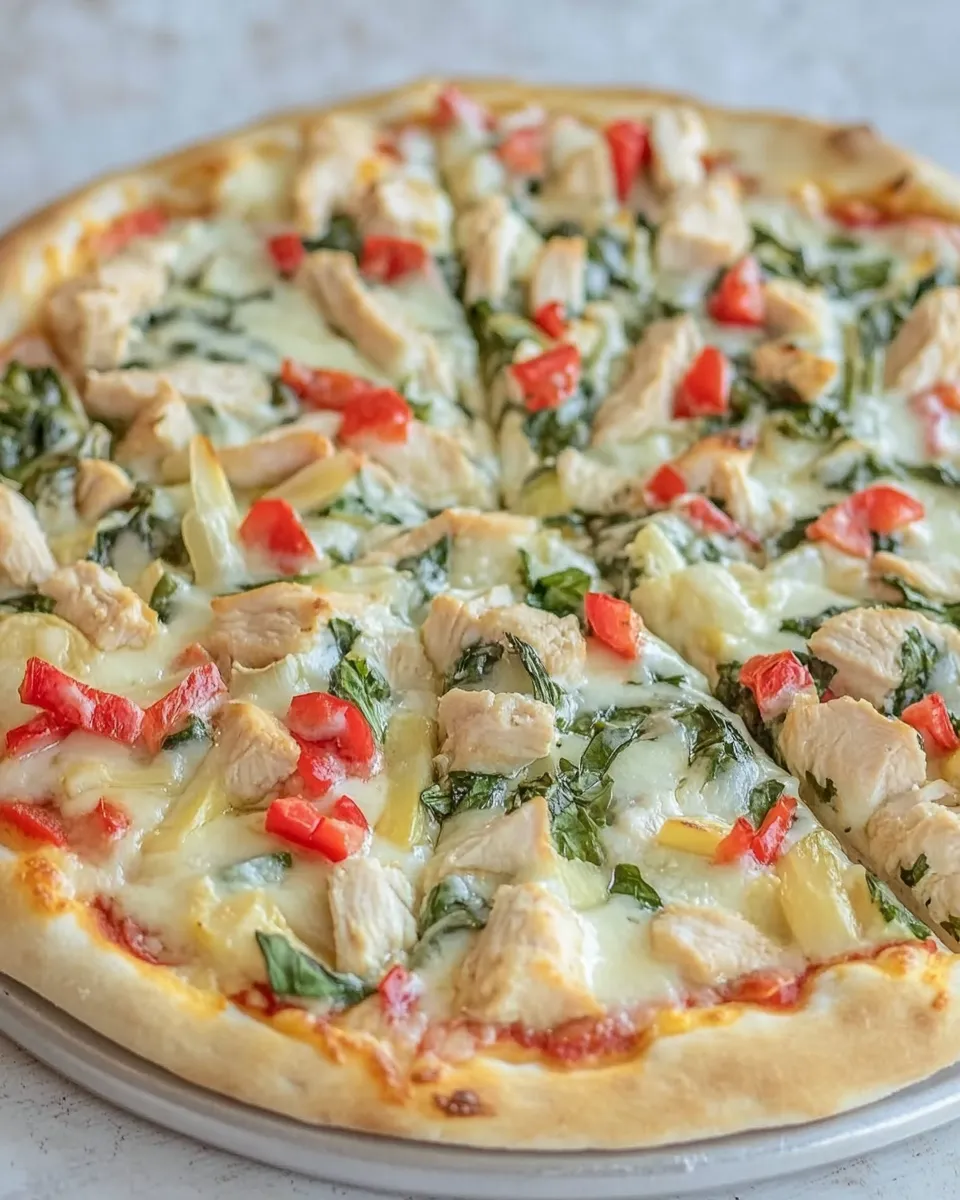
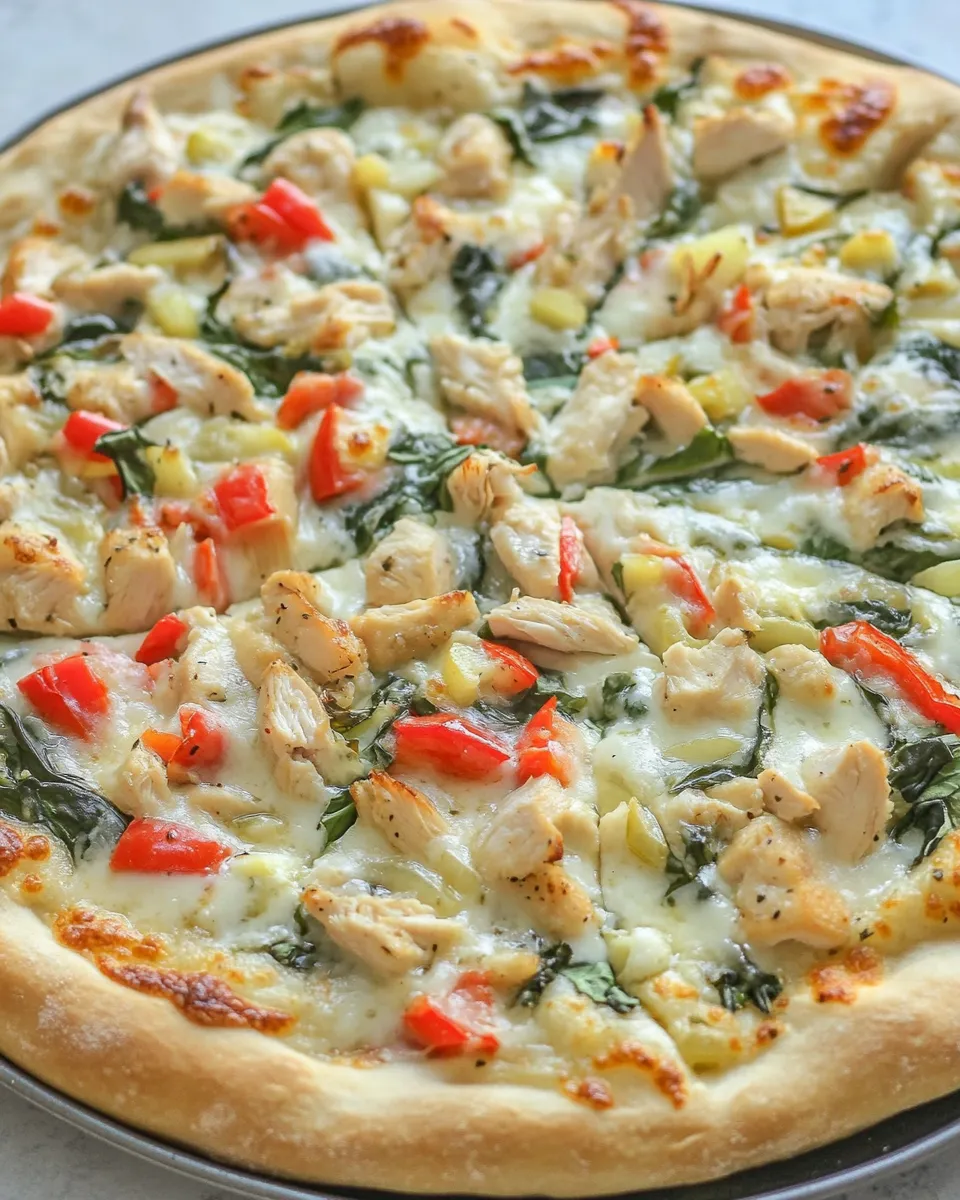
White Garlic Chicken and Vegetable Pizza
There’s something undeniably comforting about a homemade pizza, especially when it’s topped with creamy garlic sauce, tender chicken, and a colorful array of vegetables. This White Garlic Chicken and Vegetable Pizza is a delightful twist on traditional pizza, bringing together flavors that are both rich and refreshing. Perfect for a cozy family dinner or a fun get-together with friends, this pizza is sure to satisfy everyone at the table. With a creamy garlic sauce and a medley of toppings, it’s a dish that will leave you wanting more.
Why It Works Every Time

This White Garlic Chicken and Vegetable Pizza is a winner for several reasons. First, the creamy white garlic sauce acts as a perfect base, allowing the flavors of the toppings to shine. The combination of shredded mozzarella and parmesan cheese creates a gooey, melty texture that complements the diced chicken and fresh vegetables beautifully. Additionally, the use of fresh ingredients like spinach, artichokes, and tomatoes not only enhances the flavor but also provides a wonderful visual appeal.
Every bite is a harmonious blend of savory and fresh flavors, making this pizza a delightful choice for any occasion. Plus, it’s versatile! You can easily modify the toppings based on what you have on hand or your personal preferences.
Gather These Ingredients
To create your own White Garlic Chicken and Vegetable Pizza, gather the following ingredients:
- Dough: For one large pizza
- 1 cup shredded mozzarella cheese
- 1 large cooked chicken breast, diced
- 1 tomato, diced
- 1/2 cup fresh mushrooms, sliced
- 1/4 cup onion, either red or green, chopped
- 1/2 cup artichoke hearts, chopped
- 1 cup fresh spinach leaves
- 2 Tablespoons butter
- 3 Tablespoons all-purpose flour
- 1 1/4 cups milk
- Salt and freshly ground black pepper to taste
- 2-3 cloves garlic, minced
- 2 Tablespoons fresh basil leaves, finely chopped
- 1/2 cup freshly grated parmesan cheese
Equipment at a Glance
To make your pizza, you will need the following kitchen tools:
- Mixing bowl: For preparing the dough and mixing the ingredients.
- Rolling pin: To roll out your pizza dough to the desired thickness.
- Baking sheet or pizza stone: For baking the pizza to crispy perfection.
- Skillet: To prepare the garlic sauce and sauté the vegetables if needed.
- Spatula: For transferring the pizza to the oven.
White Garlic Chicken and Vegetable Pizza: From Prep to Plate
Follow these simple steps to create your own delicious White Garlic Chicken and Vegetable Pizza:
Step 1: Prepare the Dough
If you’re using store-bought dough, follow the package instructions. If you’re making your dough from scratch, combine flour, water, yeast, and salt in a mixing bowl. Knead until smooth and let it rise for about an hour or until doubled in size.
Step 2: Preheat the Oven
Preheat your oven to 475°F (245°C). This high temperature will help you achieve a crispy crust.
Step 3: Make the Garlic Sauce
In a skillet, melt the butter over medium heat. Add the minced garlic and sauté for about 1 minute until fragrant. Stir in the flour, cooking for another minute to create a roux. Gradually whisk in the milk, stirring continuously until the mixture thickens. Season with salt and pepper to taste. Remove from heat and set aside.
Step 4: Roll Out the Dough
On a floured surface, roll out your dough into a large circle or rectangle, about ¼ inch thick. Transfer it to a baking sheet or pizza stone.
Step 5: Assemble the Pizza
Spread the creamy garlic sauce evenly over the rolled-out dough. Sprinkle the shredded mozzarella cheese over the sauce, followed by the diced chicken, tomatoes, mushrooms, red or green onion, artichoke hearts, and fresh spinach leaves. Top with freshly grated parmesan cheese and chopped basil.
Step 6: Bake the Pizza
Place the pizza in the preheated oven and bake for about 12-15 minutes or until the crust is golden brown and the cheese is bubbly and slightly browned.
Step 7: Slice and Serve
Once baked, remove the pizza from the oven and let it cool for a few minutes. Slice it into wedges and serve hot. Enjoy your delicious White Garlic Chicken and Vegetable Pizza with your favorite dipping sauce or a side salad!
Health-Conscious Tweaks
If you’re looking to make this pizza a bit healthier, consider these options:
- Use whole wheat flour for the pizza dough to increase fiber content.
- Opt for low-fat mozzarella and parmesan cheese to reduce calories.
- Add more vegetables like bell peppers, zucchini, or broccoli for extra nutrients.
- Use olive oil instead of butter for the garlic sauce.
- Consider using a dairy-free milk alternative for the sauce if you want to reduce dairy intake.
Things That Go Wrong
Even the best cooks can encounter hiccups. Here are some common issues and how to avoid them:
- Dough Too Sticky: If your dough is sticky, add a little more flour as you knead it until it reaches the desired consistency.
- Undercooked Crust: Make sure your oven is preheated properly. Baking at too low a temperature can result in a soggy crust.
- Too Much Sauce: Be cautious with the garlic sauce; too much can make the pizza soggy. Spread it evenly and sparingly.
- Burnt Cheese: If your cheese is browning too quickly, lower the oven temperature slightly and monitor closely.
Store, Freeze & Reheat
If you happen to have leftovers (which is rare, but it happens!), here’s how to store and reheat your White Garlic Chicken and Vegetable Pizza:
- Store: Keep leftover pizza in an airtight container in the refrigerator for up to 3 days.
- Freeze: Freeze slices of pizza wrapped in plastic wrap and then in aluminum foil for up to 3 months.
- Reheat: Reheat in the oven at 350°F (175°C) for about 10-15 minutes or until heated through. Alternatively, you can heat it in a skillet over medium heat, covering it to melt the cheese.
White Garlic Chicken and Vegetable Pizza Q&A
Can I use different types of cheese for this pizza?
Absolutely! Feel free to mix in your favorite cheeses like gouda, cheddar, or feta for a unique flavor twist.
What if I don’t have cooked chicken on hand?
You can use rotisserie chicken or even leftover grilled chicken. Alternatively, you can skip the chicken for a vegetarian version.
Can I use frozen vegetables instead of fresh?
Yes, frozen vegetables can be used. Just make sure to thaw and drain them thoroughly to avoid excess moisture on the pizza.
How can I make this pizza spicier?
For a kick, add red pepper flakes to the garlic sauce or sprinkle some jalapeños on top before baking.
Reader Favorites
If you enjoyed this White Garlic Chicken and Vegetable Pizza, you might also love these recipes:
Ready to Cook?
Now that you have all the details for making your own White Garlic Chicken and Vegetable Pizza, it’s time to gather your ingredients and get cooking! Enjoy the process and savor every bite of this delicious pizza creation. Whether for a family night or a gathering with friends, this pizza is bound to impress and satisfy. Happy cooking!

White Garlic Chicken and Vegetable Pizza
Ingredients
Equipment
Method
- Step 1: Prepare the Dough. If you’re using store-bought dough, follow the package instructions. If you’re making your dough from scratch, combine flour, water, yeast, and salt in a mixing bowl. Knead until smooth and let it rise for about an hour or until doubled in size.
- Step 2: Preheat the Oven. Preheat your oven to 475°F (245°C). This high temperature will help you achieve a crispy crust.
- Step 3: Make the Garlic Sauce. In a skillet, melt the butter over medium heat. Add the minced garlic and sauté for about 1 minute until fragrant. Stir in the flour, cooking for another minute to create a roux. Gradually whisk in the milk, stirring continuously until the mixture thickens. Season with salt and pepper to taste. Remove from heat and set aside.
- Step 4: Roll Out the Dough. On a floured surface, roll out your dough into a large circle or rectangle, about ¼ inch thick. Transfer it to a baking sheet or pizza stone.
- Step 5: Assemble the Pizza. Spread the creamy garlic sauce evenly over the rolled-out dough. Sprinkle the shredded mozzarella cheese over the sauce, followed by the diced chicken, tomatoes, mushrooms, red or green onion, artichoke hearts, and fresh spinach leaves. Top with freshly grated parmesan cheese and chopped basil.
- Step 6: Bake the Pizza. Place the pizza in the preheated oven and bake for about 12-15 minutes or until the crust is golden brown and the cheese is bubbly and slightly browned.
- Step 7: Slice and Serve. Once baked, remove the pizza from the oven and let it cool for a few minutes. Slice it into wedges and serve hot. Enjoy your delicious White Garlic Chicken and Vegetable Pizza!
Notes
- Feel free to customize toppings based on your preferences.
- For a healthier option, use whole wheat flour for the dough.
- Store leftovers in an airtight container for up to 3 days.