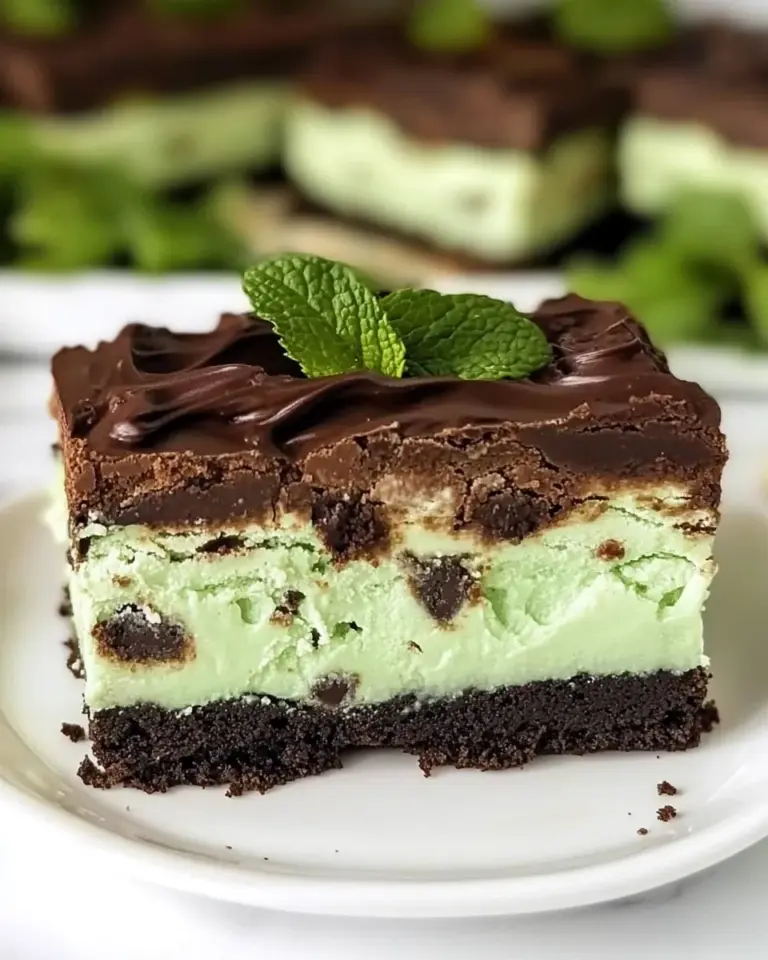
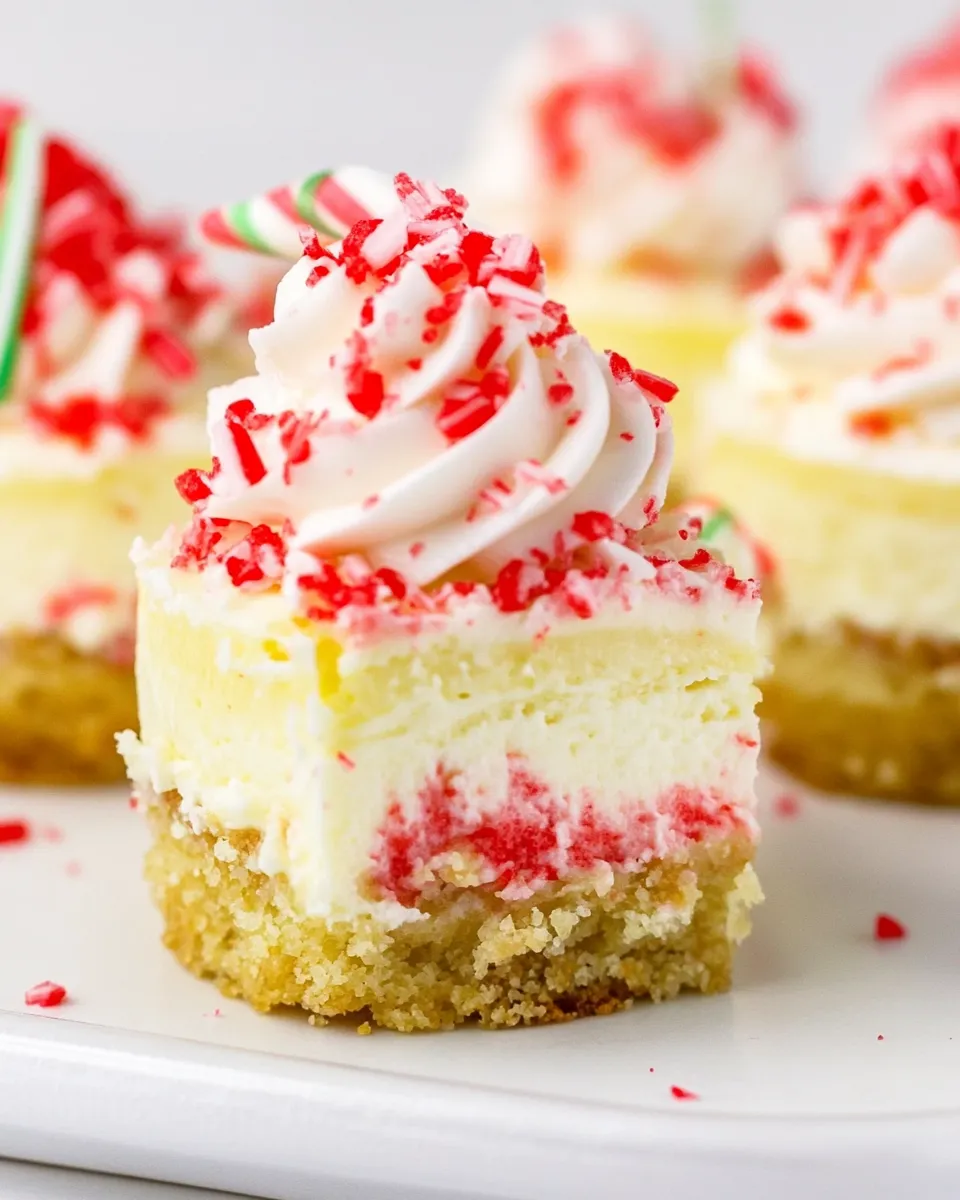
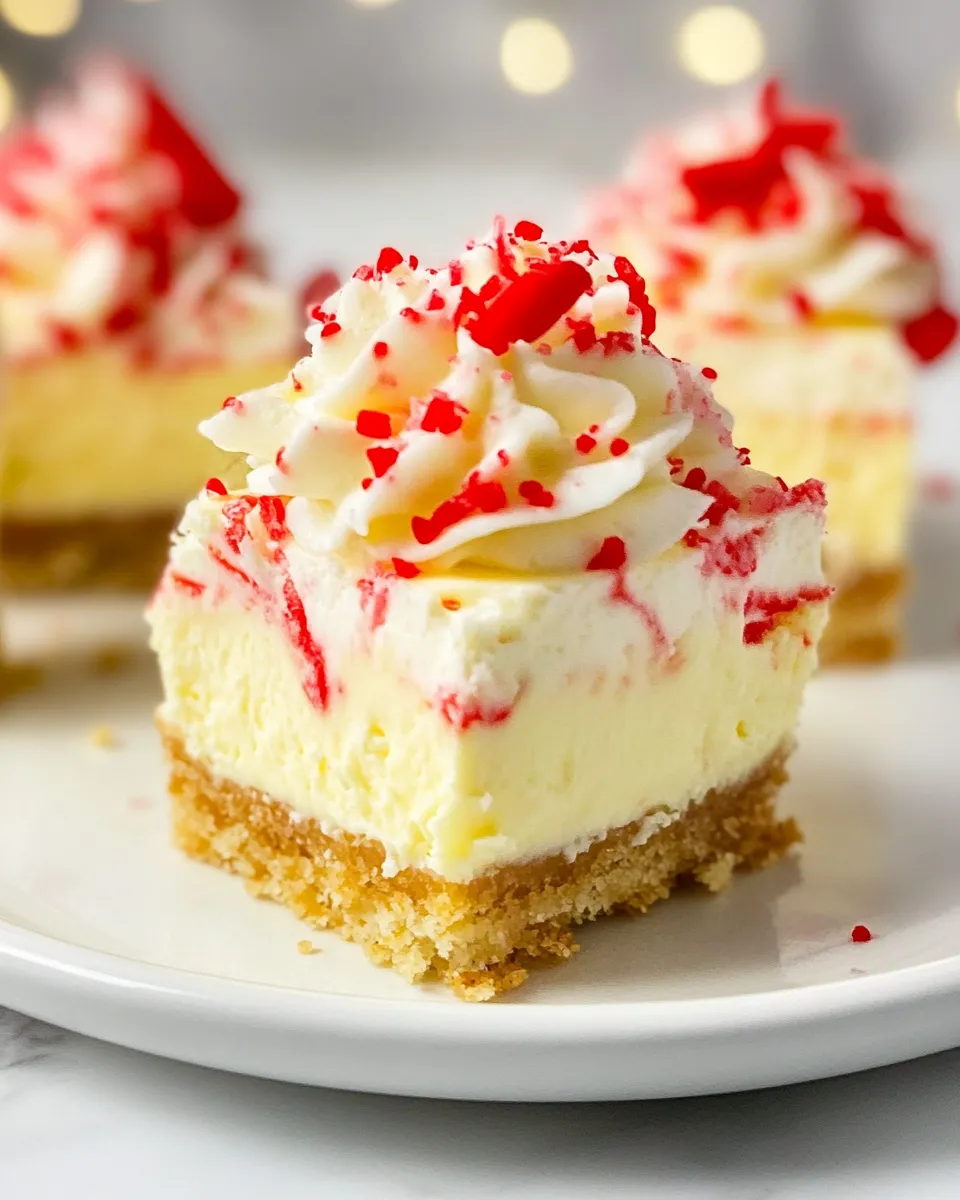
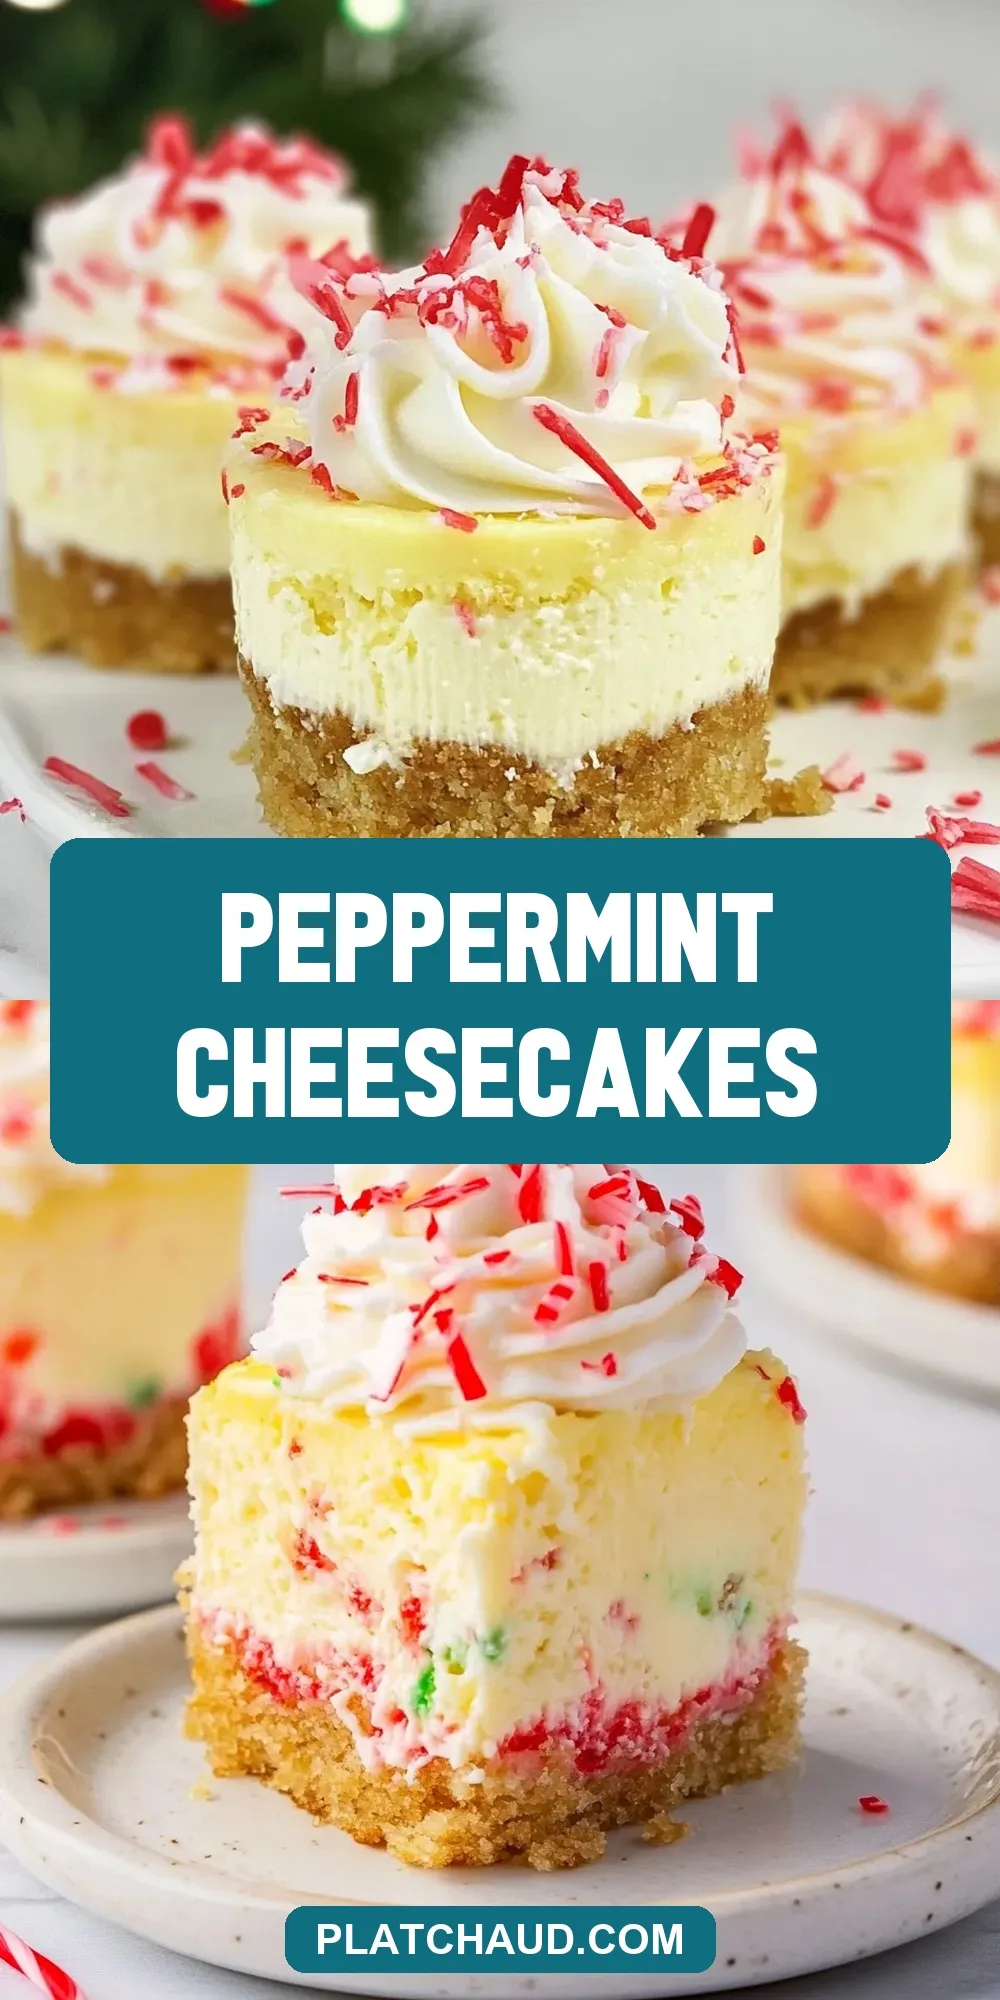
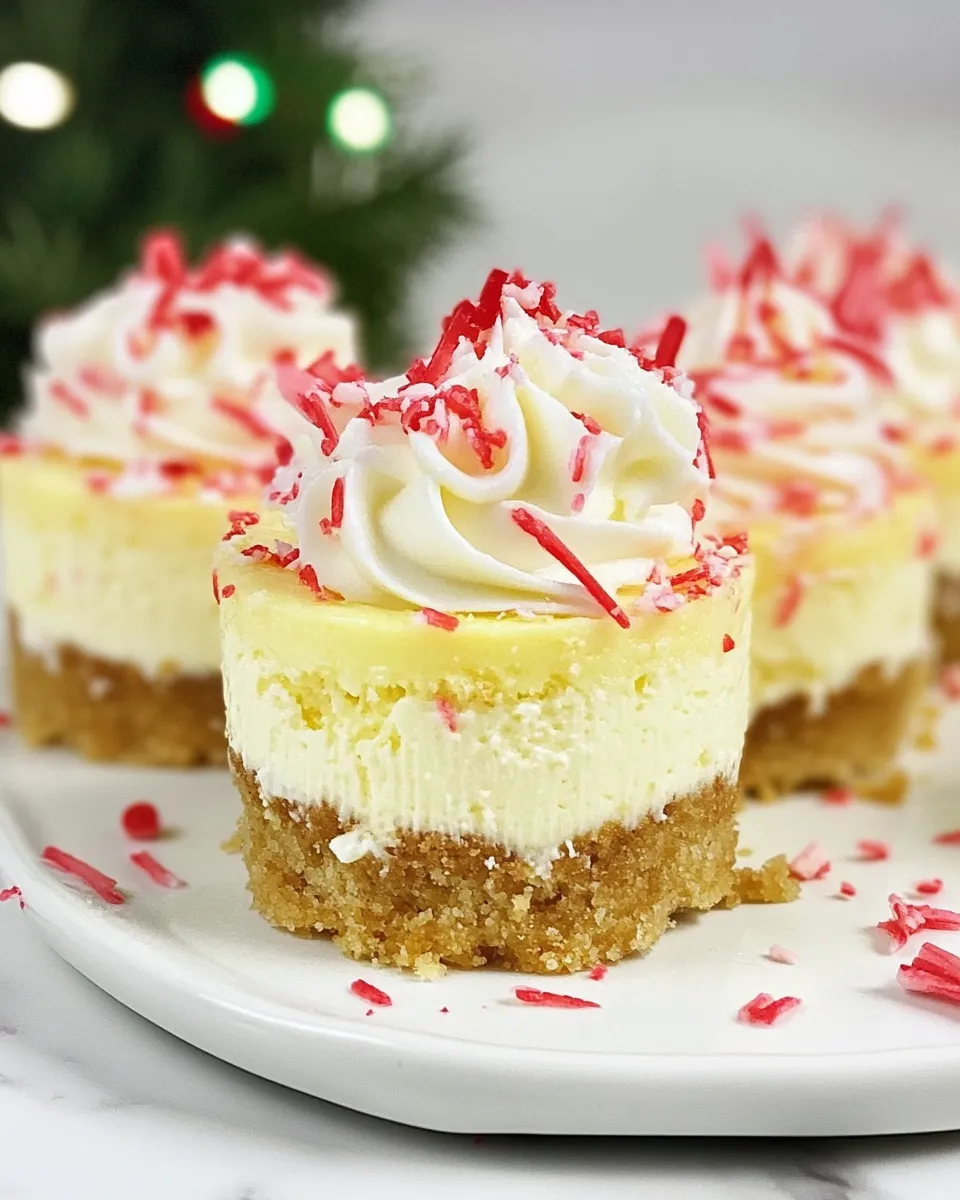
Peppermint Cheesecakes
Imagine the perfect blend of creamy cheesecake and refreshing peppermint, all nestled in a delicious graham cracker crust. This recipe for Peppermint Cheesecakes is a delightful dessert that will transport your taste buds straight into a winter wonderland, making it ideal for holiday gatherings or whenever you crave a sweet, minty treat. The combination of smooth cream cheese, a hint of peppermint, and a luscious whipped cream topping makes these cheesecakes an irresistible choice for any occasion.
What Makes This Recipe Special
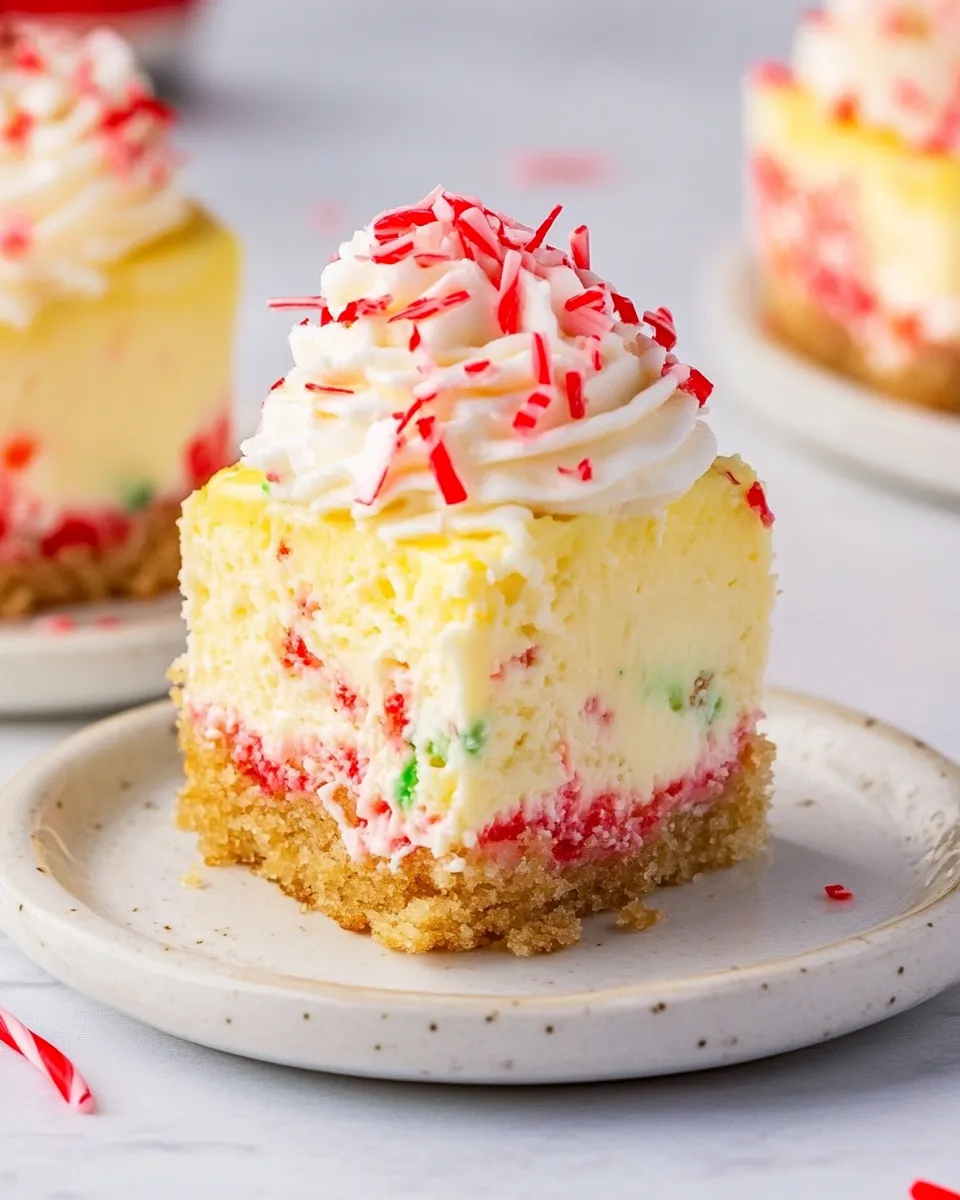
These Peppermint Cheesecakes stand out for several reasons. First, the use of peppermint-infused Hershey’s Kisses adds a unique flavor twist that elevates the classic cheesecake experience. The combination of the creamy filling and crunchy graham cracker crust creates a delightful texture contrast. Additionally, they’re easy to make, perfect for both novice bakers and seasoned pros. With just a handful of ingredients, you can whip up a batch that will impress family and friends without spending hours in the kitchen.
Your Shopping Guide
To create these Peppermint Cheesecakes, you’ll need to gather the following ingredients:
- 1 cup honey graham crumbs
- 1 cup butter (melted)
- 16 ounces cream cheese (room temperature)
- ¾ cup granulated sugar
- 2 eggs (room temperature)
- ½ cup sour cream
- 1 teaspoon peppermint extract
- 1 cup Hershey’s Kisses in peppermint flavor (quartered, plus 12 whole for garnish)
- 1 cup heavy whipping cream
- ½ cup powdered sugar
Make sure to check your pantry for these items before heading to the grocery store!
Tools & Equipment Needed
Before you start baking, gather these tools:
- 9-inch springform pan – perfect for creating beautifully shaped cheesecakes.
- Mixing bowls – for combining your ingredients smoothly.
- Electric mixer – for achieving that creamy cheesecake texture.
- Rubber spatula – to scrape down the sides of the bowl and ensure everything is well mixed.
- Measuring cups and spoons – to ensure accuracy in your ingredients.
- Whisk – for whipping the heavy cream to perfection.
Mastering Peppermint Cheesecakes: How-To
Creating these Peppermint Cheesecakes is easier than you might think. Follow these simple steps:
Step 1: Prepare the Crust
In a medium bowl, combine the honey graham crumbs and melted butter. Mix until the crumbs are evenly coated and resemble wet sand. Press the mixture firmly into the bottom of a 9-inch springform pan to form an even crust. Set aside.
Step 2: Make the Cheesecake Filling
In a large mixing bowl, beat the room temperature cream cheese with an electric mixer until smooth and creamy. Gradually add the granulated sugar and continue mixing until well combined.
Step 3: Add the Eggs
Add the eggs, one at a time, beating well after each addition. This helps incorporate air into the batter, making your cheesecake light and fluffy.
Step 4: Incorporate Sour Cream and Peppermint
Mix in the sour cream and peppermint extract until fully combined. Be careful not to overmix, as this can lead to cracks in your cheesecake.
Step 5: Add the Peppermint Kisses
Gently fold in the quartered peppermint Hershey’s Kisses, distributing them evenly throughout the batter.
Step 6: Bake the Cheesecake
Pour the cheesecake filling over the prepared crust in the springform pan. Smooth the top with a spatula. Bake in a preheated oven at 325°F (160°C) for about 50-60 minutes or until the edges are set and the center is slightly jiggly.
Step 7: Cool the Cheesecake
Once baked, turn off the oven and crack the door open, allowing the cheesecake to cool gradually. This helps prevent cracking. After about an hour, remove the cheesecake from the oven and let it cool to room temperature before refrigerating it for at least 4 hours, preferably overnight.
Step 8: Prepare the Whipped Cream Topping
In a mixing bowl, combine the heavy whipping cream and powdered sugar. Using a whisk or electric mixer, whip until soft peaks form.
Step 9: Assemble and Serve
Once the cheesecake is chilled, remove it from the springform pan. Spread the whipped cream over the top and garnish with the whole peppermint Hershey’s Kisses. Cut into slices and enjoy your delightful Peppermint Cheesecakes!
Smart Substitutions
If you need to make adjustments to cater to dietary preferences or ingredient availability, consider these substitutions:
- Gluten-Free: Use gluten-free graham cracker crumbs for the crust.
- Low-Fat: Substitute reduced-fat cream cheese and sour cream.
- Dairy-Free: Use vegan cream cheese and coconut cream in place of heavy whipping cream.
- Alternative Sweeteners: Swap granulated sugar with your preferred sweetener for a low-calorie option.
What Not to Do
To ensure your Peppermint Cheesecakes turn out perfectly, avoid these common pitfalls:
- Do not skip bringing the cream cheese and eggs to room temperature; this helps achieve a smooth filling.
- Do not overmix the batter after adding the eggs, as this can lead to cracks in your cheesecake.
- Do not rush the cooling process; allow the cheesecake to cool gradually to prevent cracking.
- Do not forget to line the bottom of your springform pan with parchment paper for easier removal.
Refrigerate, Freeze, Reheat
If you have leftovers or want to prepare in advance, here’s how to store your Peppermint Cheesecakes:
Refrigerate: Store your cheesecakes in an airtight container in the refrigerator for up to 5 days.
Freeze: To freeze, wrap individual slices tightly in plastic wrap and then in aluminum foil. They can be frozen for up to 3 months. Thaw in the refrigerator overnight before serving.
Reheat: Cheesecake is best served cold, so reheat is not recommended. Allow it to come to room temperature after refrigeration for optimal taste.
Frequently Asked Questions
Can I use a different type of extract instead of peppermint?
Absolutely! If you prefer a different flavor, you can substitute peppermint extract with vanilla or almond extract for a unique twist.
Why did my cheesecake crack during baking?
Cream cheesecakes can crack if they are overmixed or if they cool too quickly. Make sure to gradually cool your cheesecake in the oven with the door ajar after baking.
Can I make these cheesecakes in advance?
Yes! These cheesecakes can be made up to a few days in advance. Just ensure to keep them refrigerated until serving.
What can I serve with Peppermint Cheesecakes?
These cheesecakes pair wonderfully with a drizzle of chocolate sauce, crushed peppermint candies, or a fresh berry compote for an extra touch of flavor.
Try These Next
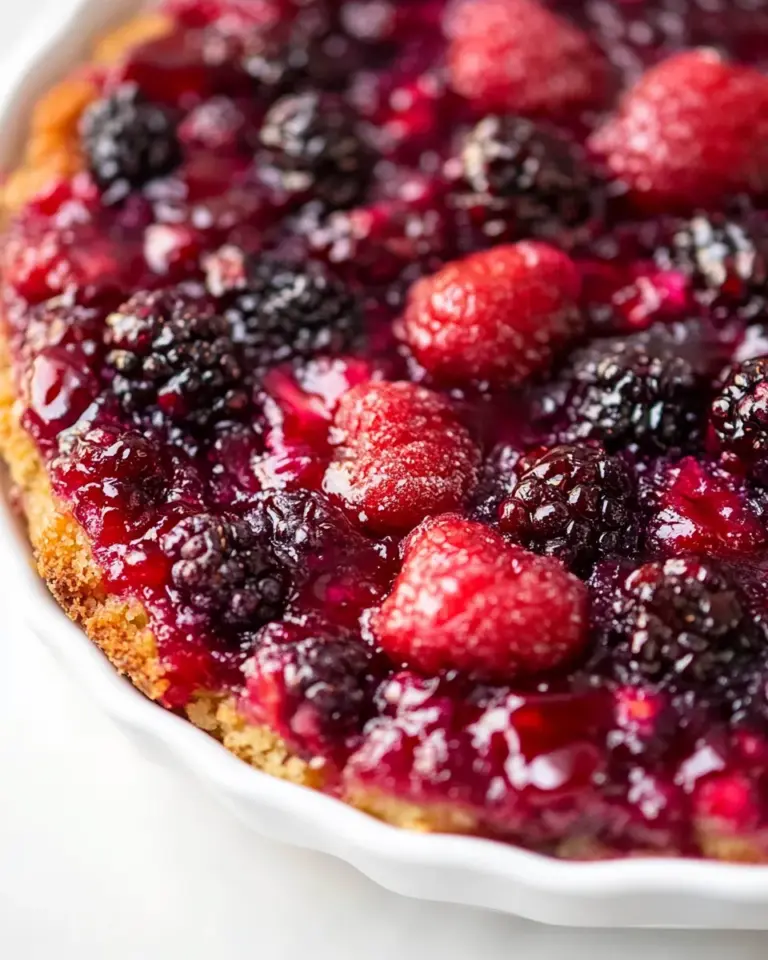
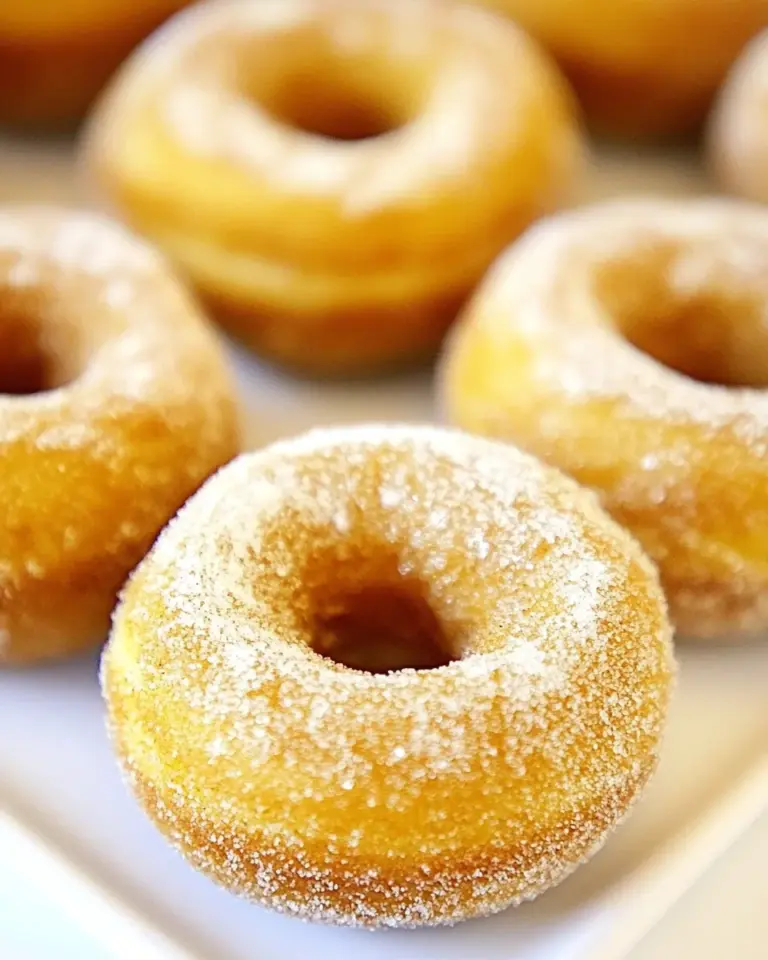
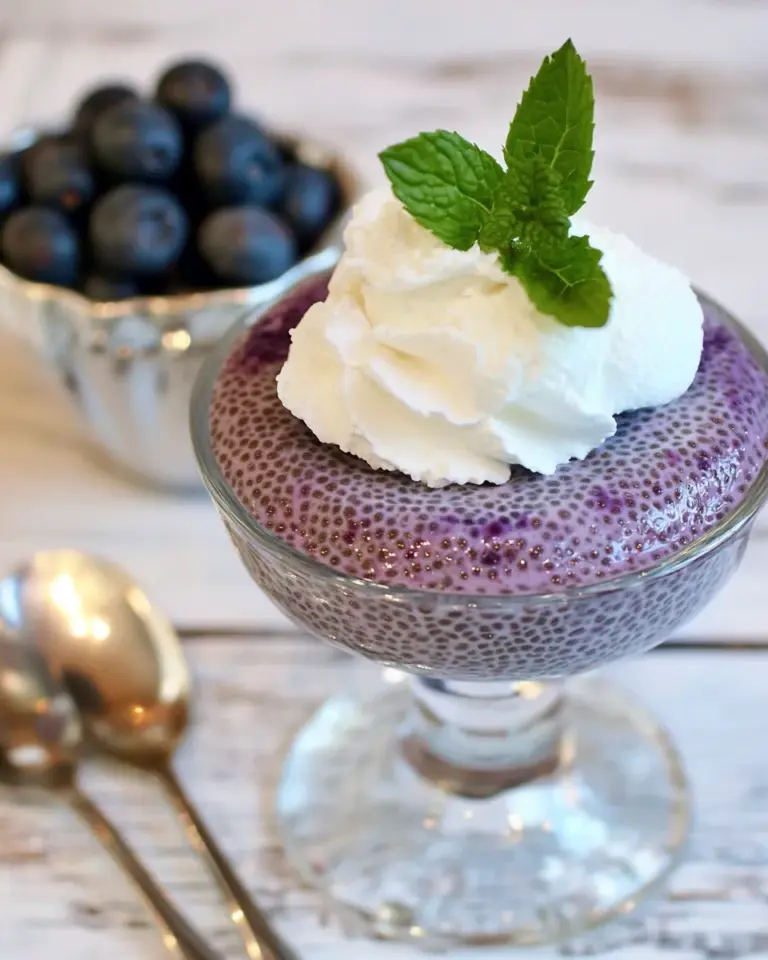
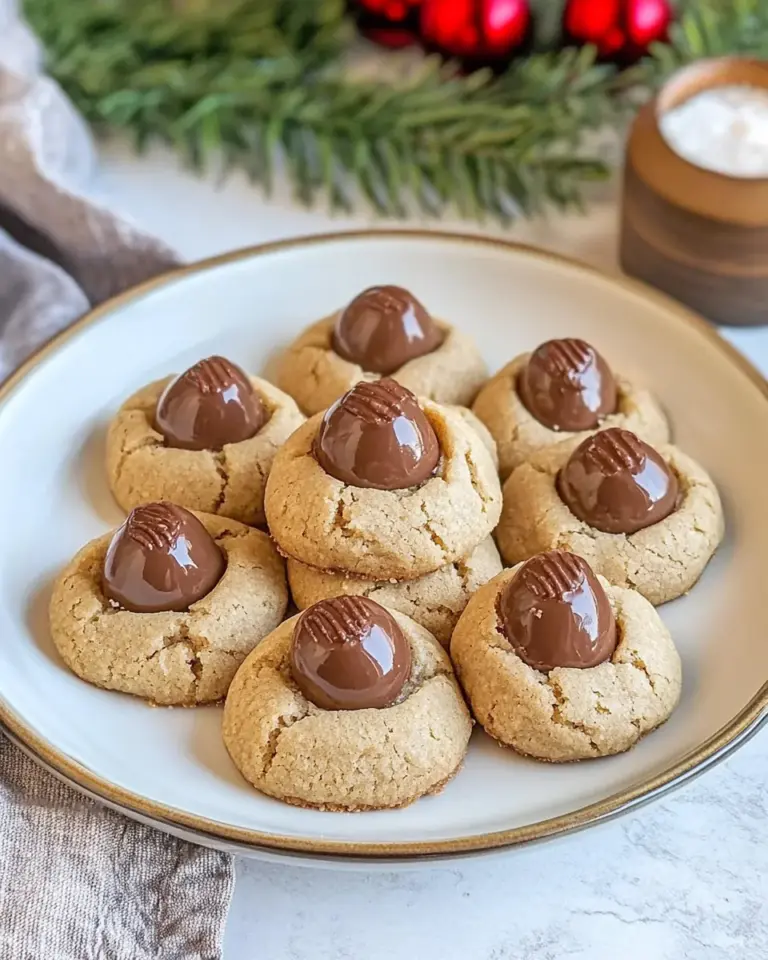
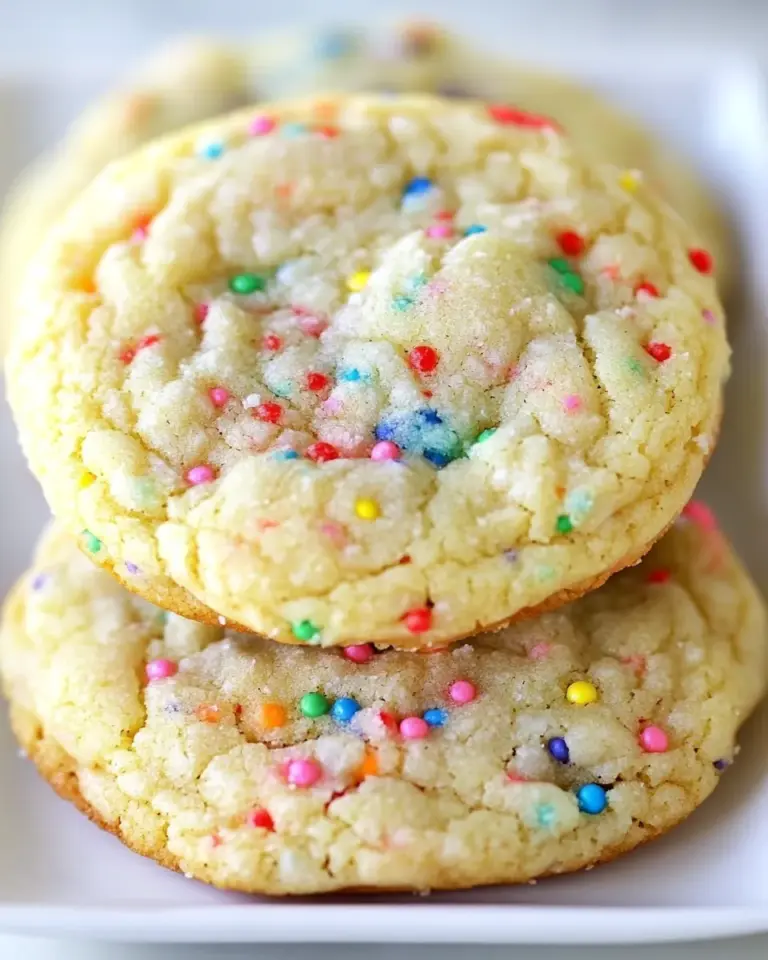
If you love these Peppermint Cheesecakes, you might also enjoy:
Ready to Cook?
Now that you have all the tips and steps to create these delightful Peppermint Cheesecakes, it’s time to gather your ingredients and get baking! With their creamy texture and refreshing minty flavor, these cheesecakes are sure to be a hit at your next gathering or a splendid treat for yourself. So roll up your sleeves, turn on that mixer, and let the holiday spirit inspire your baking!
The joy of creating delicious treats in your kitchen is unmatched, and with these Peppermint Cheesecakes, you’ll not only please your palate but also create cherished memories with those you share them with. Happy baking!
Share on Pinterest
Peppermint Cheesecakes
Ingredients
Equipment
Method
- In a medium bowl, combine the honey graham crumbs and melted butter. Mix until the crumbs are evenly coated and resemble wet sand. Press the mixture firmly into the bottom of a 9-inch springform pan to form an even crust. Set aside.
- In a large mixing bowl, beat the room temperature cream cheese with an electric mixer until smooth and creamy. Gradually add the granulated sugar and continue mixing until well combined.
- Add the eggs, one at a time, beating well after each addition. This helps incorporate air into the batter, making your cheesecake light and fluffy.
- Mix in the sour cream and peppermint extract until fully combined. Be careful not to overmix, as this can lead to cracks in your cheesecake.
- Gently fold in the quartered peppermint Hershey's Kisses, distributing them evenly throughout the batter.
- Pour the cheesecake filling over the prepared crust in the springform pan. Smooth the top with a spatula. Bake in a preheated oven at 325°F (160°C) for about 50-60 minutes or until the edges are set and the center is slightly jiggly.
- Once baked, turn off the oven and crack the door open, allowing the cheesecake to cool gradually. This helps prevent cracking. After about an hour, remove the cheesecake from the oven and let it cool to room temperature before refrigerating it for at least 4 hours, preferably overnight.
- In a mixing bowl, combine the heavy whipping cream and powdered sugar. Using a whisk or electric mixer, whip until soft peaks form.
- Once the cheesecake is chilled, remove it from the springform pan. Spread the whipped cream over the top and garnish with the whole peppermint Hershey's Kisses. Cut into slices and enjoy your delightful Peppermint Cheesecakes!
Notes
- Ensure all dairy ingredients are at room temperature for a smooth batter.
- To avoid cracks, be gentle when mixing and cooling the cheesecake.
- These cheesecakes can be made a day ahead for optimal flavor.