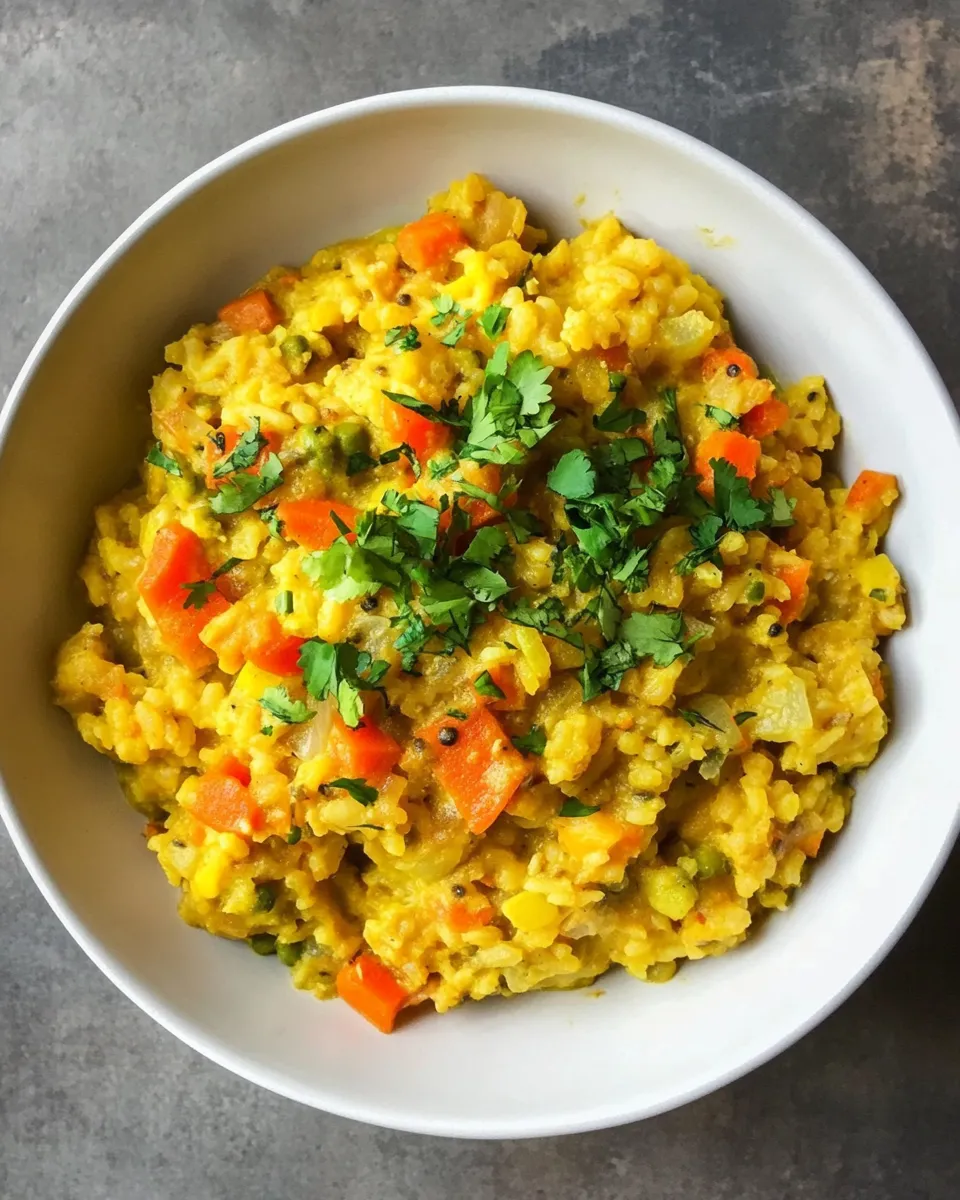
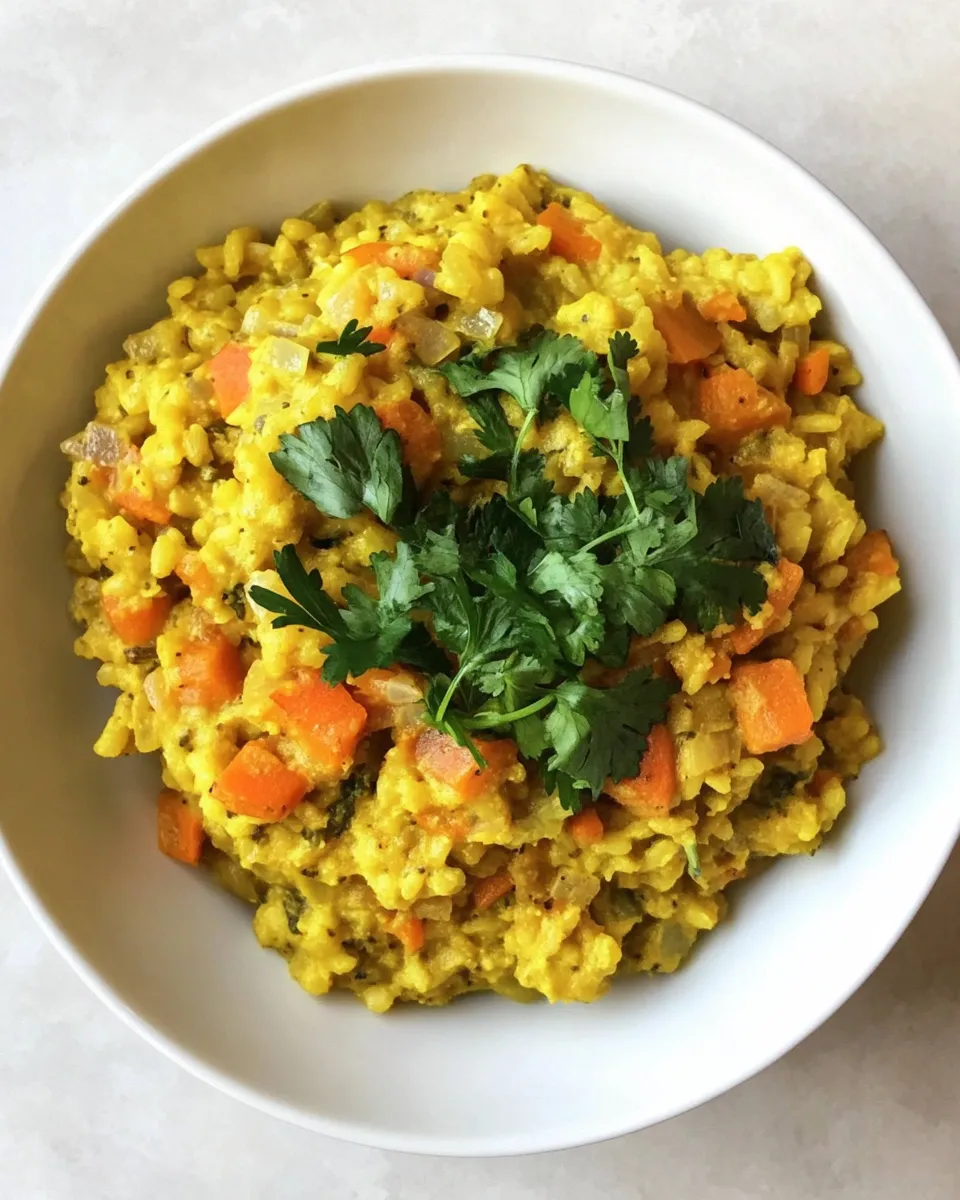
Easy One-Pot Indian Kitchiri
If you’re looking for a comforting, nutritious, and incredibly easy meal to whip up on a busy weeknight, you’ve come to the right place. This Easy One-Pot Indian Kitchiri blends aromatic spices, hearty lentils, and rice into a delicious bowl of goodness that is both satisfying and nourishing. This versatile dish is not only a staple in Indian households but also a perfect option for meal prep, family dinners, or even a cozy night in.
Why It Deserves a Spot
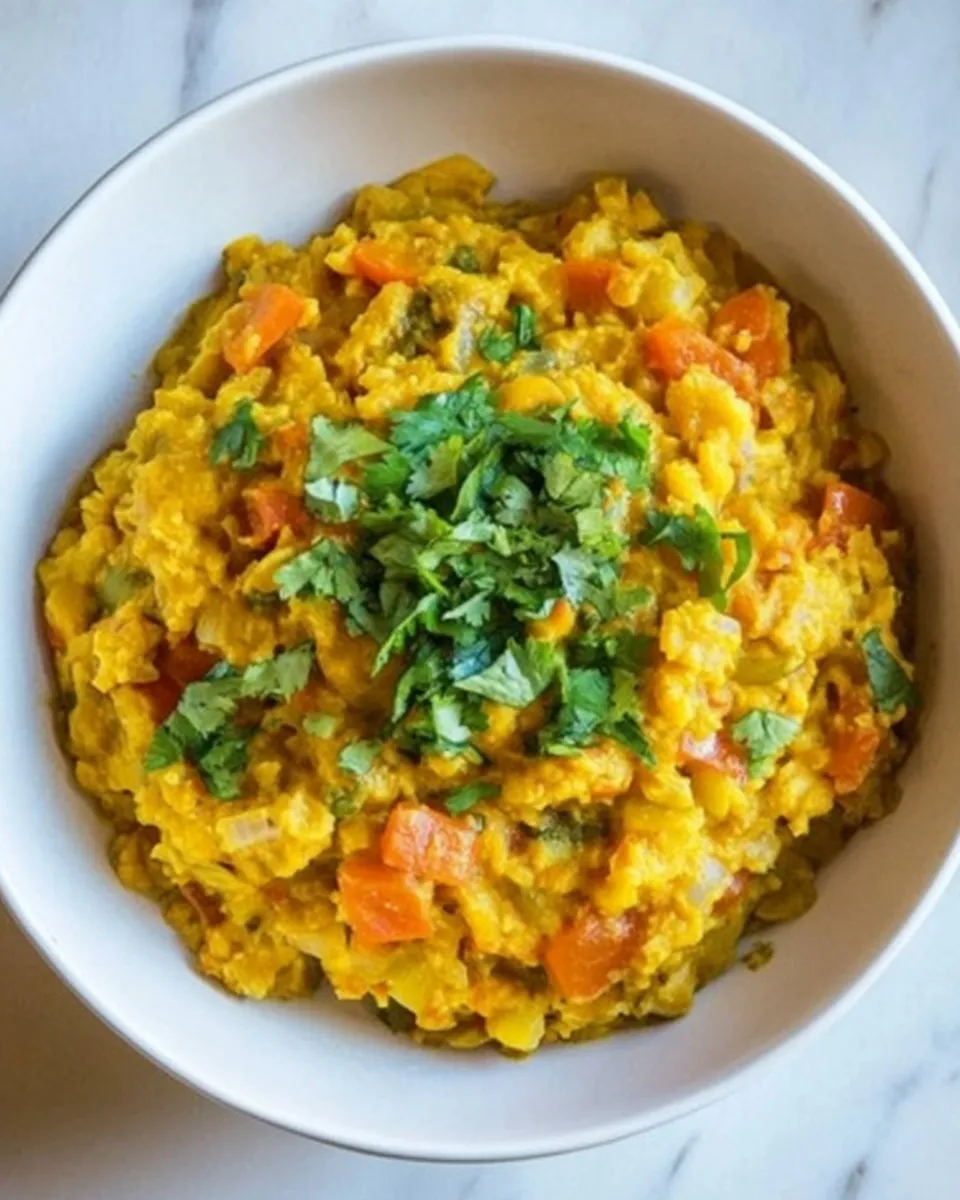
Kitchiri is more than just a dish; it’s a celebration of flavors and textures. The combination of basmati rice and red lentils creates a creamy, comforting base that soaks up all the wonderful spices, making every bite a delight. What makes this Easy One-Pot Indian Kitchiri stand out is its simplicity. With minimal prep and clean-up, it’s an ideal choice for anyone looking to enjoy a home-cooked meal without the fuss. Plus, it’s packed with protein, fiber, and essential nutrients, making it a wholesome choice for everyone at the table.
What to Buy
To make this Easy One-Pot Indian Kitchiri, you’ll need the following ingredients:
- Coconut oil: 1 tablespoon, for cooking and flavor.
- Cumin seeds: 1 teaspoon, to add warmth and depth.
- Brown mustard seeds: 1 teaspoon (optional), for a bit of spice.
- Yellow onion: 1, diced for sweetness and aroma.
- Carrots: 2, diced for color and nutrition.
- Ginger: 1 tablespoon, minced for a zesty kick.
- Turmeric: 1 teaspoon, for its vibrant color and health benefits.
- Kosher salt: 1 teaspoon, to enhance the flavors.
- Ground black pepper: 1/4 teaspoon, for a hint of heat.
- Basmati rice: 1/2 cup, rinsed to remove excess starch.
- Red lentils: 1 cup, rinsed for protein and texture.
- Water or vegetable broth: 5 cups, for cooking.
- Cilantro sprigs: 4, chopped for garnish.
Tools & Equipment Needed
To prepare this dish, you will need:
- Large pot or Dutch oven: For cooking everything in one pot.
- Wooden spoon: To stir the ingredients.
- Measuring cups and spoons: For accurate measurements.
- Knife and cutting board: For chopping vegetables.
Mastering Easy One-Pot Indian Kitchiri: How-To
1. Heat the Oil
In a large pot or Dutch oven, heat the coconut oil over medium heat until it melts and shimmers.
2. Sauté the Spices
Add the cumin seeds and brown mustard seeds (if using) to the pot. Sauté for about 30 seconds until fragrant.
3. Add the Aromatics
Stir in the diced yellow onion and sauté for about 5 minutes until it becomes translucent. Add the diced carrots and minced ginger, cooking for another 2–3 minutes.
4. Season the Mixture
Sprinkle in the turmeric, kosher salt, and ground black pepper. Stir well to combine and let the spices bloom for a minute.
5. Add Rice and Lentils
Now, add the rinsed basmati rice and red lentils to the pot. Stir to coat them with the spiced mixture.
6. Pour in Liquid
Carefully pour in the water or vegetable broth. Bring the mixture to a boil, then reduce the heat to low. Cover and let it simmer for about 25 minutes, or until the rice and lentils are tender.
7. Fluff and Serve
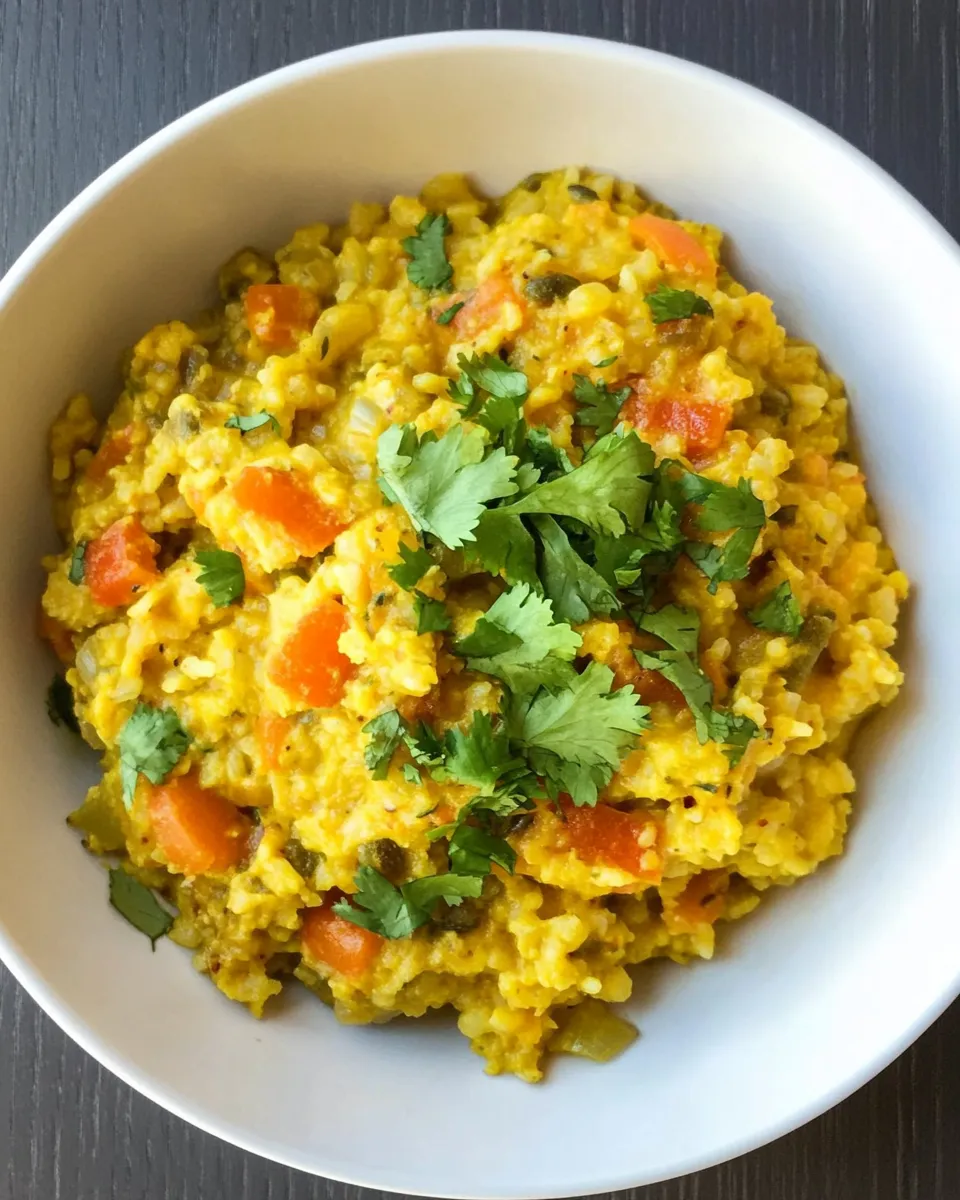
Once cooked, remove the pot from heat. Let it sit for a few minutes before fluffing with a fork. Garnish with chopped cilantro before serving.
Holiday-Friendly Variations
If you want to switch things up or cater to different tastes, consider these variations:
- Add protein: Stir in cooked chicken, shrimp, or tofu for extra protein.
- Spicy twist: Add diced green chilies or a pinch of cayenne pepper for heat.
- Veggie-loaded: Toss in other vegetables like peas, bell peppers, or spinach.
- Coconut milk: Replace some of the water with coconut milk for a creamier texture.
Learn from These Mistakes
While making this Easy One-Pot Indian Kitchiri, keep these tips in mind to avoid common pitfalls:
- Don’t skip rinsing the rice and lentils. This helps remove excess starch and prevents the dish from becoming mushy.
- Adjust the water based on your desired consistency. If you prefer a soupier dish, add a bit more liquid.
- Keep an eye on the cooking time. Overcooking can lead to a sticky texture.
Cooling, Storing & Rewarming
If you have leftovers or want to meal prep, here’s how to handle them:
- Cooling: Allow the kitchiri to cool completely before storing.
- Storing: Transfer to an airtight container and refrigerate for up to 4 days.
- Rewarming: Reheat in the microwave or on the stovetop, adding a splash of water or broth to loosen it up.
Easy One-Pot Indian Kitchiri FAQs
Can I use different types of lentils for this recipe?
Yes! While red lentils are commonly used for their quick cooking time, you can substitute them with yellow lentils or split peas. Just adjust the cooking time as needed.
Is kitchiri gluten-free?
Yes! This Easy One-Pot Indian Kitchiri is completely gluten-free, making it suitable for those with gluten sensitivities.
Can I make kitchiri in advance?
Absolutely! This dish stores well in the refrigerator and can be made ahead of time, making it perfect for meal prep.
What should I serve with kitchiri?
Kitchiri is delicious on its own but can be served with yogurt, pickles, or a side salad for a complete meal.
More from the Kitchen
If you loved this Easy One-Pot Indian Kitchiri, here are some more delightful recipes to explore:
Make It Tonight
Don’t let another busy weeknight go by without trying this Easy One-Pot Indian Kitchiri. With its simple ingredients, minimal prep, and one-pot convenience, you’ll find yourself reaching for this recipe time and time again. It’s a dish that brings warmth to the table and comfort to the soul—perfect for any occasion! Enjoy every bite, and feel free to get creative with your own additions and variations. Happy cooking!
Easy One-Pot Indian Kitchiri
Ingredients
Equipment
Method
- In a large pot or Dutch oven, heat the coconut oil over medium heat until it melts and shimmers.
- Add the cumin seeds and brown mustard seeds (if using) to the pot. Sauté for about 30 seconds until fragrant.
- Stir in the diced yellow onion and sauté for about 5 minutes until it becomes translucent. Add the diced carrots and minced ginger, cooking for another 2–3 minutes.
- Sprinkle in the turmeric, kosher salt, and ground black pepper. Stir well to combine and let the spices bloom for a minute.
- Now, add the rinsed basmati rice and red lentils to the pot. Stir to coat them with the spiced mixture.
- Carefully pour in the water or vegetable broth. Bring the mixture to a boil, then reduce the heat to low. Cover and let it simmer for about 25 minutes, or until the rice and lentils are tender.
- Once cooked, remove the pot from heat. Let it sit for a few minutes before fluffing with a fork. Garnish with chopped cilantro before serving.
Notes
- Don’t skip rinsing the rice and lentils to remove excess starch.
- Adjust the water based on your desired consistency; add more for a soupier dish.
- Keep an eye on the cooking time to prevent a sticky texture.