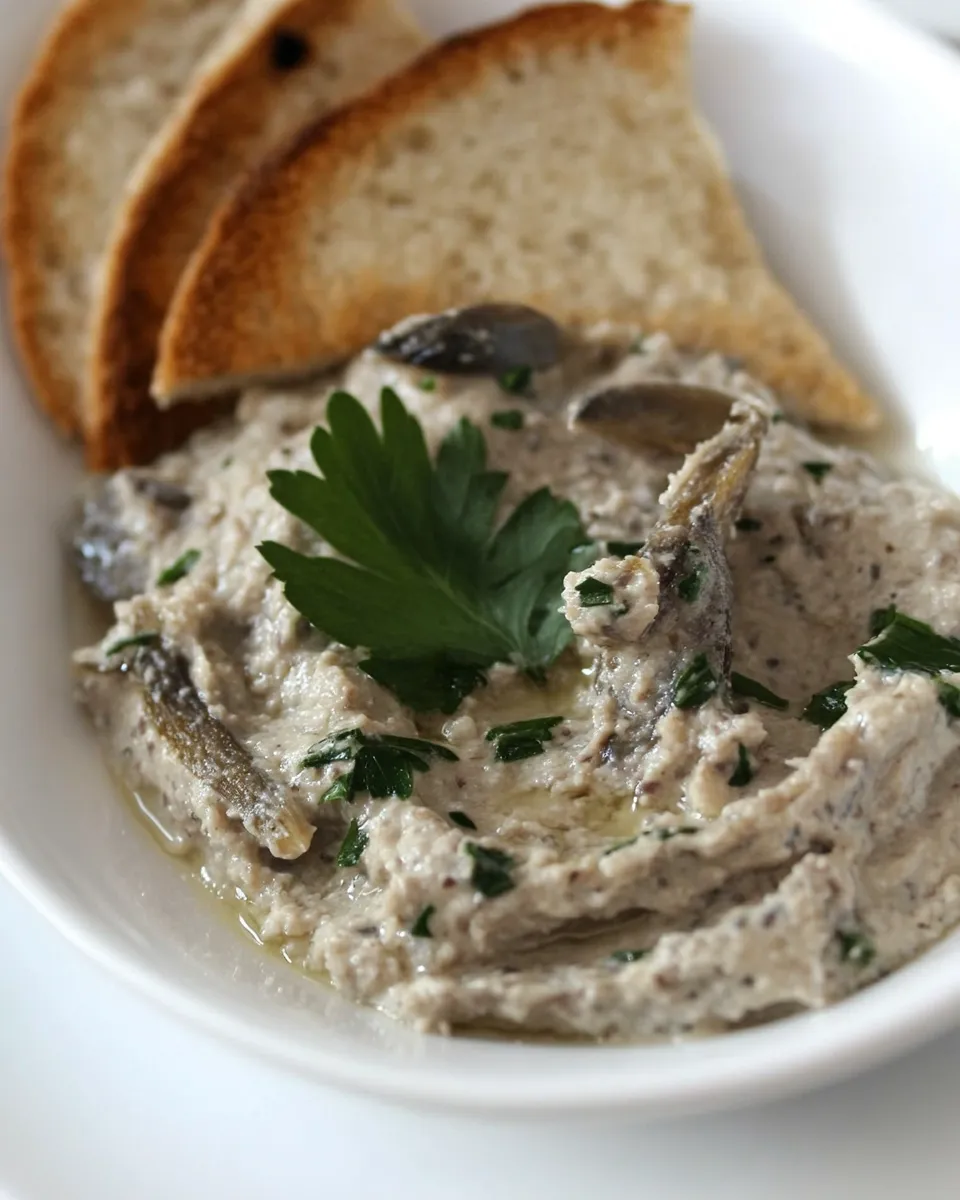
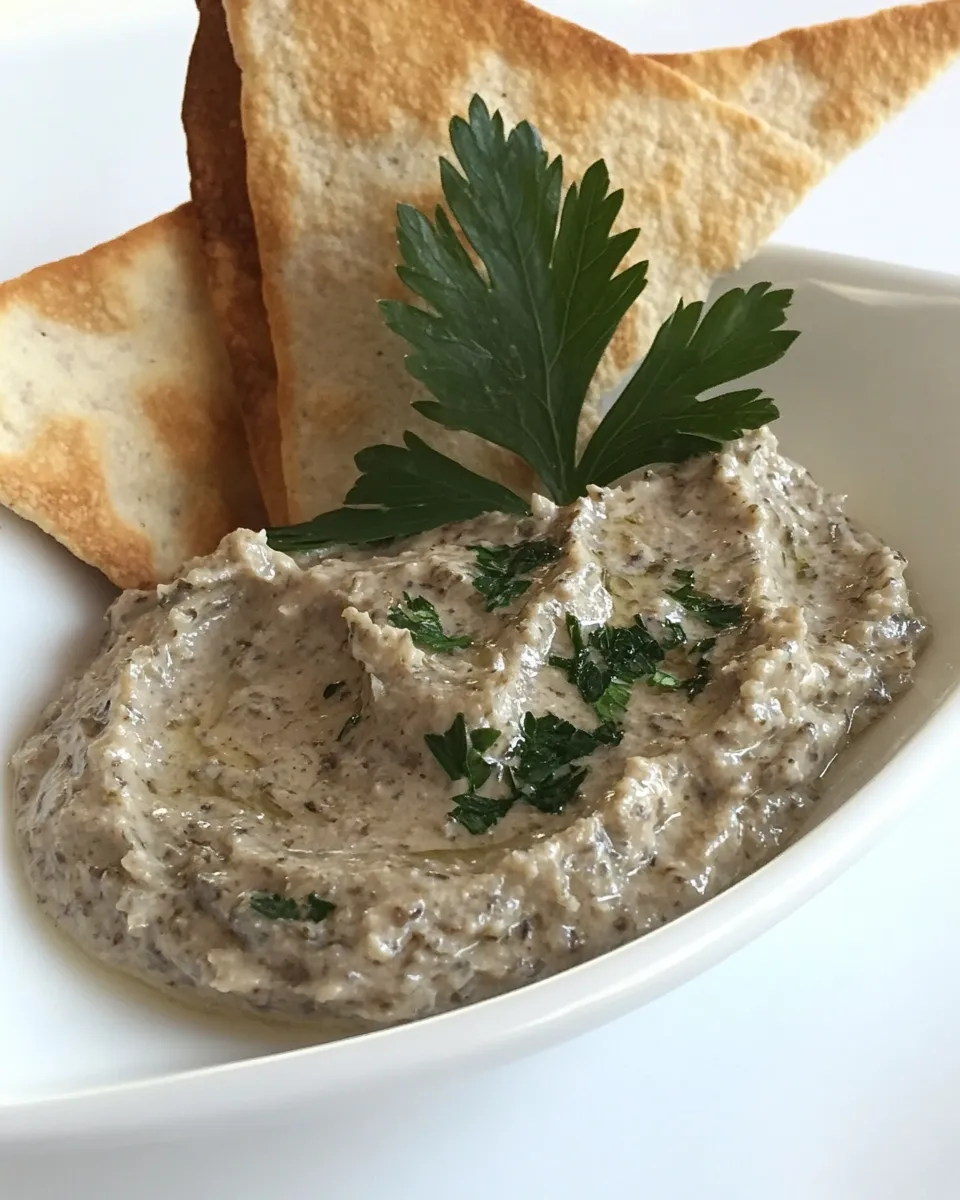
Sardine Spread
Sardine spread is a delightful and nutritious addition to your culinary repertoire, bringing the robust flavor of the ocean right to your table. This creamy concoction is not only easy to make but also packed with omega-3 fatty acids, making it a healthy choice for a snack or appetizer. Whether you’re spreading it on toast, using it as a dip, or simply enjoying it with crackers, this sardine spread is sure to impress. Let’s dive into why this recipe has become my go-to and how you can whip it up in no time.
Why It’s My Go-To
There are countless reasons to love sardine spread. Firstly, it’s incredibly quick to prepare, making it perfect for those busy weeknights or unexpected guests. Secondly, the combination of ingredients creates a rich and savory flavor that elevates even the simplest of meals. Finally, it’s a fantastic way to include more seafood in your diet without much fuss. This spread not only satisfies your taste buds but also nourishes your body. Trust me, once you try it, you’ll find yourself making it over and over again.
Ingredient Checklist
To make the perfect sardine spread, gather the following ingredients:
- 8 whole sardines cleaned and filleted (about 12 ounces, 350g)
- Salt and freshly ground pepper to taste
- 2 shallots peeled and minced
- 1/2 bunch chives minced
- A big pinch of chili powder
- 2 ounces (70g) of butter, salted or unsalted, at room temperature
- 3 tablespoons olive oil
- Freshly squeezed lemon juice to taste
Gear Up: What to Grab
Before you start cooking, make sure you have the following tools on hand:
- Mixing bowl – for combining all your ingredients.
- Fork or potato masher – to mash the sardines and mix everything smoothly.
- Sharp knife – for mincing shallots and chives.
- Measuring spoons – to ensure your proportions are just right.
- Lemon juicer – for easy and efficient juicing.
- Storage container – for keeping any leftovers fresh.
Step-by-Step: Sardine Spread

Step 1: Prepare the Sardines
Start by cleaning and filleting the sardines, if you haven’t done so already. Rinse them under cold water and pat dry with paper towels.
Step 2: Sauté the Shallots
In a skillet over medium heat, add a tablespoon of olive oil and sauté the minced shallots until they become translucent and fragrant, about 3-5 minutes. Remove from heat and let cool slightly.
Step 3: Combine Ingredients
In a mixing bowl, add the cooled shallots, sardines, minced chives, chili powder, and softened butter.
Step 4: Mix It Up
Using a fork or potato masher, mash the mixture together until well combined. You want a spreadable consistency, so don’t worry if it’s not completely smooth.
Step 5: Season
Drizzle in the remaining olive oil and squeeze in some freshly squeezed lemon juice. Season with salt and pepper to taste. Mix again until everything is well incorporated.
Step 6: Chill and Serve
Transfer the sardine spread to your storage container and refrigerate for at least 30 minutes to allow the flavors to meld together. Serve chilled or at room temperature on your favorite bread, crackers, or veggies.
Smart Substitutions

If you’re missing an ingredient or want to customize your sardine spread, consider these substitutions:
- Chives can be replaced with green onions or fresh dill for a different flavor.
- Butter can be substituted with cream cheese for a creamier texture.
- Chili powder can be swapped with smoked paprika for a smoky twist.
- Olive oil can be replaced with avocado oil if preferred.
Errors to Dodge
When making sardine spread, keep these tips in mind to ensure success:
- Don’t skip the sautéing step for shallots; it adds depth and flavor to your spread.
- Avoid over-mixing the sardines; you want some texture rather than a completely smooth paste.
- Be cautious with lemon juice; start with a little and add more to taste to avoid overpowering the spread.
- Make sure to use fresh sardines for the best flavor; avoid using canned sardines unless necessary.
Storing, Freezing & Reheating
To keep your sardine spread fresh and delicious:
- Store any leftovers in an airtight container in the refrigerator for up to 5 days.
- For longer storage, you can freeze the sardine spread in a freezer-safe container for up to 3 months. Just remember to thaw it in the fridge before using.
- Reheat gently in a microwave or enjoy it cold straight from the fridge. It makes a great addition to sandwiches and wraps.
Helpful Q&A
Can I use canned sardines for this recipe?
Yes, canned sardines can be used, but fresh sardines will provide a better flavor and texture. If using canned, make sure to drain them well before mixing.
What can I serve with sardine spread?
Sardine spread pairs beautifully with toasted bread, crackers, or fresh vegetables like cucumber and bell pepper. It also makes a great filling for sandwiches or wraps.
Can I make this spread ahead of time?
Absolutely! In fact, making it ahead allows the flavors to develop even more. Just make sure to store it in the refrigerator until you’re ready to serve.
Is there a vegetarian alternative to sardine spread?
If you’re looking for a vegetarian option, try using mashed avocado or a bean spread and adding similar seasonings and flavors to mimic the taste profile of sardine spread.
Because You Liked This
If you enjoyed making sardine spread, you might also like these recipes:
- Avocado Toast – A creamy and nutritious delight.
- Creamy Mushroom Pasta – A comforting dish full of flavor.
- Vegan Tuna Salad – A plant-based twist on a classic favorite.
- Homemade Hummus – A versatile and healthy spread.
That’s a Wrap
Sardine spread is a flavorful and nutritious option that can elevate your snacks and meals. With its simple ingredients and straightforward preparation, it’s a dish that anyone can master. Whether you’re hosting a gathering or simply enjoying a quiet evening at home, this spread is bound to impress. So, gather your ingredients, follow the steps, and enjoy the burst of flavors that this sardine spread has to offer. Your taste buds will thank you!
Sardine Spread
Ingredients
Equipment
Method
- Step 1: Prepare the Sardines - Start by cleaning and filleting the sardines, if you haven't done so already. Rinse them under cold water and pat dry with paper towels.
- Step 2: Sauté the Shallots - In a skillet over medium heat, add a tablespoon of olive oil and sauté the minced shallots until they become translucent and fragrant, about 3-5 minutes. Remove from heat and let cool slightly.
- Step 3: Combine Ingredients - In a mixing bowl, add the cooled shallots, sardines, minced chives, chili powder, and softened butter.
- Step 4: Mix It Up - Using a fork or potato masher, mash the mixture together until well combined. You want a spreadable consistency, so don’t worry if it’s not completely smooth.
- Step 5: Season - Drizzle in the remaining olive oil and squeeze in some freshly squeezed lemon juice. Season with salt and pepper to taste. Mix again until everything is well incorporated.
- Step 6: Chill and Serve - Transfer the sardine spread to your storage container and refrigerate for at least 30 minutes to allow the flavors to meld together. Serve chilled or at room temperature on your favorite bread, crackers, or veggies.
Notes
- For a different flavor, substitute chives with green onions or fresh dill.
- Use cream cheese instead of butter for a creamier texture.
- Store leftovers in an airtight container in the refrigerator for up to 5 days.