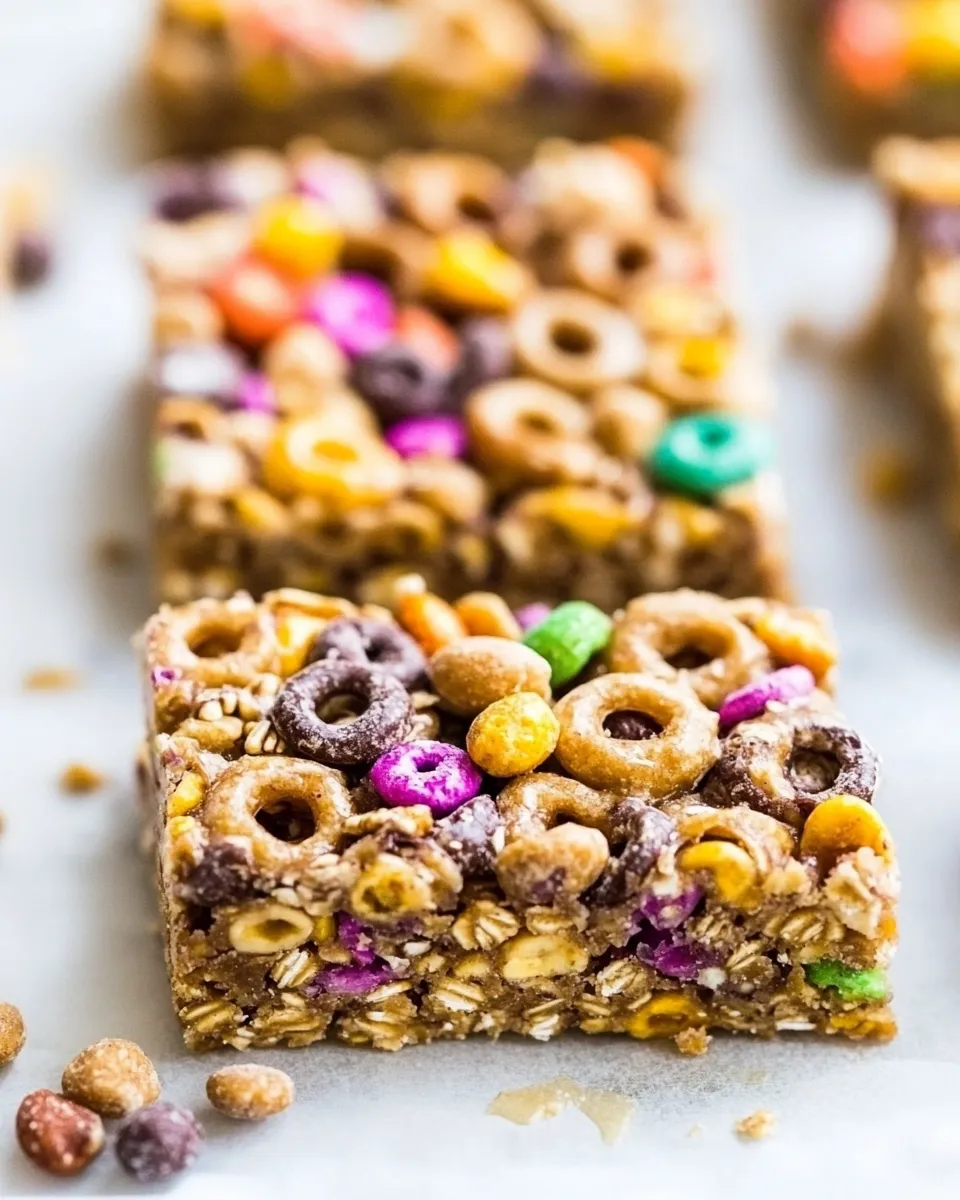
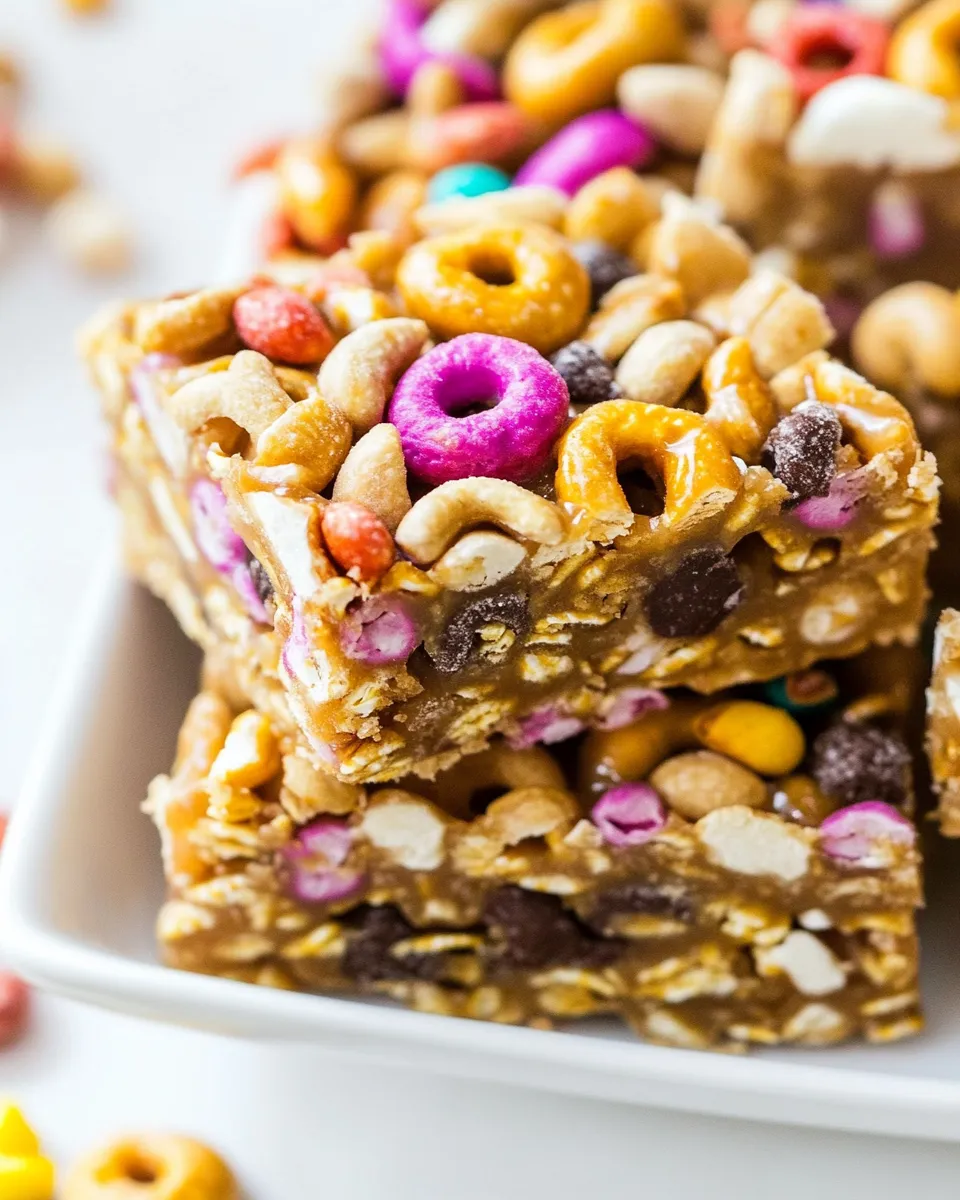
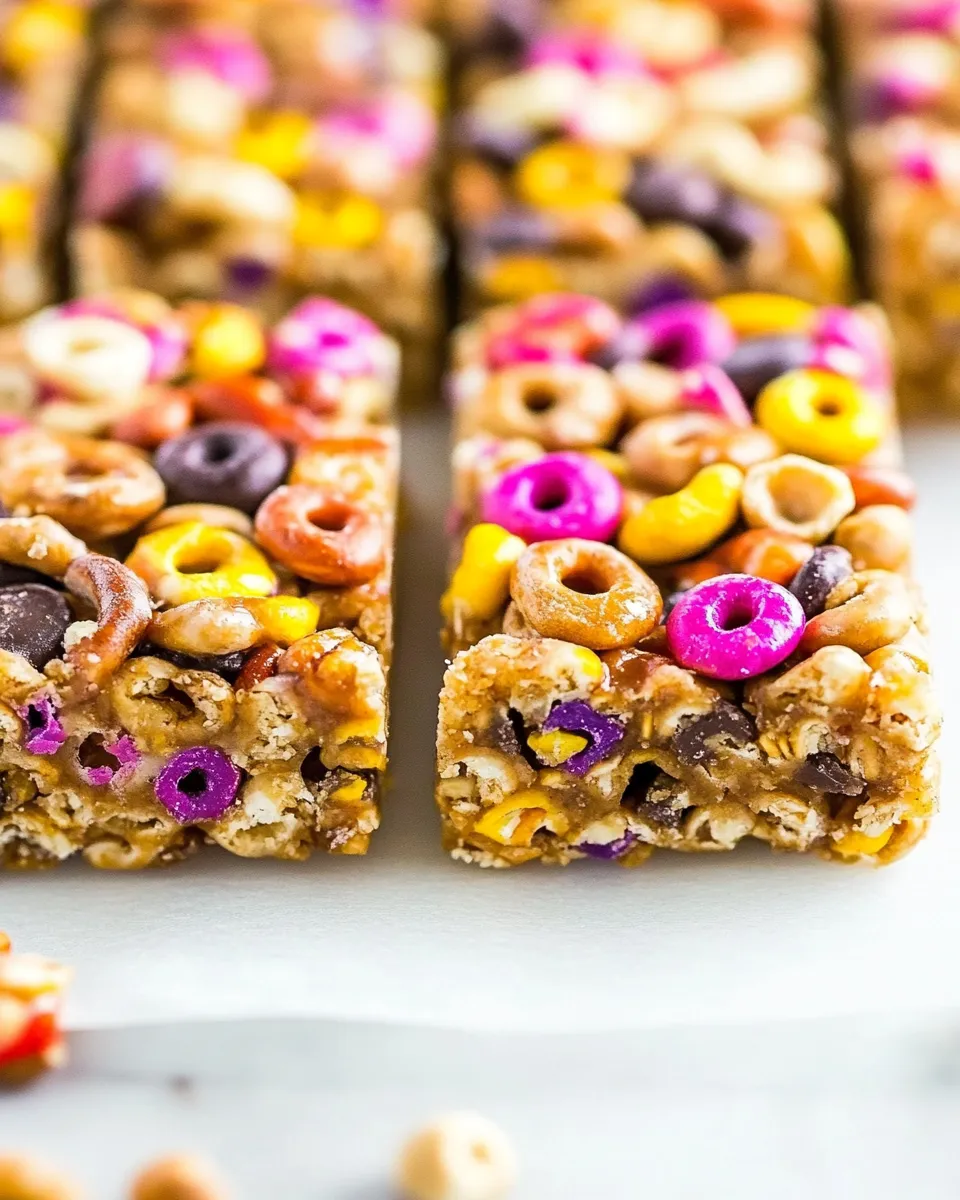
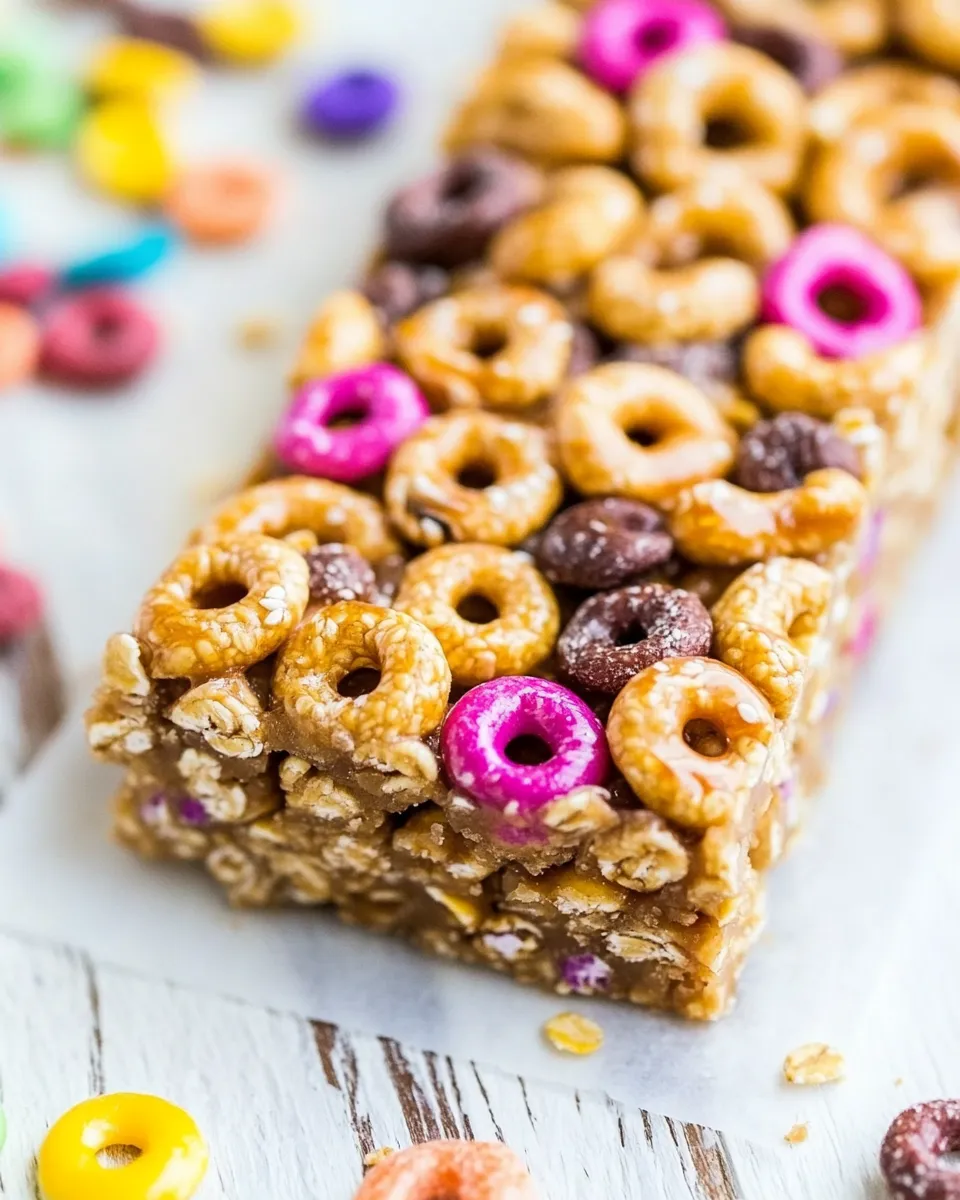
No-Bake Honey Nut Cheerios Snack Bars
If you’re looking for a quick and easy snack that delivers on flavor and satisfaction, look no further than these No-Bake Honey Nut Cheerios Snack Bars. Perfectly chewy, with a satisfying crunch and a hint of sweetness, these bars are a fantastic option for a mid-afternoon treat, a hiking snack, or lunchbox filler. Plus, they come together in just a few simple steps, making them a go-to recipe for busy days.
The combination of Honey Nut Cheerios, a delightful blend of honey and light brown sugar, and optional add-ins like raisins or chocolate-covered sunflower seeds creates a well-rounded snack that everyone will love. Let’s dive into why you’ll adore these bars and how to whip them up in your own kitchen.
Reasons to Love No-Bake Honey Nut Cheerios Snack Bars
- Quick & Easy: No baking required! Just mix, press, and chill.
- Customizable: Add your favorite nuts, seeds, or dried fruits for a personal touch.
- Healthy Option: Packed with whole grains and natural sweetness from honey.
- Perfect for Meal Prep: Make a batch ahead of time for a week’s worth of snacks.
- Kid-Friendly: Fun to make with kids and even more fun to eat!
What You’ll Need
- ½ cup creamy unsalted butter
- ½ cup honey (or light-colored corn syrup for firmer bars)
- 1 cup light brown sugar, packed
- 1 tablespoon vanilla extract
- 3 cups Honey Nut Cheerios
- 1 cup raisins (optional; substitute with honey-roasted peanuts, chopped almonds, or trail mix)
- ½ cup chocolate-covered sunflower seeds (optional; I used Trader Joe’s)
- Pinch sea salt or Kosher salt for sprinkling (optional)
Setup & Equipment
- Mixing bowl: For combining the ingredients.
- Spatula: To stir and mix everything together.
- 9×9-inch baking pan: For shaping the bars. Line it with parchment paper for easy removal.
- Refrigerator: To set the bars after pressing them into the pan.
No-Bake Honey Nut Cheerios Snack Bars: From Prep to Plate
Step 1: Prepare the Baking Pan
Begin by lining a 9×9-inch baking pan with parchment paper, allowing some overhang for easy removal later. This sets you up for a mess-free experience.
Step 2: Melt the Ingredients
In a medium saucepan over low heat, combine the creamy unsalted butter, honey (or corn syrup), and packed light brown sugar. Stir gently until everything is melted and the mixture is smooth and well combined. This should take about 3-5 minutes.
Step 3: Add Vanilla
Once melted, remove the saucepan from the heat and stir in the vanilla extract. The warm mixture will enhance the vanilla flavor, making your bars extra delicious.
Step 4: Mix in the Cheerios and Add-ins
In a large mixing bowl, add the Honey Nut Cheerios. Pour the melted butter mixture over the cereal and toss to combine, ensuring every piece of cereal is well-coated. If you’re adding raisins or any other optional ingredients, fold them in now for extra flavor and texture.
Step 5: Press and Set
Transfer the mixture into the lined baking pan. Using a spatula or your hands (lightly greased for easy handling), press the mixture down firmly and evenly to create a compact layer. This step is crucial for the bars to hold together once set.
Step 6: Chill
Refrigerate the bars for at least 2 hours, or until firm. This chilling time allows the bars to set properly, making them easier to cut into squares.
Step 7: Cut and Serve
Once the bars are firm, lift them out of the pan using the parchment overhang. Place them on a cutting board and slice into squares or rectangles. Optional: sprinkle with a pinch of sea salt or Kosher salt for a delightful sweet-and-salty contrast.
Fresh Takes Through the Year
- Autumn Spice: Add a teaspoon of cinnamon and some chopped pecans for a warm fall flavor.
- Chocolate Delight: Mix in mini chocolate chips instead of sunflower seeds for a richer treat.
- Berry Bliss: Substitute raisins with dried cranberries or cherries for a fruity twist.
- Nutty Crunch: Swap in your favorite nut butter for added creaminess and flavor.
Missteps & Fixes
Even the best cooks make mistakes sometimes, but don’t worry! Here are some common issues and how to fix them:
- Bars are too crumbly: This may happen if they weren’t pressed down firmly enough. Next time, ensure you really pack them tightly into the pan.
- Bars are too sticky: If you used honey, consider using light-colored corn syrup for a firmer set. Also, chilling them longer can help.
- Uneven texture: Make sure to mix the cereal and melted mixture thoroughly so every piece is coated evenly.
- Sticking to the pan: Always line your baking pan with parchment paper for easy removal.
Refrigerate, Freeze, Reheat
These No-Bake Honey Nut Cheerios Snack Bars are incredibly versatile when it comes to storage:
- Refrigerate: Keep the bars in an airtight container in the fridge for up to 2 weeks.
- Freeze: For longer storage, wrap individual bars in plastic wrap and place them in a freezer-safe bag. They will last for up to 2 months!
- Reheat: There’s no need to reheat these bars, but you can leave them at room temperature for a few minutes if you prefer them slightly soft.
Popular Questions
Can I use regular Cheerios instead of Honey Nut Cheerios?
Yes! While the flavor will be different, regular Cheerios will still work. You may want to add a bit more honey or sugar to compensate for the lack of sweetness.
Can I use different sweeteners?
Absolutely! Maple syrup or agave nectar can be used as alternatives, but keep in mind they might change the texture slightly.
How do I make these bars vegan?
To make these bars vegan, substitute the butter with coconut oil or a vegan butter alternative, and use maple syrup instead of honey.
Can I add protein powder to the mix?
Yes! You can add a scoop of your favorite protein powder to the mixture for an extra protein boost. Just be mindful that it may alter the texture slightly.
You Might Also Like
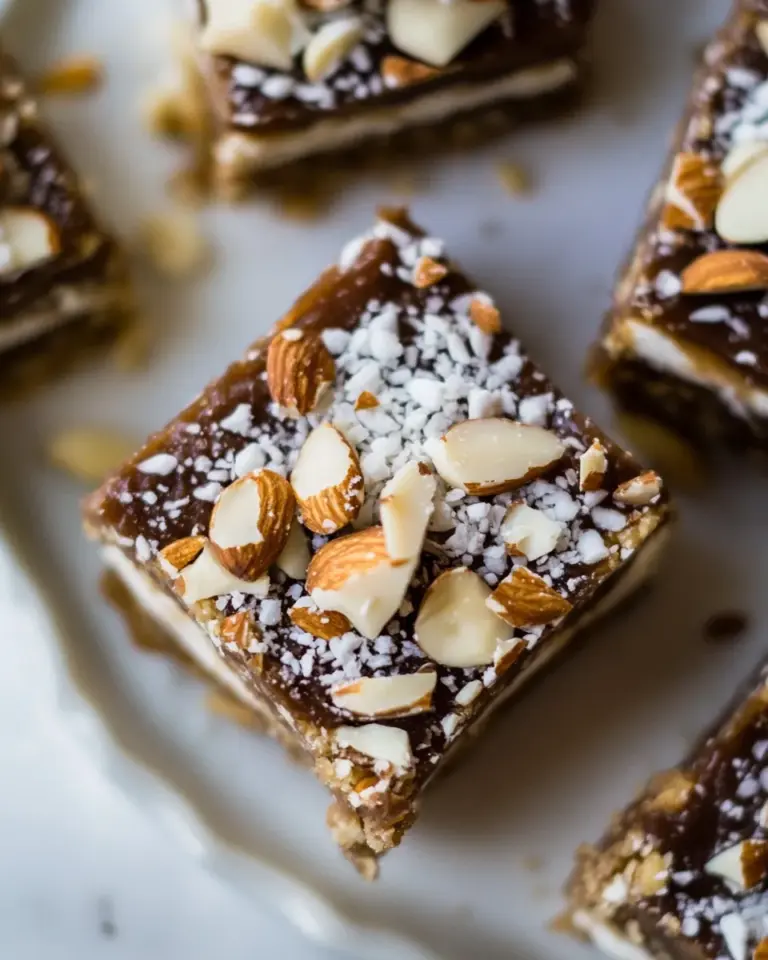
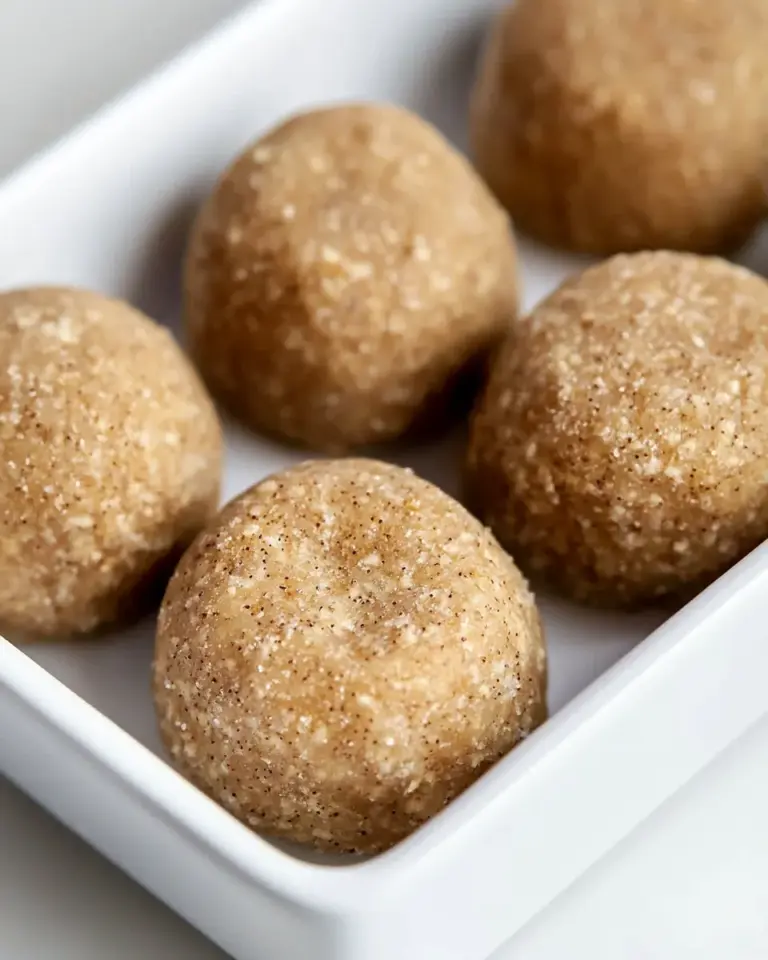
- Peanut Butter Banana Energy Bites
- Chocolate Oatmeal Cookies
- Almond Butter Bliss Balls
- Healthy Granola Bars
Bring It Home
These No-Bake Honey Nut Cheerios Snack Bars are not just a delicious treat but also a convenient option for busy lifestyles. With their irresistible blend of textures and flavors, they’re perfect for a quick snack, a post-workout boost, or a sweet addition to your kids’ lunchboxes.
Creating your own snack bars at home allows you to customize the ingredients according to your taste and dietary preferences, ensuring that every bite is just right. Whether you enjoy them plain or loaded with your favorite add-ins, these bars are sure to become a staple in your kitchen.
So gather your ingredients, follow these simple steps, and prepare to fall in love with your new favorite snack!
No-Bake Honey Nut Cheerios Snack Bars
Ingredients
Equipment
Method
- Step 1: Prepare the Baking Pan - Line a 9x9-inch baking pan with parchment paper, allowing some overhang for easy removal later.
- Step 2: Melt the Ingredients - In a medium saucepan over low heat, combine the creamy unsalted butter, honey (or corn syrup), and packed light brown sugar. Stir gently until melted and smooth, about 3-5 minutes.
- Step 3: Add Vanilla - Remove the saucepan from heat and stir in the vanilla extract.
- Step 4: Mix in the Cheerios and Add-ins - In a large mixing bowl, add the Honey Nut Cheerios. Pour the melted mixture over the cereal and toss to combine. Fold in optional ingredients if desired.
- Step 5: Press and Set - Transfer the mixture into the lined baking pan. Press down firmly to create a compact layer.
- Step 6: Chill - Refrigerate for at least 2 hours or until firm.
- Step 7: Cut and Serve - Lift the bars out using the parchment overhang, slice into squares, and optionally sprinkle with sea salt.
Notes
- Customize with your favorite nuts or dried fruits.
- Store in an airtight container for up to 2 weeks in the fridge.
- Wrap individual bars in plastic wrap for freezing; they last up to 2 months.