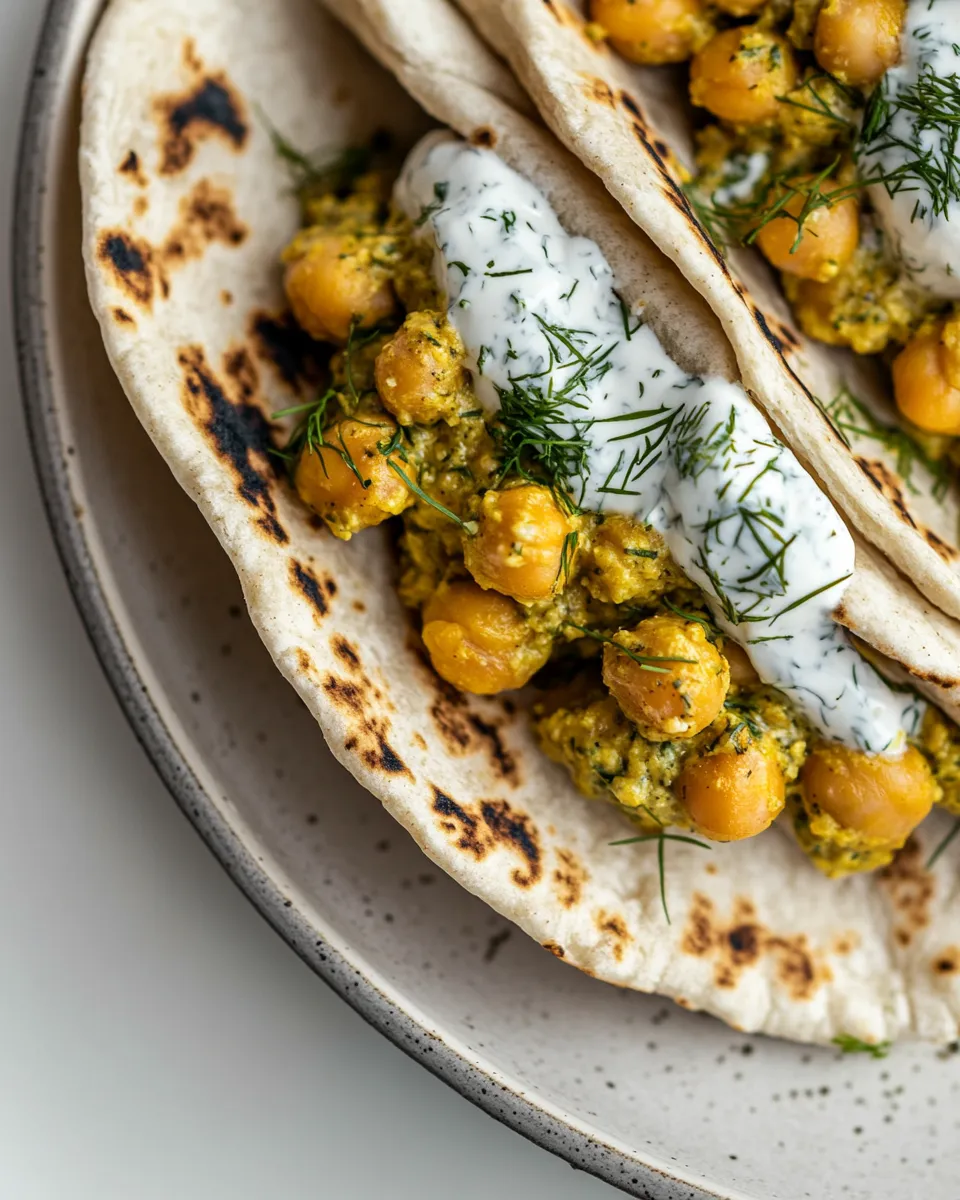
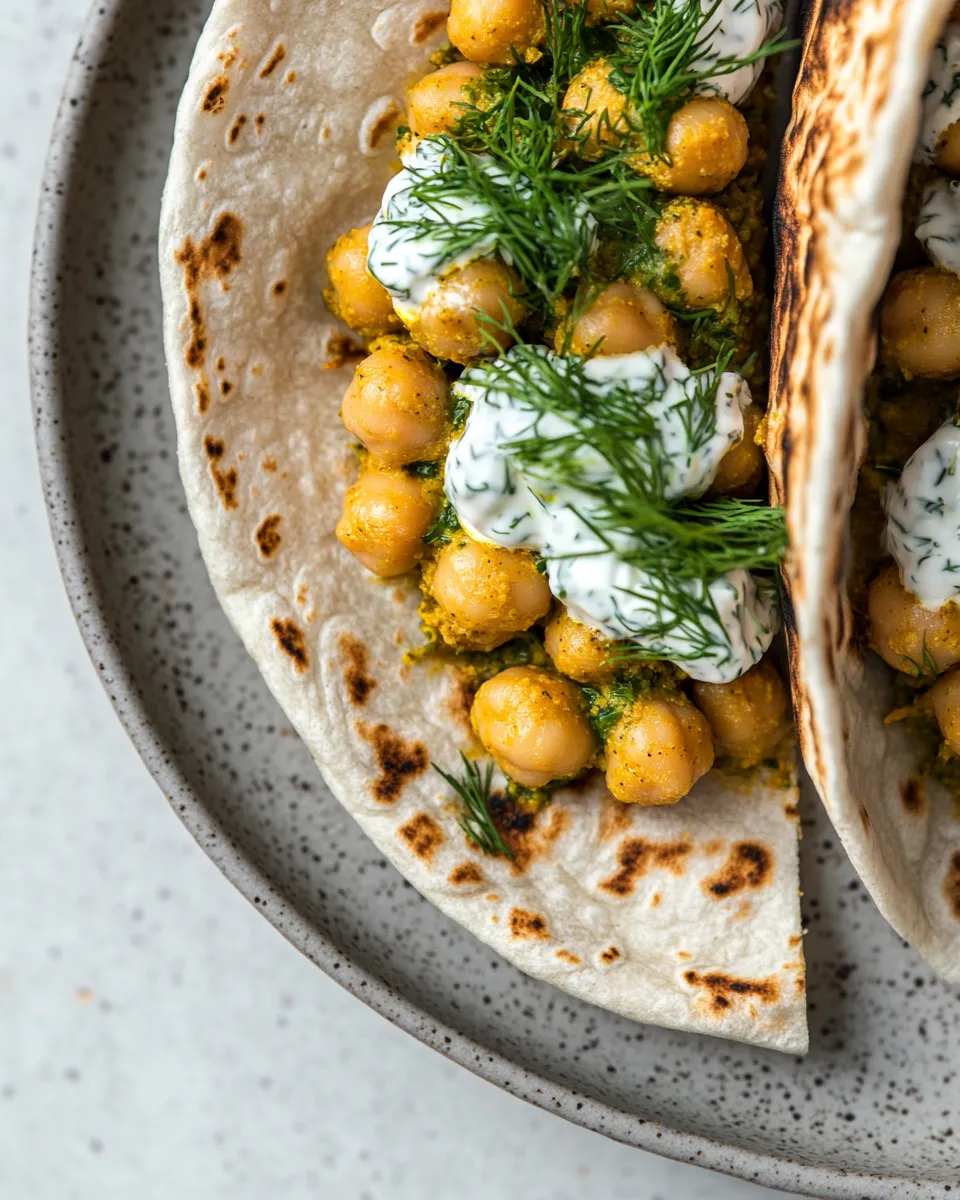
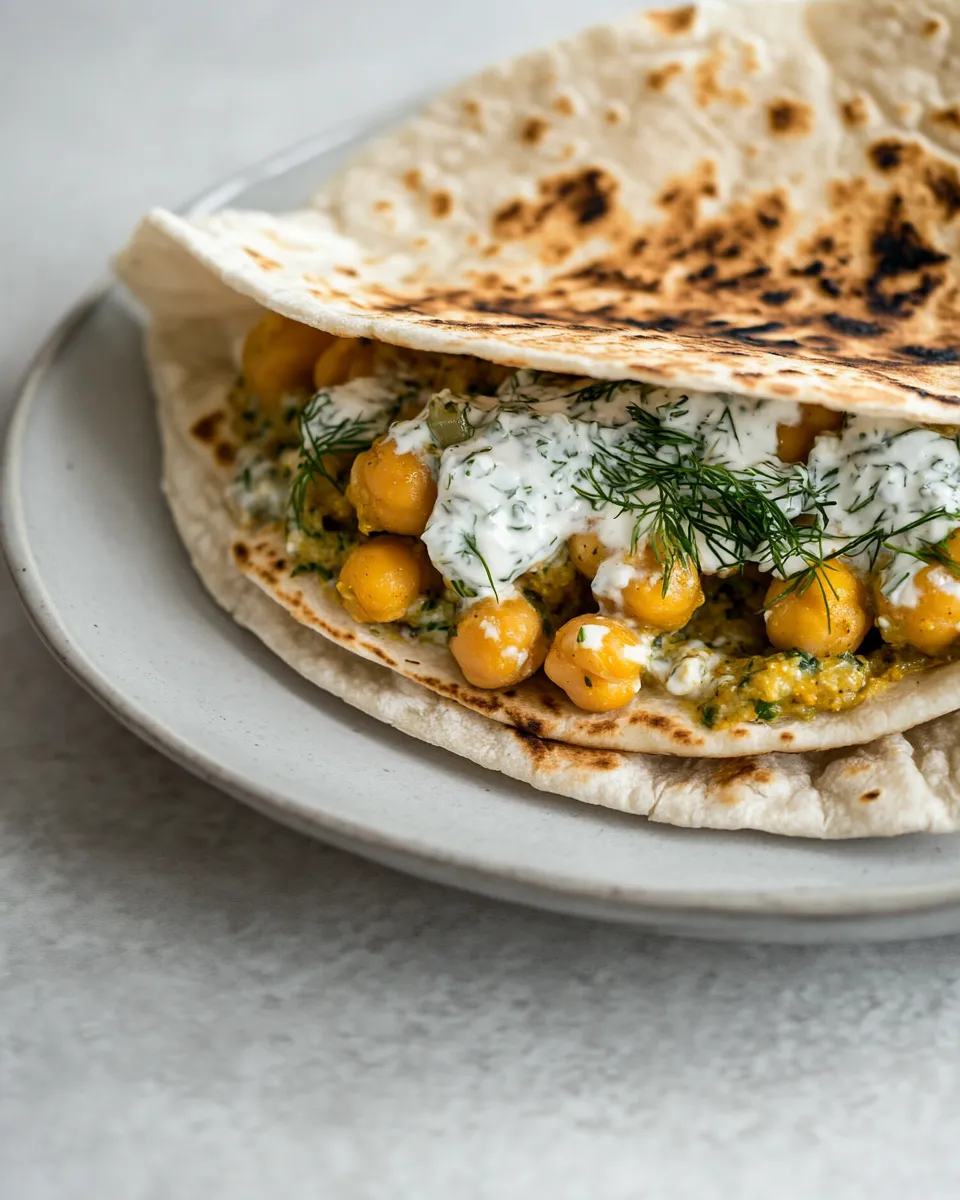
Chickpea Curry Stuffed Pita with Dill Yogurt
When it comes to quick, nutritious, and satisfying meals, few dishes can compete with the vibrant flavors and textures of Chickpea Curry Stuffed Pita with Dill Yogurt. This recipe brings together the warmth of curry spices, the creaminess of yogurt, and the freshness of dill, all nestled in a perfectly soft pita. It’s a delightful way to enjoy plant-based protein while satisfying your taste buds. Whether you’re looking for a lunch option, a light dinner, or even a snack, this dish fits the bill perfectly.
What You’ll Love About This Recipe
You’re going to adore this Chickpea Curry Stuffed Pita with Dill Yogurt for several reasons. First, it’s incredibly easy to prepare, making it a fantastic choice for busy weeknights. Second, the combination of spices and fresh ingredients creates a flavor explosion that will have your taste buds dancing. Also, it is customizable! You can tweak the spices or add your favorite vegetables to make it your own. Finally, this dish is perfect for meal prep, ensuring you have delicious and healthy options ready to go throughout the week.
Shopping List
- 3 tablespoons minced fresh dill
- 1/2 cup plain whole-milk yogurt
- 1 clove garlic (minced or grated)
- Juice from 1 lemon
- 1/2 teaspoon sea salt
- 2 teaspoons olive oil
- 1 1/2 cups cooked chickpeas (drained and rinsed if using canned)
- 2 teaspoons curry spice blend
- Salt (to taste)
- 2 pita with pockets (warmed slightly)
- 1 cup baby arugula
Cook’s Kit
- Mixing Bowl: For blending the dill yogurt and chickpea mixture.
- Small Bowl: To combine the yogurt ingredients.
- Fork or Potato Masher: For mashing the chickpeas to your desired consistency.
- Spoon: To scoop the chickpea mixture into the pita.
- Pan (optional): If you wish to warm the chickpeas slightly.
Make Chickpea Curry Stuffed Pita with Dill Yogurt: A Simple Method
Step 1: Prepare the Dill Yogurt
In a small bowl, combine the plain whole-milk yogurt, minced garlic, minced fresh dill, lemon juice, and sea salt. Mix thoroughly until all the ingredients are well incorporated. Set aside to let the flavors meld.
Step 2: Make the Chickpea Curry Filling
In a mixing bowl, add the drained and rinsed chickpeas. Using a fork or potato masher, mash the chickpeas lightly – you want a mix of whole and mashed chickpeas for texture. Add the olive oil, curry spice blend, and salt to taste. Mix until everything is evenly distributed.
Step 3: Warm the Pita
Slightly warm the pita pockets in a pan or microwave for about 10-15 seconds. This will make them more pliable and easier to stuff.
Step 4: Assemble the Pita
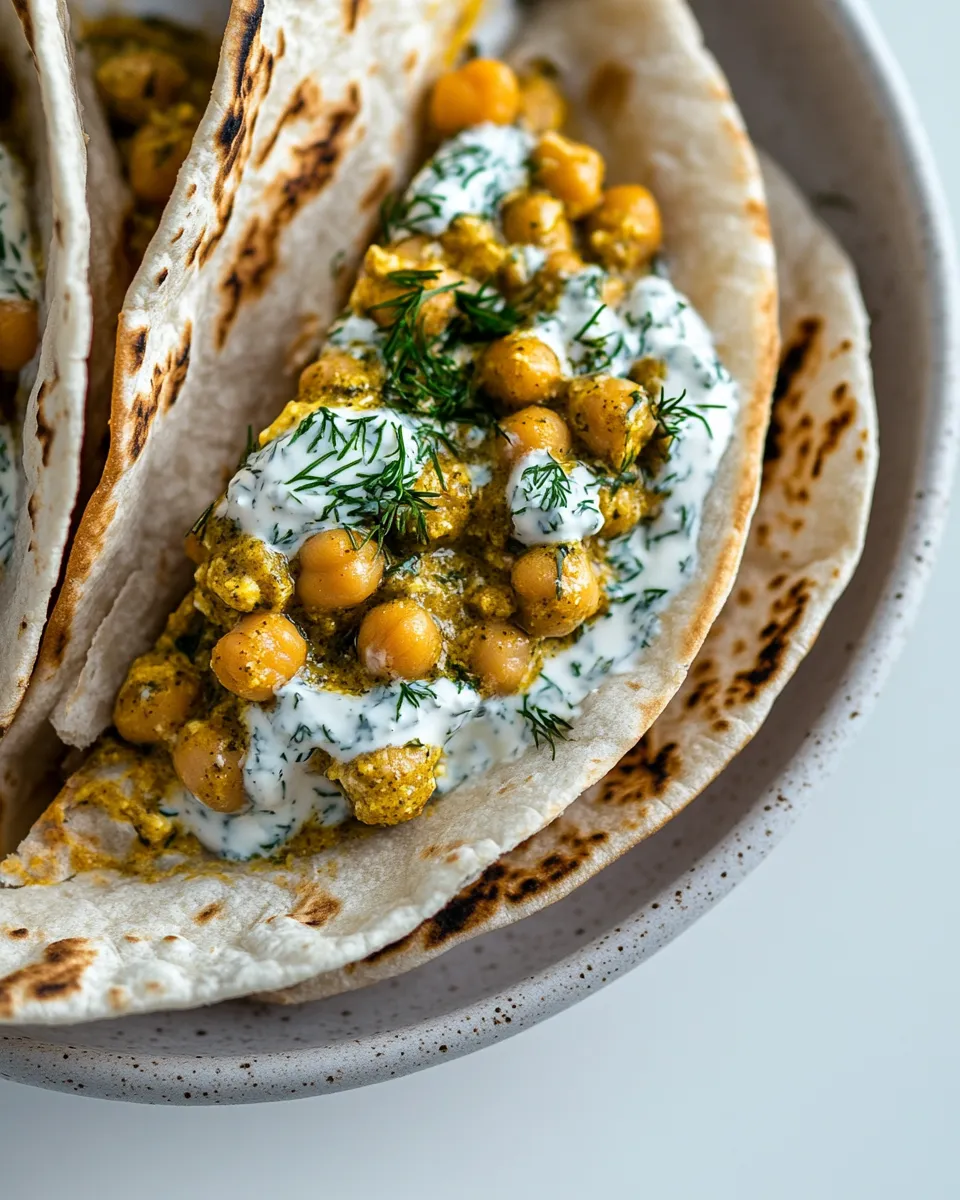
Spread a generous amount of the dill yogurt inside each warmed pita pocket. Next, fill the pita with the chickpea curry mixture, packing it in as desired. Finally, top with fresh baby arugula for a peppery crunch.
Step 5: Serve and Enjoy!
Serve the Chickpea Curry Stuffed Pita with Dill Yogurt immediately, garnished with extra dill or a slice of lemon if you wish. Enjoy this vibrant dish as a wholesome meal or a snack that’s sure to delight!
How to Make It Lighter
- Use low-fat yogurt instead of whole-milk yogurt for a lighter option.
- Reduce the amount of olive oil to one teaspoon to cut down on calories.
- Add more fresh vegetables, such as diced cucumber or shredded carrots, to increase volume without adding many calories.
- Consider using whole wheat pita for added fiber and nutrients.
Behind-the-Scenes Notes
This Chickpea Curry Stuffed Pita with Dill Yogurt can be made ahead of time, making it perfect for meal prep. Just keep the components separate until you’re ready to eat. The yogurt can last in the fridge for about a week, while the chickpea filling can be stored for 3-4 days. You can also experiment with different spices or add-ins to personalize the flavors to your liking.
Cooling, Storing & Rewarming
To store leftover Chickpea Curry Stuffed Pita with Dill Yogurt, keep the yogurt and chickpea filling in separate airtight containers in the refrigerator. The yogurt will stay fresh for about a week, while the chickpea filling is best consumed within 3-4 days. When you’re ready to enjoy, simply warm the chickpea filling in a pan or microwave and assemble your pita fresh for the best taste.
Ask the Chef
Can I make this recipe vegan?
Absolutely! Substitute the plain whole-milk yogurt with a dairy-free yogurt alternative such as coconut yogurt or almond yogurt. This will maintain the creamy texture while keeping it plant-based.
What if I can’t find fresh dill?
If fresh dill isn’t available, you can use dried dill. Use about one tablespoon of dried dill for every three tablespoons of fresh dill. Remember that dried herbs are more concentrated, so start with less and adjust to taste.
Can I add other vegetables to the filling?
Yes! Feel free to add diced bell peppers, spinach, or even grated carrots to the chickpea filling for added nutrition and flavor. Just keep in mind that you may need to adjust the seasoning to balance out the extra ingredients.
Is this dish suitable for meal prep?
Definitely! The components can be made in advance and stored separately in the fridge. You can quickly assemble your Chickpea Curry Stuffed Pita with Dill Yogurt whenever you’re ready to eat, making it a convenient option for busy days.
Don’t Miss These
- Sally’s Baking Addiction – For delicious treats and baking inspiration.
- Pinch of Yum – For creative and wholesome recipes.
- Minimalist Baker – For simple, yet delicious plant-based recipes.
- Ambitious Kitchen – For healthy meal ideas and nourishing recipes.
The Last Word
Chickpea Curry Stuffed Pita with Dill Yogurt is a wonderful blend of flavors and textures that comes together quickly, making it a go-to meal for any day of the week. Whether you’re a seasoned cook or a kitchen newbie, this recipe is an easy and delicious way to enjoy a healthy, plant-based dish. The combination of warm chickpeas, aromatic spices, and cool dill yogurt creates a satisfying meal that is not only nourishing but also incredibly enjoyable. Trust us, once you try this recipe, you’ll be making it on repeat!
Chickpea Curry Stuffed Pita with Dill Yogurt
Ingredients
Equipment
Method
- In a small bowl, combine the plain whole-milk yogurt, minced garlic, minced fresh dill, lemon juice, and sea salt. Mix thoroughly until all the ingredients are well incorporated. Set aside to let the flavors meld.
- In a mixing bowl, add the drained and rinsed chickpeas. Using a fork or potato masher, mash the chickpeas lightly – you want a mix of whole and mashed chickpeas for texture. Add the olive oil, curry spice blend, and salt to taste. Mix until everything is evenly distributed.
- Slightly warm the pita pockets in a pan or microwave for about 10-15 seconds. This will make them more pliable and easier to stuff.
- Spread a generous amount of the dill yogurt inside each warmed pita pocket. Next, fill the pita with the chickpea curry mixture, packing it in as desired. Finally, top with fresh baby arugula for a peppery crunch.
- Serve the Chickpea Curry Stuffed Pita with Dill Yogurt immediately, garnished with extra dill or a slice of lemon if you wish. Enjoy this vibrant dish as a wholesome meal or a snack that’s sure to delight!
Notes
- Experiment with different spices to customize the flavor.
- Use low-fat yogurt for a lighter version.
- Store yogurt and filling separately for meal prep.