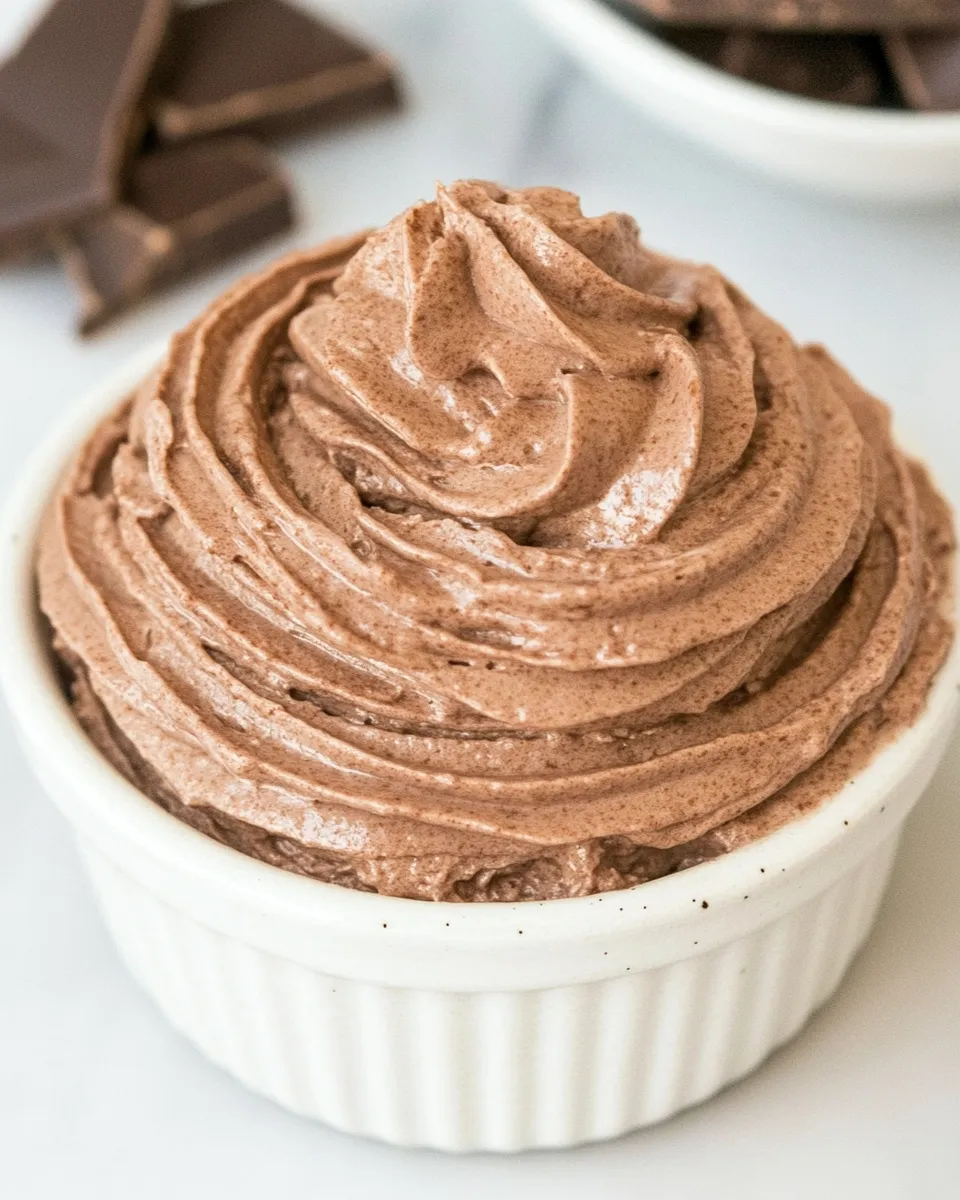
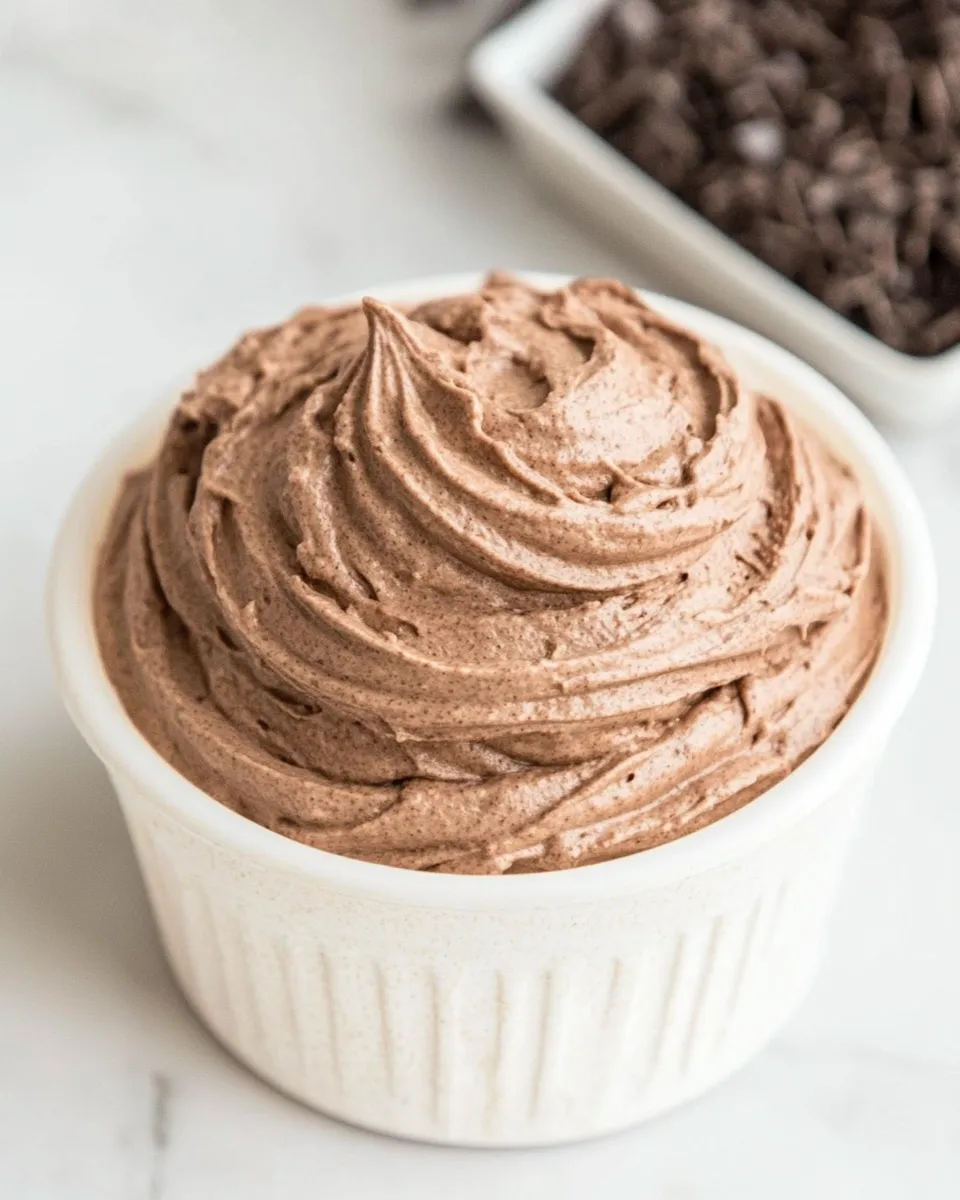
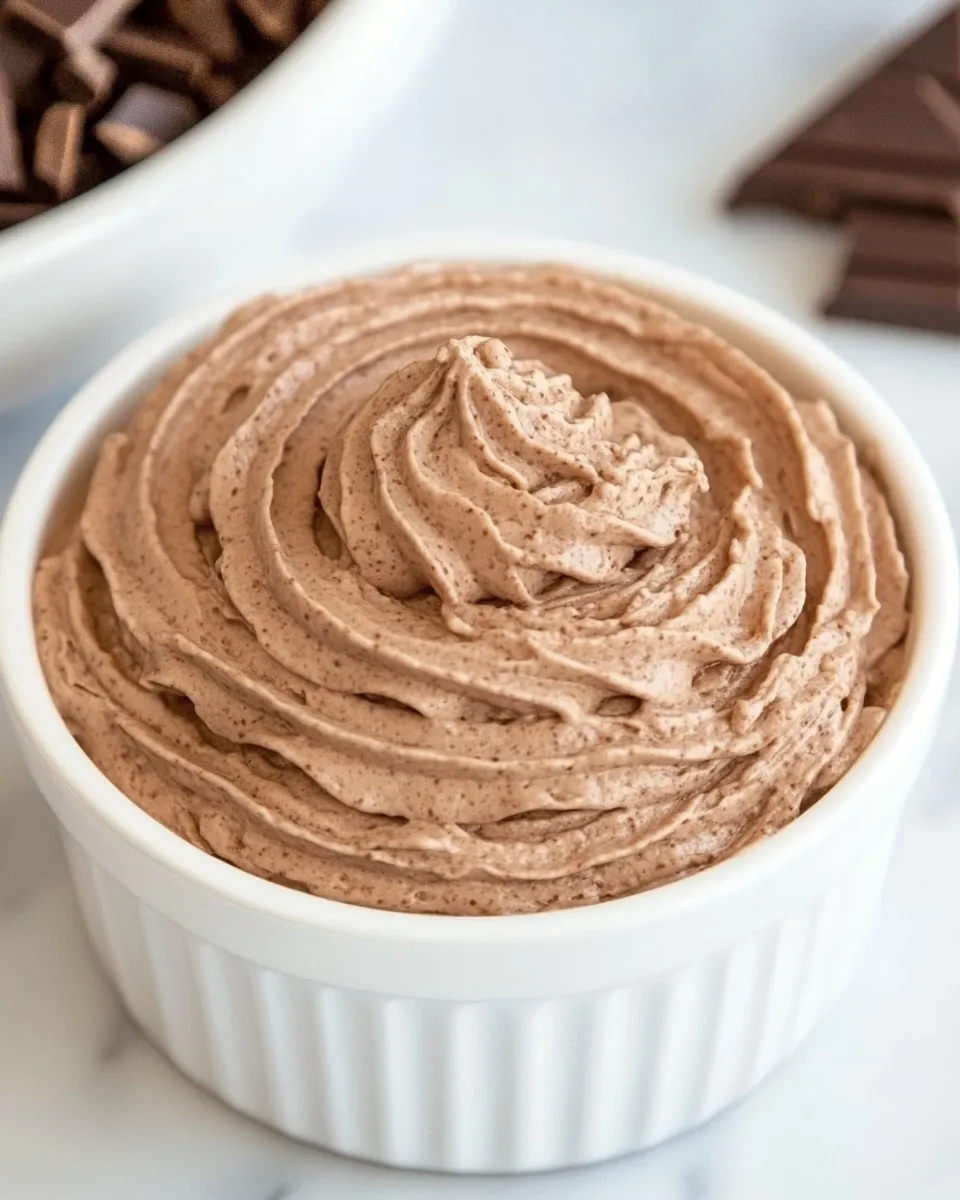
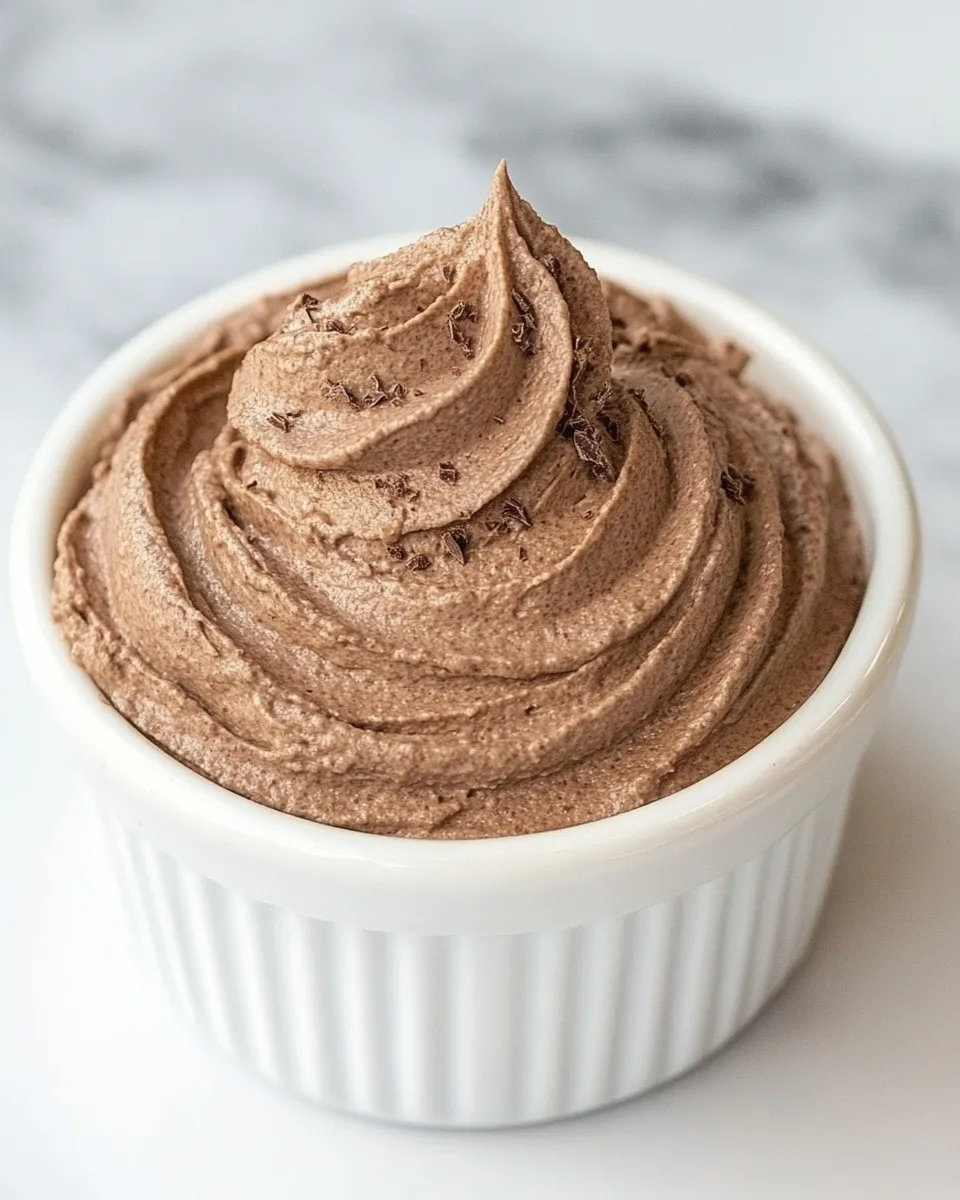
Chocolate Whipped Cream Recipe
There’s something undeniably delightful about a light, airy whipped cream, but when it’s infused with rich chocolate, it takes dessert to a whole new level. This Chocolate Whipped Cream Recipe is quick and easy to whip up, making it the perfect addition to your favorite cakes, pies, or simply as a decadent dip for fruits. With just a few simple ingredients, you can create a luscious topping that will elevate your dessert game. So grab your mixing bowl and let’s get started!
Why This Recipe is a Keeper
This Chocolate Whipped Cream Recipe brings together the best of both worlds: the smooth, creamy texture of whipped cream and the rich, bold flavor of chocolate. Its versatility makes it an essential recipe for any dessert lover. Use it to top brownies, layer in trifles, or serve alongside fresh berries. Plus, it’s quick to make and can be stored for later use, making it a fantastic solution for last-minute dessert needs.
What’s in the Bowl
To create this dreamy Chocolate Whipped Cream, you will need the following ingredients:
- 2 cups heavy whipping cream – The base of our whipped cream, providing that rich texture.
- ½ cup sugar – Sweetens the cream and enhances the chocolate flavor.
- 2 teaspoons vanilla extract – Adds depth and a warm flavor note.
- ½ cup cocoa powder – The star ingredient that brings the chocolatey goodness!
- 1 tablespoon cold water – Used to dissolve the gelatin, helping to stabilize the whipped cream.
- 1 teaspoon unflavored gelatin – This will keep your whipped cream fluffy and prevent it from deflating.
Hardware & Gadgets
Before diving into the recipe, here’s what you’ll need in your kitchen:
- Mixing bowl – A large bowl to mix all your ingredients.
- Electric mixer – A hand mixer or stand mixer works best for achieving fluffy whipped cream.
- Spatula – For folding the ingredients together gently.
- Measuring cups and spoons – To ensure accurate ingredient amounts.
- Small saucepan – For dissolving the gelatin.
Chocolate Whipped Cream Recipe, Made Easy
Now that you have everything ready, let’s get into the step-by-step process of making this Chocolate Whipped Cream.
Step 1: Prepare the Gelatin
In a small saucepan, combine the cold water and unflavored gelatin. Let it sit for about 5 minutes to bloom. Once it has absorbed the water, heat the mixture over low heat, stirring constantly until the gelatin is fully dissolved. Remove from heat and set aside to cool slightly.
Step 2: Whip the Cream
In a large mixing bowl, pour in the heavy whipping cream. Using an electric mixer, start whipping the cream on medium speed. Gradually add in the sugar and continue to whip until soft peaks begin to form.
Step 3: Add Cocoa and Vanilla
Once you have soft peaks, gently fold in the cocoa powder and vanilla extract using a spatula. Be careful not to deflate the cream as you incorporate these ingredients.
Step 4: Mix in the Gelatin
Now, pour the dissolved gelatin mixture into the whipped cream. Continue to whip the mixture on medium-high speed until stiff peaks form. This will ensure that your Chocolate Whipped Cream is stable and holds its shape beautifully.
Step 5: Serve or Store
Your Chocolate Whipped Cream is now ready to be used! Serve it immediately with your favorite desserts or store it in an airtight container in the refrigerator for up to 3 days. Just give it a quick re-whip before serving if it deflates slightly.
Make It Diet-Friendly
If you’re looking to lighten up this Chocolate Whipped Cream Recipe, here are some alternatives you can consider:
- Use low-fat whipped topping instead of heavy cream for a lighter option.
- Substitute stevia or coconut sugar for regular sugar to reduce calories.
- Opt for unsweetened almond milk cocoa powder for a dairy-free version.
What I Learned Testing
Through multiple trials of this Chocolate Whipped Cream Recipe, I discovered a few key points:
- The quality of cocoa powder matters! Using a high-quality cocoa will result in a richer flavor.
- Don’t over-whip the cream—stiff peaks are ideal for texture, but over-whipping can lead to graininess.
- Incorporating the gelatin at the right temperature is crucial; if it’s too hot, it can melt the cream.
Leftovers & Meal Prep
If you find yourself with leftovers or want to prep ahead, here are a few tips:
- Store any leftover Chocolate Whipped Cream in an airtight container in the fridge for up to 3 days.
- For longer storage, consider freezing it in an ice cube tray and then transferring the cubes to a freezer bag. Just thaw and re-whip before use.
- This whipped cream is perfect for meal prep—make a batch at the beginning of the week to use as a topping for various desserts throughout the week.
Ask & Learn
Can I use a whisk instead of an electric mixer?
Yes, but it will take significantly longer and require more effort to achieve the desired whipped cream texture. An electric mixer is highly recommended for ease and efficiency.
What if I don’t have gelatin?
If you prefer not to use gelatin, you can omit it, but keep in mind the whipped cream may not hold its shape for as long.
Can I make this in advance for a party?
Absolutely! You can prepare it a day in advance. Just store it in the refrigerator and give it a quick re-whip before serving.
How can I flavor this whipped cream differently?
You can experiment with different extracts such as almond, peppermint, or even espresso powder to create a variety of flavors.
Quick Weeknight Wins
Looking for more delicious dessert ideas? Check these out:
- Chocolate Chip Cookies – A classic favorite that pairs perfectly with Chocolate Whipped Cream.
- Healthy Banana Bread – Enjoy a slice topped with this creamy delight.
- Vegan Chocolate Cake – A rich cake that deserves a dollop of Chocolate Whipped Cream.
Make It Tonight
There’s no better time than now to try your hand at this Chocolate Whipped Cream Recipe. Whether you’re dressing up a simple dessert or treating yourself to a decadent treat, this whipped cream will not disappoint. With its luscious texture and rich chocolate flavor, it’s bound to become a go-to recipe in your kitchen. So why wait? Gather your ingredients and whip up some chocolatey goodness tonight!
Chocolate Whipped Cream Recipe
Ingredients
Equipment
Method
- In a small saucepan, combine the cold water and unflavored gelatin. Let it sit for about 5 minutes to bloom. Once it has absorbed the water, heat the mixture over low heat, stirring constantly until the gelatin is fully dissolved. Remove from heat and set aside to cool slightly.
- In a large mixing bowl, pour in the heavy whipping cream. Using an electric mixer, start whipping the cream on medium speed. Gradually add in the sugar and continue to whip until soft peaks begin to form.
- Once you have soft peaks, gently fold in the cocoa powder and vanilla extract using a spatula. Be careful not to deflate the cream as you incorporate these ingredients.
- Now, pour the dissolved gelatin mixture into the whipped cream. Continue to whip the mixture on medium-high speed until stiff peaks form. This will ensure that your Chocolate Whipped Cream is stable and holds its shape beautifully.
- Your Chocolate Whipped Cream is now ready to be used! Serve it immediately with your favorite desserts or store it in an airtight container in the refrigerator for up to 3 days. Just give it a quick re-whip before serving if it deflates slightly.
Notes
- Store leftovers in an airtight container in the fridge for up to 3 days.
- For longer storage, freeze in ice cube trays and re-whip after thawing.
- Use high-quality cocoa powder for the best flavor.