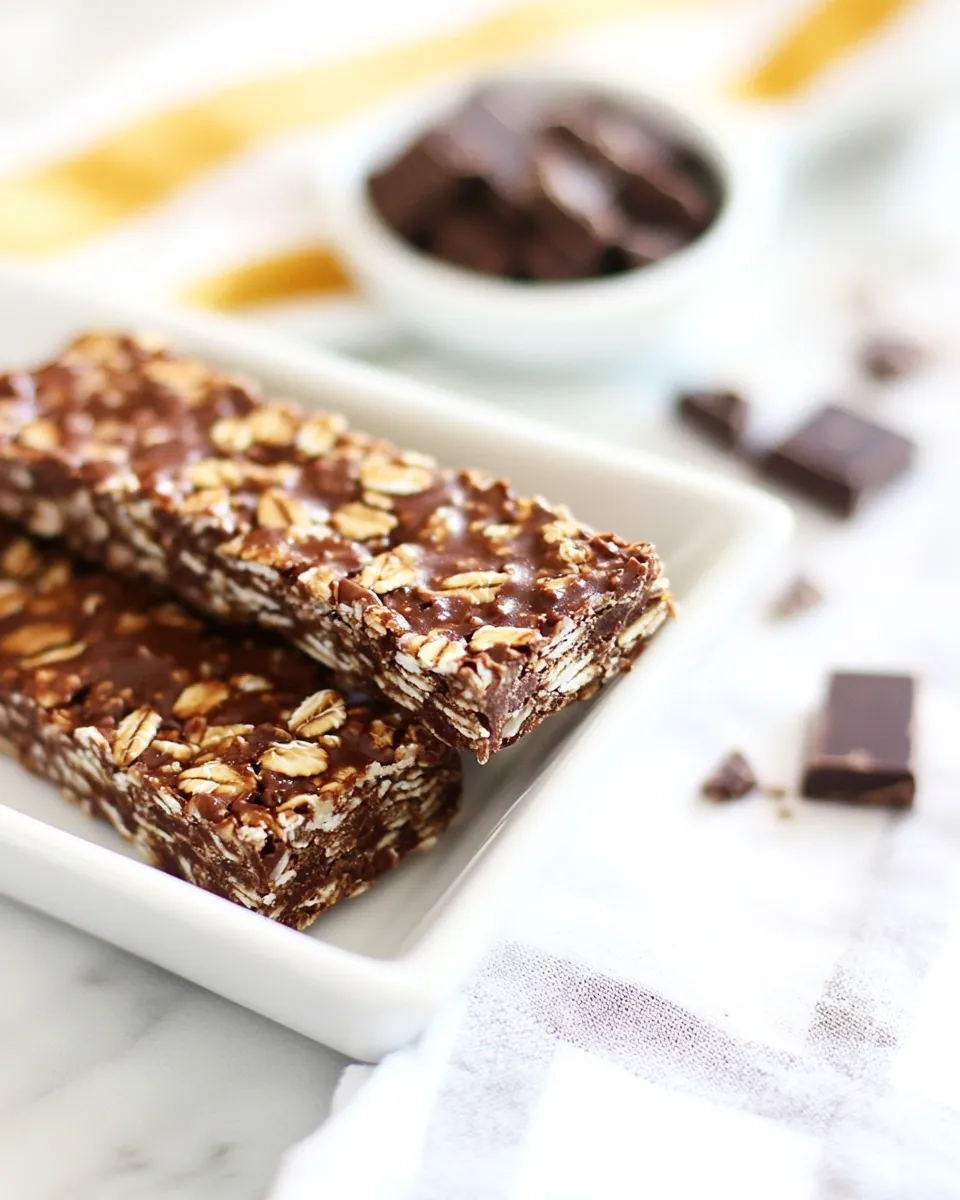
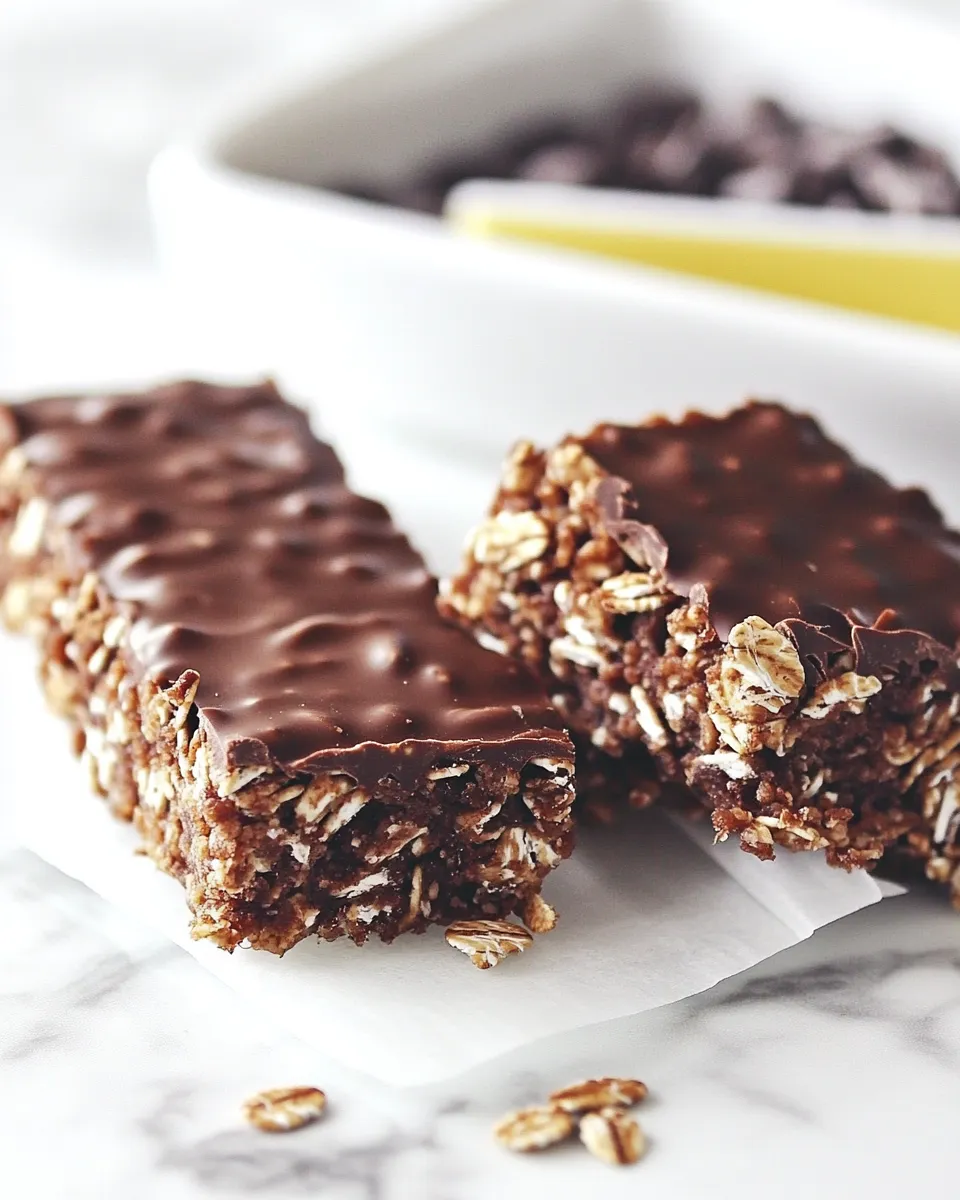
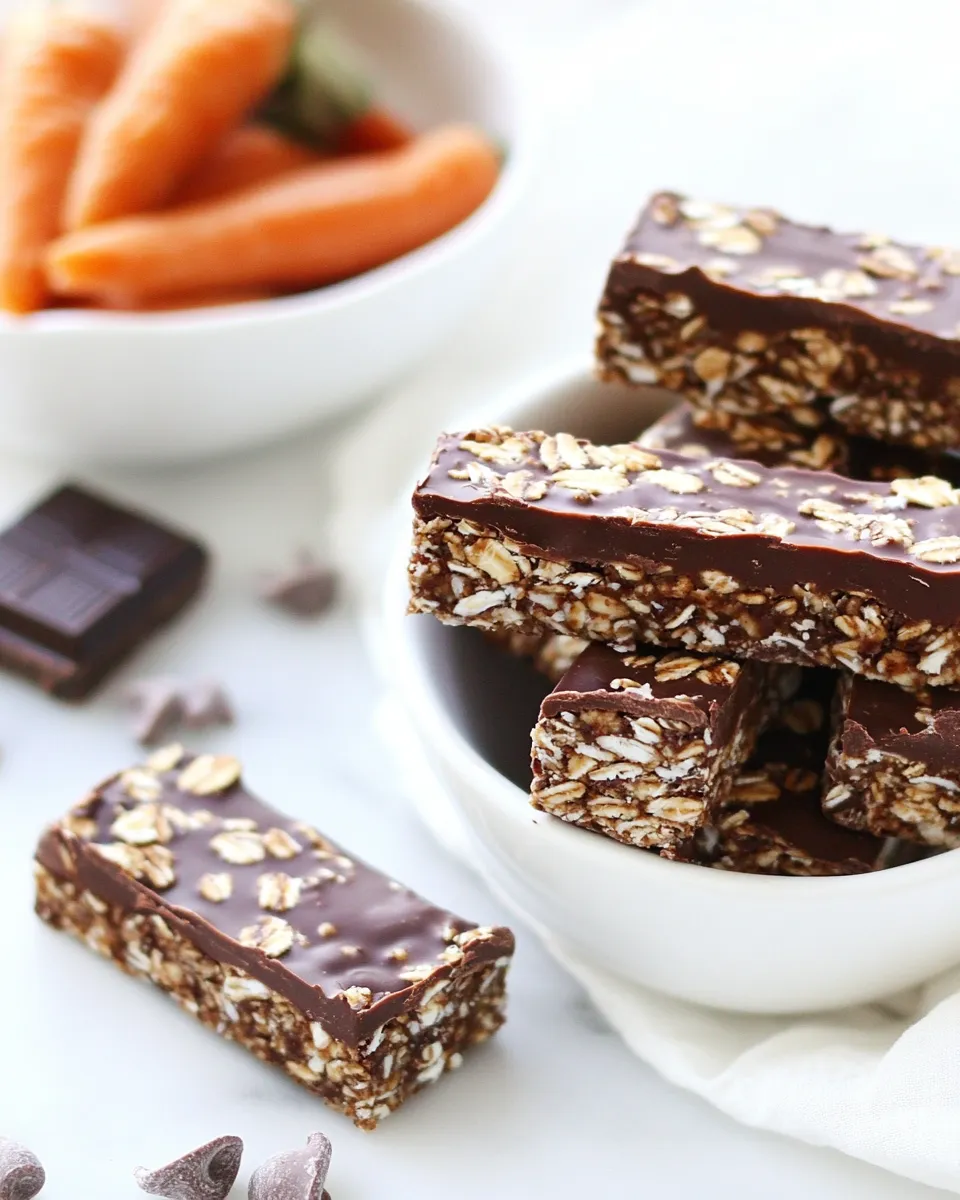
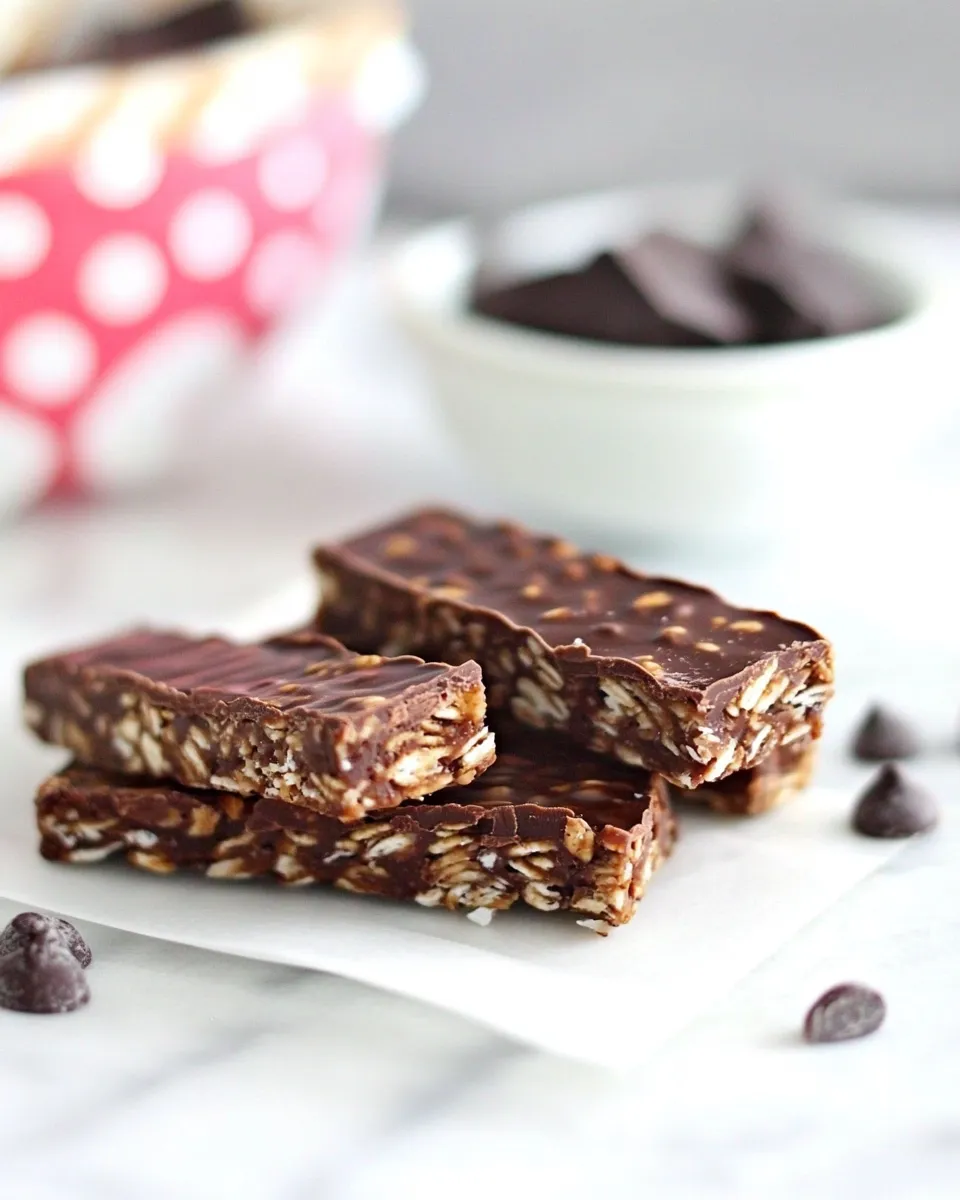
Chocolate Granola Bars
There’s something undeniably delightful about homemade snacks that not only satisfy your sweet tooth but also pack a nutritional punch. These Chocolate Granola Bars are the perfect blend of chewy and crunchy, making them an ideal treat for busy mornings, post-workout fuel, or an afternoon pick-me-up. With rich semi-sweet chocolate chips, crispy Rice Krispies, and wholesome oats, they are truly a labor of love. Plus, they come together in just a few simple steps!
Why I Love This Recipe
This recipe for Chocolate Granola Bars quickly became a staple in my kitchen for several reasons. Firstly, they are incredibly versatile; you can mix and match ingredients based on what you have on hand. Secondly, they are a healthier alternative to store-bought snacks, packed with real ingredients instead of preservatives. Lastly, these bars are so easy to make that even the most novice cook can whip them up without a hitch! You can enjoy them as a snack or even as part of your breakfast, making them a win-win in my book.
The Essentials
- 2 cups semi-sweet chocolate chips: These provide the rich chocolatey flavor that makes these bars so irresistible.
- 1 1/2 cups Rice Krispies: For that perfect crunch and texture that contrasts beautifully with the chewy components.
- 1 1/2 cups rolled oats: A wholesome base that adds fiber and keeps you feeling full.
- 1/2 cup sweetened flaked coconut: Adds a subtle sweetness and a tropical flair, plus a bit of chewiness.
- 2 Tbsp sweetened flaked coconut for garnish: A lovely finishing touch that enhances the visual appeal.
- 1/3 cup shelled sunflower seeds: A nutty flavor and extra crunch, plus they are packed with nutrients.
- 1/2 cup honey: Acts as a natural sweetener and helps bind everything together.
- 1/3 cup creamy peanut butter: Adds richness and a lovely nutty flavor; feel free to swap with almond butter if preferred.
- 1/4 cup butter: This adds moisture and richness to the bars.
Gear Checklist
- Mixing bowl: A large bowl to combine all the ingredients.
- Spatula: For mixing and spreading the mixture evenly in the pan.
- 8×8 or 9×9 inch baking pan: To shape and set the bars.
- Parchment paper: For easy removal of the granola bars after baking.
- Measuring cups and spoons: To ensure the right proportions of ingredients.
How to Prepare Chocolate Granola Bars
Step 1: Preheat the Oven
Preheat your oven to 350°F (175°C). This ensures that your Chocolate Granola Bars bake evenly and get that delightful golden color.
Step 2: Prepare the Baking Pan
Line your baking pan with parchment paper, allowing some overhang on the sides. This will make it easier to lift the bars out after they’ve cooled.
Step 3: Melt the Butter and Mix Ingredients
In a medium saucepan over low heat, melt the butter, honey, and creamy peanut butter together, stirring until smooth. Remove from heat and let it cool slightly.
Step 4: Combine Dry Ingredients
In a large mixing bowl, combine the rolled oats, Rice Krispies, sweetened flaked coconut, and shelled sunflower seeds. Stir until evenly mixed.
Step 5: Add the Wet Ingredients
Pour the melted butter mixture over the dry ingredients. Stir until everything is well coated and combined. Then fold in the semi-sweet chocolate chips, reserving a handful for topping.
Step 6: Transfer to the Baking Pan
Spread the mixture evenly in the prepared baking pan, pressing down firmly to ensure the bars hold together. Sprinkle the reserved chocolate chips and additional coconut flakes on top for garnish.
Step 7: Bake
Bake in the preheated oven for 20-25 minutes, or until the edges are golden brown. Be careful not to overbake, as the bars will continue to firm up once they cool.
Step 8: Cool and Cut
Allow the bars to cool in the pan for about 10 minutes, then using the parchment overhang, lift the bars out of the pan and let them cool completely on a wire rack. Once cooled, cut into squares or rectangles.
Year-Round Variations
- For a fruity twist, add 1/2 cup dried cranberries or raisins.
- Substitute almond butter or cashew butter for a different nutty flavor.
- Incorporate spices such as cinnamon or nutmeg for added warmth.
- Add a handful of mini marshmallows for a s’mores-inspired variation.
Things That Go Wrong
Even the best of us can have hiccups in the kitchen. Here’s what to watch out for:
- Bars falling apart: Make sure to pack the mixture tightly in the pan before baking.
- Overbaking: Keep an eye on them; they should be golden, not dark brown.
- Too dry: Double-check your measurements and ensure you’re using enough binding ingredients like honey and peanut butter.
Best Ways to Store
To keep your Chocolate Granola Bars fresh:
- Store in an airtight container at room temperature for up to a week.
- For longer storage, refrigerate them, which can extend their life to two weeks.
- You can also freeze them! Wrap each bar in plastic wrap and place them in a zip-top bag for up to three months.
Your Questions, Answered
Can I use another type of sweetener instead of honey?
Yes! You can substitute maple syrup or agave nectar for a different flavor profile. Just keep in mind that the consistency may vary slightly.
Can I make these bars vegan?
Absolutely! Substitute the honey with maple syrup and use a vegan butter alternative. The bars will still turn out delicious!
What can I use instead of Rice Krispies?
You can try puffed quinoa or any other puffed cereal for a unique twist. Just make sure it’s a similar texture to keep the crunch!
How do I make these bars nut-free?
Simply replace the peanut butter with sunbutter (sunflower seed butter) or another nut-free alternative, and you’re all set!
More Recipes You’ll Love
Final Bite
These Chocolate Granola Bars are not just a delicious snack; they are a canvas for your creativity in the kitchen. Whether you’re making them for yourself, your family, or a gathering, they are sure to impress. So grab your ingredients, gather your gear, and let’s get baking! You’ll be enjoying the fruits of your labor in no time, and trust me, once you make these, you’ll never go back to store-bought again. Enjoy!
Chocolate Granola Bars
Ingredients
Equipment
Method
- Preheat your oven to 350°F (175°C).
- Line your baking pan with parchment paper, allowing some overhang on the sides.
- In a medium saucepan over low heat, melt the butter, honey, and creamy peanut butter together, stirring until smooth. Remove from heat and let it cool slightly.
- In a large mixing bowl, combine the rolled oats, Rice Krispies, sweetened flaked coconut, and shelled sunflower seeds. Stir until evenly mixed.
- Pour the melted butter mixture over the dry ingredients. Stir until everything is well coated and combined. Then fold in the semi-sweet chocolate chips, reserving a handful for topping.
- Spread the mixture evenly in the prepared baking pan, pressing down firmly to ensure the bars hold together. Sprinkle the reserved chocolate chips and additional coconut flakes on top for garnish.
- Bake in the preheated oven for 20-25 minutes, or until the edges are golden brown.
- Allow the bars to cool in the pan for about 10 minutes, then lift them out using the parchment overhang and let them cool completely on a wire rack. Once cooled, cut into squares or rectangles.
Notes
- Store in an airtight container at room temperature for up to a week.
- Refrigerate for longer storage, extending life to two weeks.
- Wrap each bar in plastic wrap and freeze for up to three months.