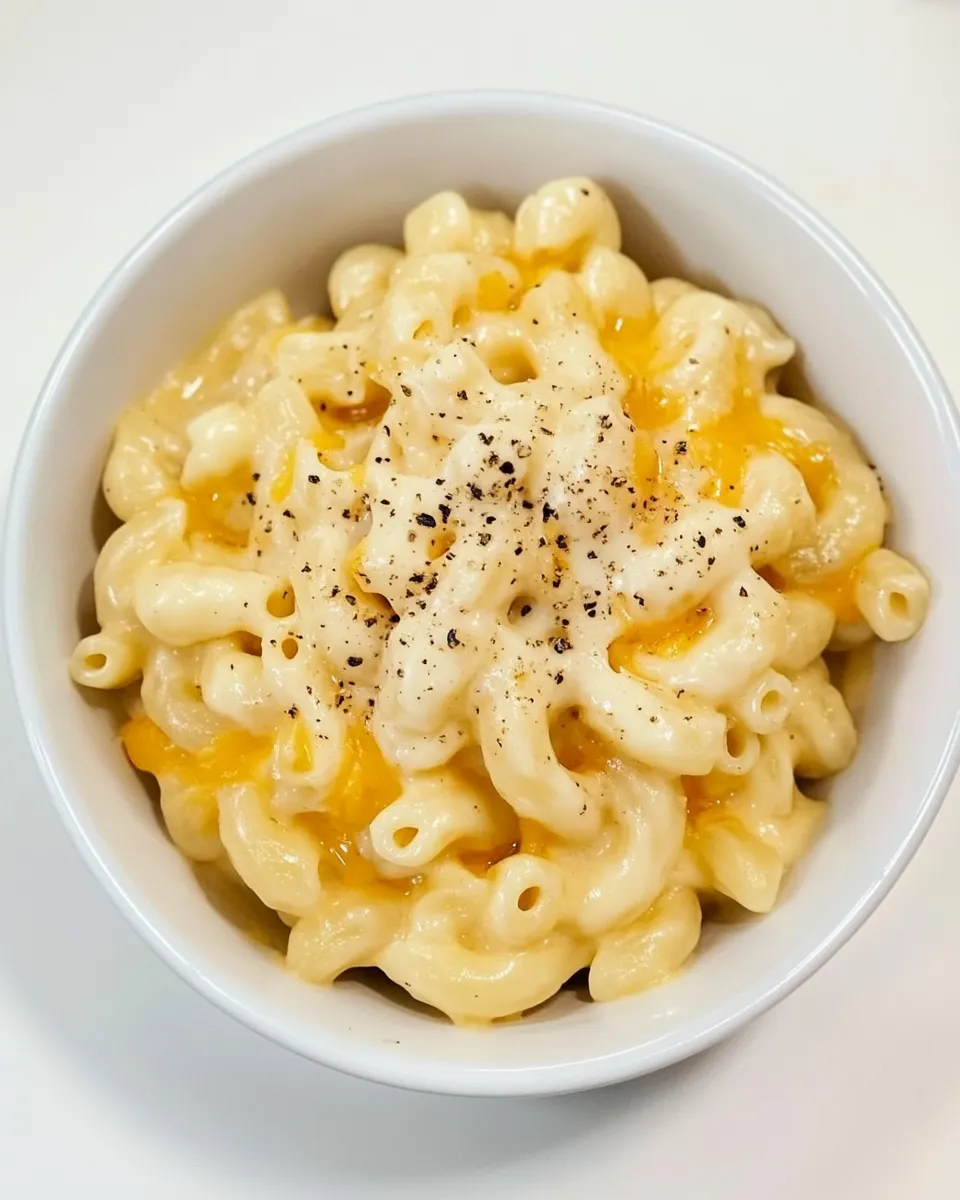
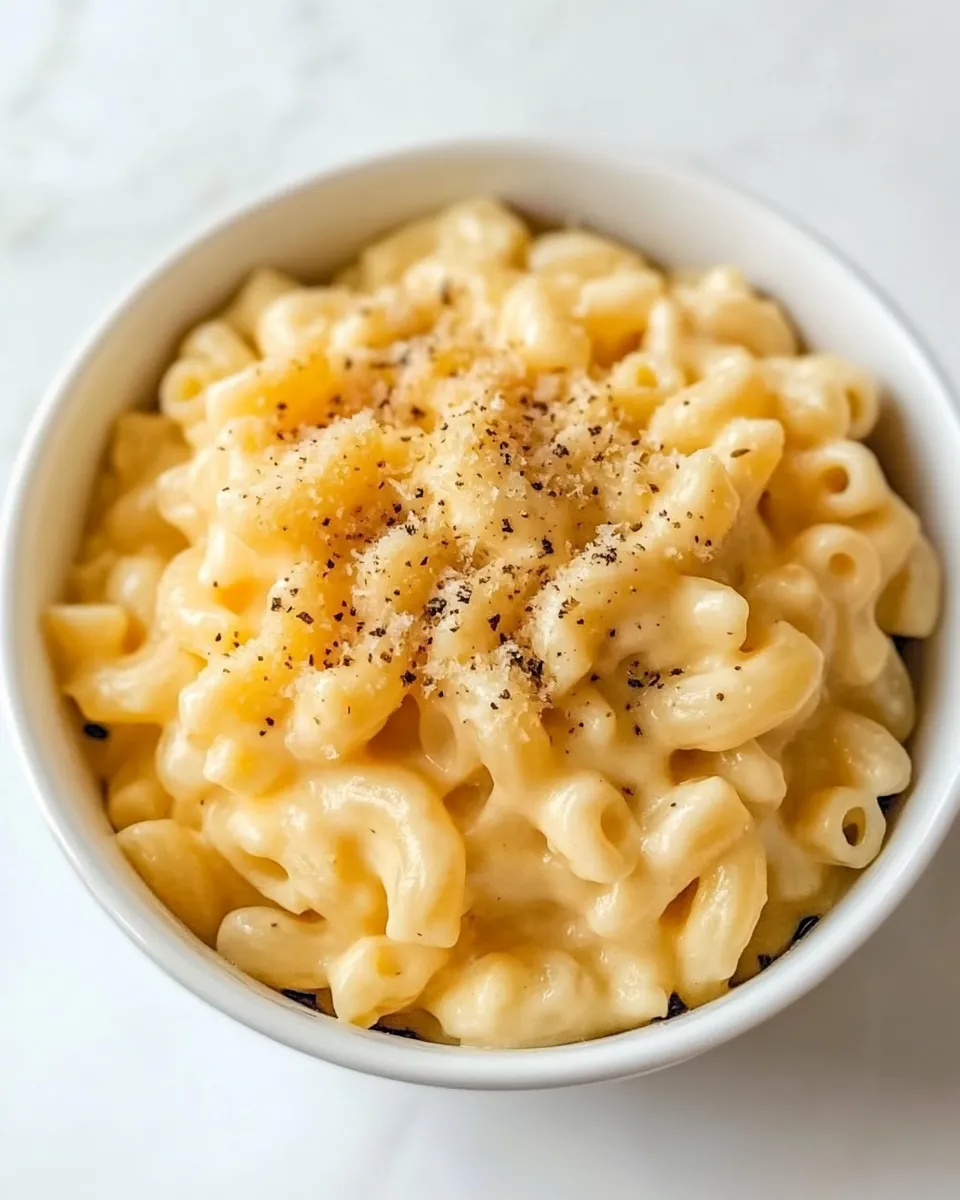
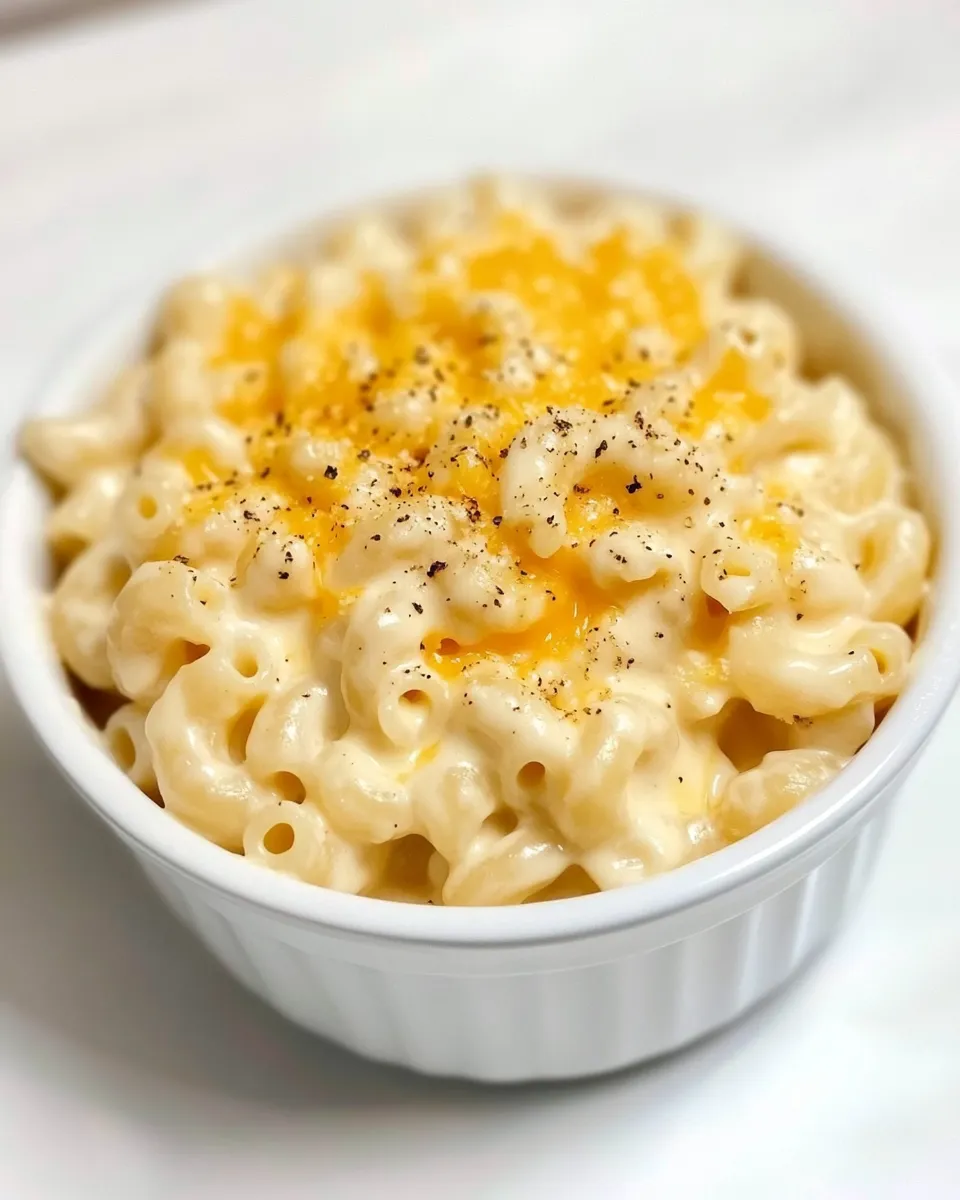
Protein Mac And Cheese
When it comes to comfort food, few dishes can compete with the classic mac and cheese. It’s creamy, cheesy, and downright delicious. But what if you could elevate this beloved dish into something that’s not only delightful but also packs a protein punch? Enter Protein Mac And Cheese – a dish that takes the traditional recipe and transforms it into a nourishing meal that fits seamlessly into a healthy lifestyle. With simple ingredients and straightforward steps, you’ll be enjoying a bowl of Protein Mac And Cheese in no time!
Why This Protein Mac And Cheese Stands Out
This Protein Mac And Cheese is not your average pasta dish. It combines the rich creaminess of cheddar cheese with the unexpected addition of cottage cheese, delivering a delightful texture and flavor. The integration of unflavored protein powder—while optional—allows you to customize your dish to meet your protein needs, making it an excellent choice for those looking to boost their intake. Moreover, using non-fat milk keeps the dish lighter without sacrificing creaminess. This recipe is perfect for a cozy night in or a post-workout meal, proving that comfort food can also be nutritious!
Ingredients at a Glance
- 12 ounces elbow macaroni
- 1 cup cottage cheese
- 1 1/2 cups shredded cheddar cheese
- 1/2 cup unflavored protein powder (optional)
- 1 cup milk (non-fat preferred)
- 1 tablespoon cornstarch
- 1/2 teaspoon salt
- 1/2 teaspoon pepper
Hardware & Gadgets
- Large pot: For boiling the macaroni.
- Colander: To drain the pasta after cooking.
- Mixing bowl: For combining the cheese and other ingredients.
- Whisk: To mix the ingredients smoothly.
- Oven-safe dish: If you prefer to bake the mac and cheese for a crispy top.
Mastering Protein Mac And Cheese: How-To
Step 1: Cook the Macaroni
Begin by bringing a large pot of salted water to a boil. Add in the elbow macaroni and cook according to the package directions until al dente. Once cooked, drain the macaroni in a colander and set aside.
Step 2: Prepare the Cheese Sauce
In a mixing bowl, combine the cottage cheese, shredded cheddar cheese, non-fat milk, cornstarch, protein powder (if using), salt, and pepper. Use a whisk to mix everything together until smooth and creamy.
Step 3: Combine Pasta and Sauce
In the same pot you used for the macaroni, return the drained pasta and pour the cheese sauce over it. Stir everything together over low heat, allowing the cheese to melt and coat the pasta thoroughly. This step is crucial for achieving that luscious, cheesy goodness.
Step 4: Serve or Bake
You can serve the Protein Mac And Cheese straight from the pot for a creamy delight, or transfer it to an oven-safe dish and bake at 350°F for about 15 minutes if you prefer a slightly crispy top. If baking, consider sprinkling additional cheddar cheese on top before placing it in the oven for that extra gooey texture.
Budget & Availability Swaps
- Pasta: Any small pasta shape can be used if you don’t have elbow macaroni on hand.
- Cottage Cheese: Ricotta cheese can be a great substitute for a different flavor profile.
- Cheddar Cheese: Feel free to experiment with other types of cheese like mozzarella or gouda.
- Milk: Almond milk or soy milk can be used for a dairy-free option.
If You’re Curious
Protein Mac And Cheese isn’t just a meal; it’s a canvas for creativity! Consider adding your favorite vegetables like steamed broccoli or spinach for extra nutrients. You could even mix in some cooked chicken or turkey for a heartier dish. The possibilities are endless, making it easy to play around with flavors and textures.
Save It for Later
If you have leftovers, Protein Mac And Cheese can be stored in an airtight container in the refrigerator for up to 3 days. Reheat in the microwave, adding a splash of milk to retain its creaminess. You can also freeze it for up to 2 months—perfect for meal prepping! Just thaw overnight in the fridge before reheating.
Reader Questions
Can I make this dish vegan?
Yes! To make a vegan version of Protein Mac And Cheese, substitute the cottage cheese with a vegan cream cheese alternative, use dairy-free cheese, and replace the milk with almond or oat milk.
Is the protein powder necessary?
No, the protein powder is optional. If you’re looking to increase your protein intake, feel free to add it, but the dish will still be delicious without it!
Can I use gluten-free pasta?
Absolutely! Gluten-free elbow macaroni works perfectly in this recipe, allowing those with gluten sensitivities to enjoy this tasty dish without worry.
What can I serve with Protein Mac And Cheese?
This dish pairs wonderfully with a fresh side salad or roasted vegetables. For a complete meal, consider serving it alongside grilled chicken or shrimp.
Next Up in Your Queue
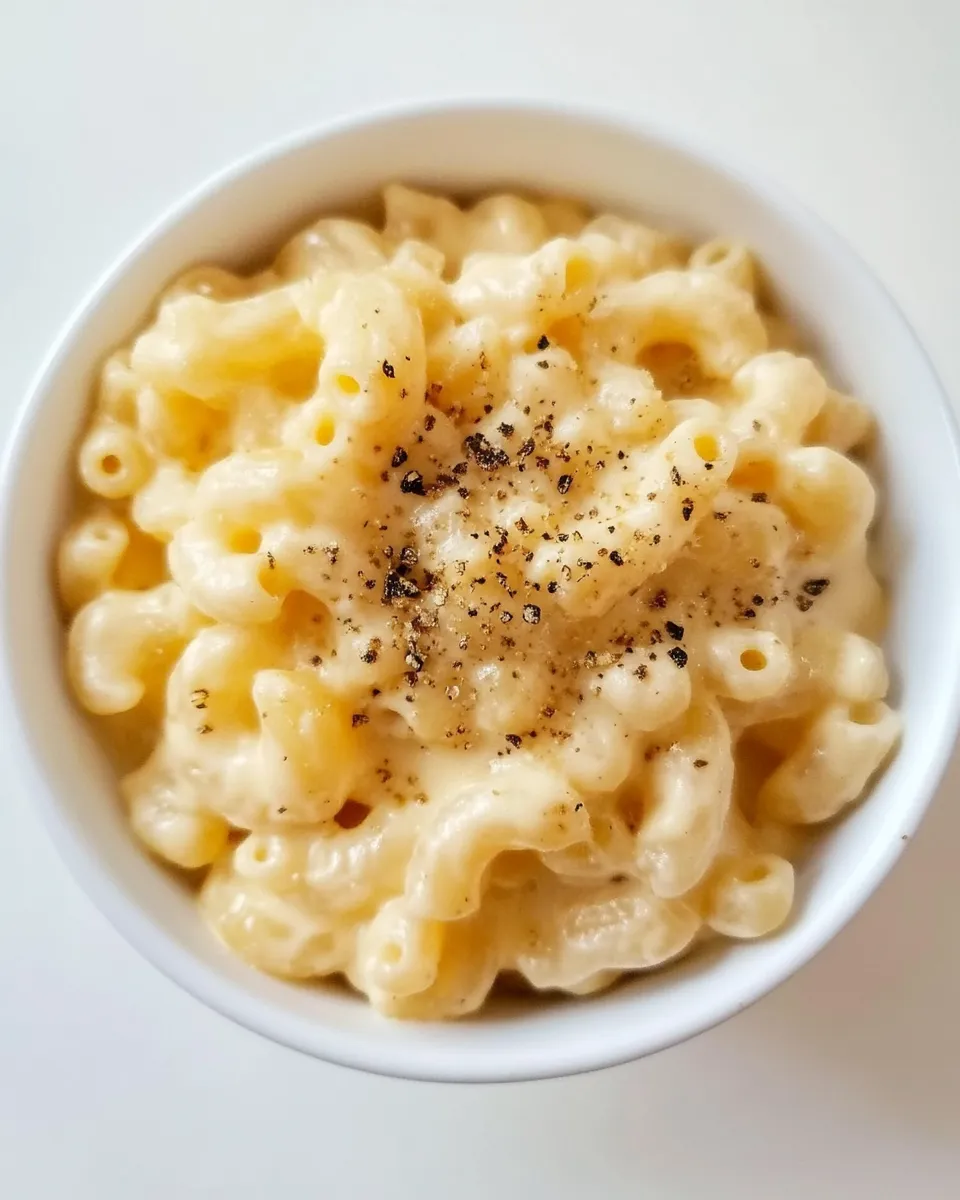
Serve & Enjoy
Once your Protein Mac And Cheese is ready, serve it hot in bowls. You can garnish with a sprinkle of extra cheese or some chopped herbs for a fresh touch. This dish is not only satisfying but also makes for a great conversation starter at family dinners or gatherings. Enjoy the comforting flavors while knowing you’re nourishing your body with a protein-packed meal. Dive into this deliciousness, and watch it become a new favorite in your household!
Protein Mac And Cheese
Ingredients
Equipment
Method
- Begin by bringing a large pot of salted water to a boil. Add in the elbow macaroni and cook according to the package directions until al dente. Once cooked, drain the macaroni in a colander and set aside.
- In a mixing bowl, combine the cottage cheese, shredded cheddar cheese, non-fat milk, cornstarch, protein powder (if using), salt, and pepper. Use a whisk to mix everything together until smooth and creamy.
- In the same pot you used for the macaroni, return the drained pasta and pour the cheese sauce over it. Stir everything together over low heat, allowing the cheese to melt and coat the pasta thoroughly.
- You can serve the Protein Mac And Cheese straight from the pot or transfer it to an oven-safe dish and bake at 350°F for about 15 minutes for a crispy top.
Notes
- For a vegan option, substitute cottage cheese with vegan cream cheese and use dairy-free cheese.
- Add vegetables like steamed broccoli for extra nutrition.
- Leftovers can be stored in an airtight container in the fridge for up to 3 days.